
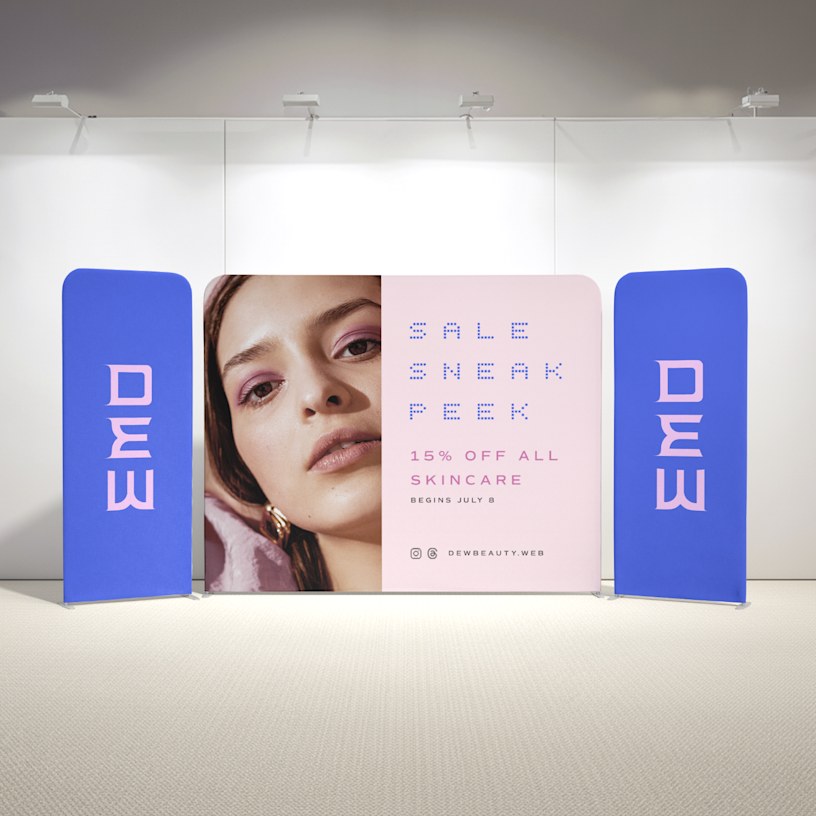
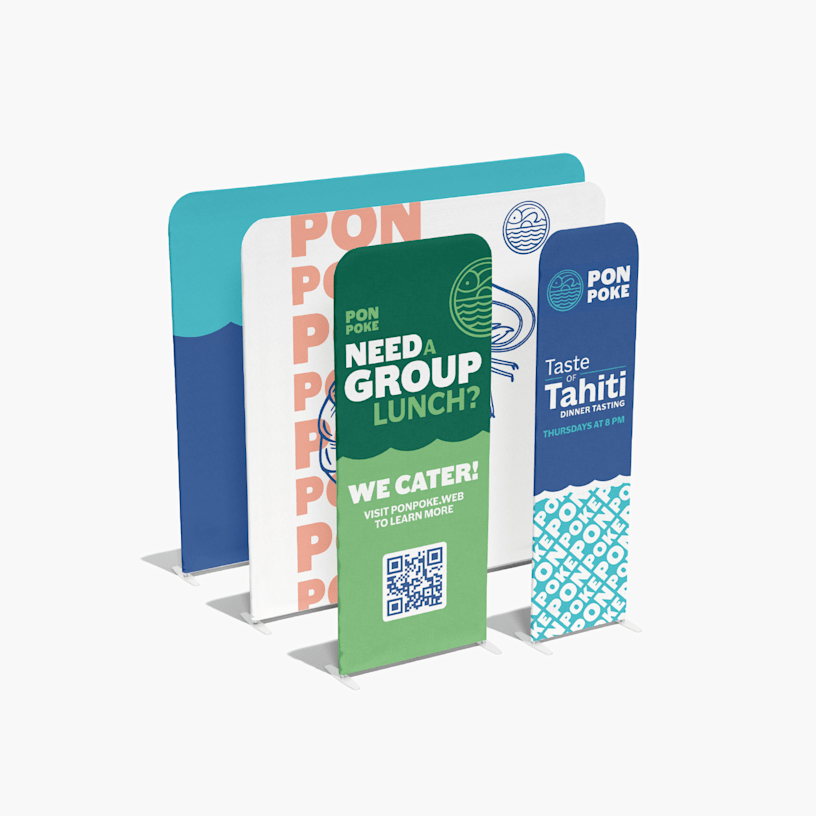
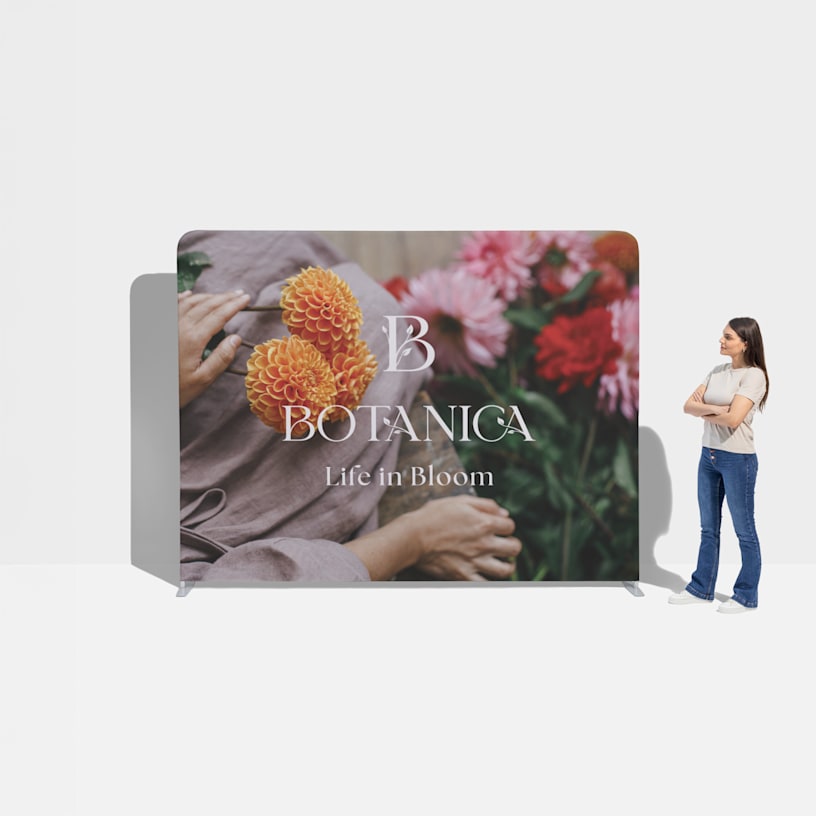
Tension Fabric Displays
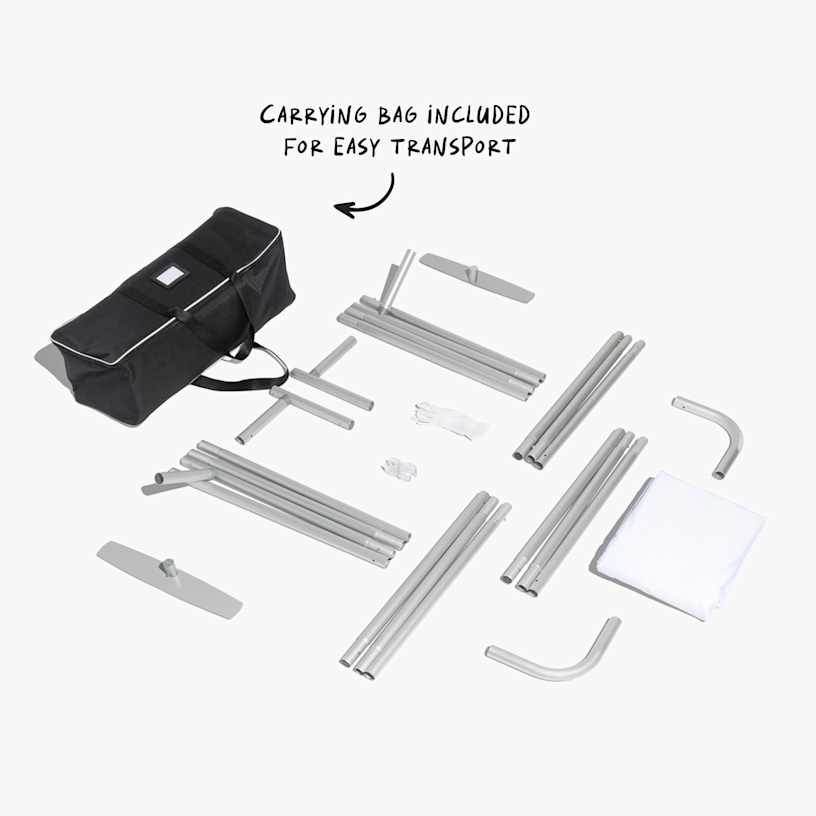
Note: Your fabric and frame may be shipped separately.
Reviews
Reviewed by 129 customers
Frequently asked questions
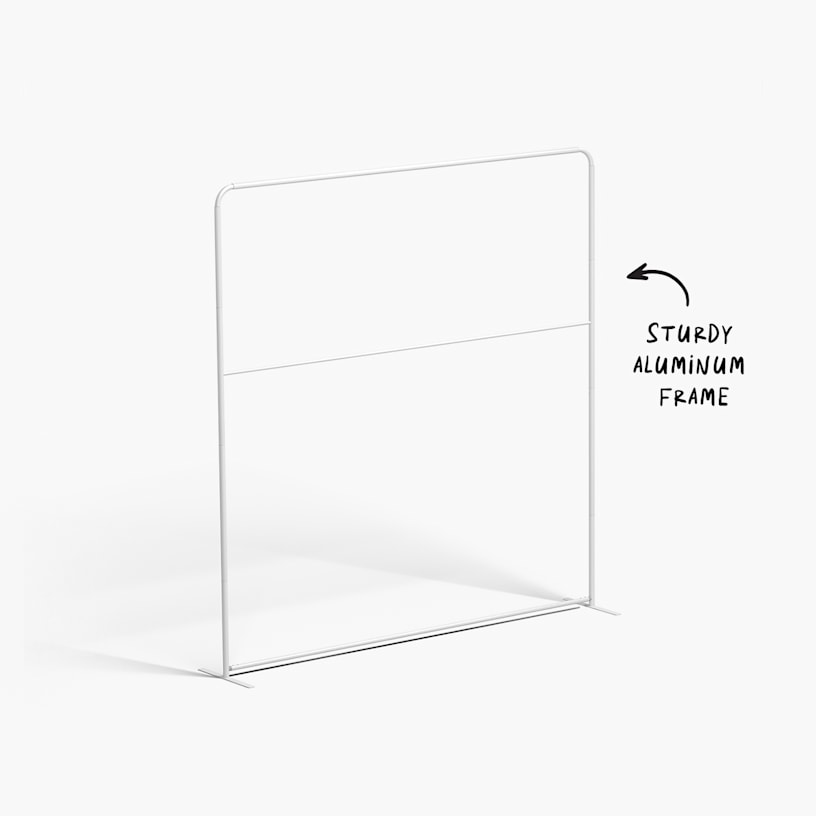
Follow these step-by-step instructions to get your banner display set up. We suggest asking a friend or co-worker to help. For a downloadable assembly guide, click here.
Step 1: Remove all parts from the carry case and place on a clean, flat surface.
Step 2: Assemble all the poles by connecting the corresponding numbers together while pressing the snap button.
Step 3: Continue to connect the poles so they form a frame.
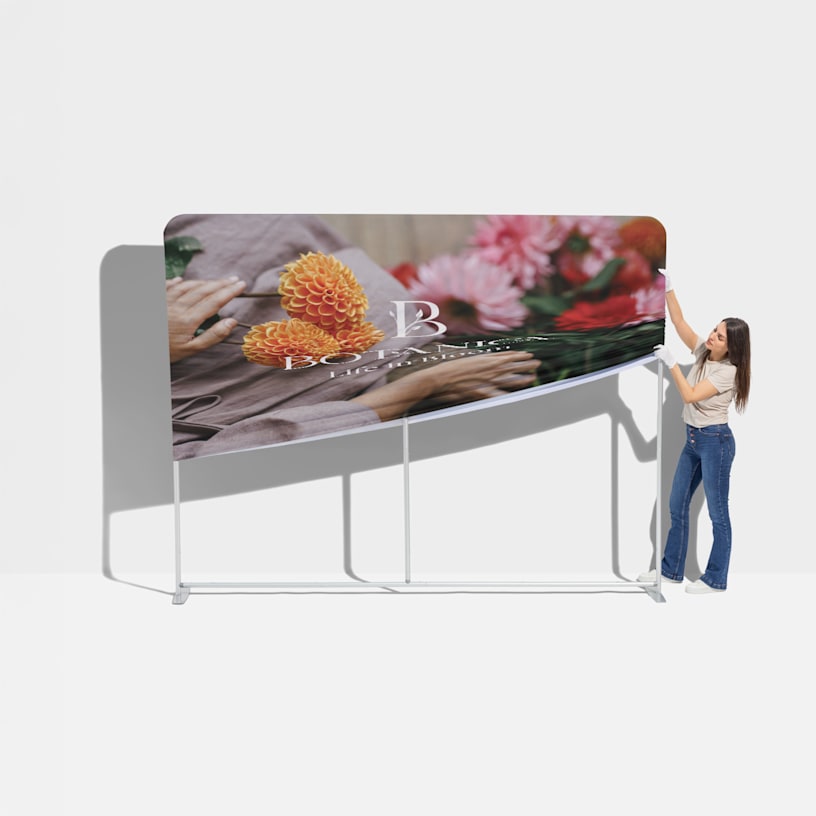
Step 4: Drape the fabric over the hardware.
Take a look at this size chart for all the necessary dimensions:
| Banner Size | Width | Height | Depth | Weight |
|---|---|---|---|---|
| 2' | 24.5" | 91.25" | 19" | 7.6 lbs. |
| 3' | 36.5" | 91.25" | 19" | 8.2 lbs. |
| 8' | 96" | 91.25" | 19" | 13 lbs. |
| 10' | 115.25" | 91.25" | 19" | 15.5 lbs. |
The size of the bag with the fabric display inside is 36” x 11” x 5” (w x h x d) and the distance from the bottom edge to the floor is just 2”. Please see the following chart for the frame and bag dimensions.
| Frame Size | Width | Height | Frame Weight | Frame, Banner & Bag Weight |
|---|---|---|---|---|
| 2' | 24" | 90" | 8 lbs. | 10.6 lbs. |
| 3' | 36" | 90" | 9 lbs. | 11.8 lbs. |
| 8' | 96" | 90" | 12 lbs. | 19 lbs. |
| 10' | 120" | 90" | 13 lbs. | 21 lbs. |
We recommend using vector graphics (.ai, .eps or .svg files) for your images – .jpg files may blur when scaled. If you need to upload a .jpg, it should be 150 DPI or higher. And we highly suggest avoiding small text as anything less than 2" may not be legible from a distance.