Ideas & Advice
Tips, trends and insights to grow your small business
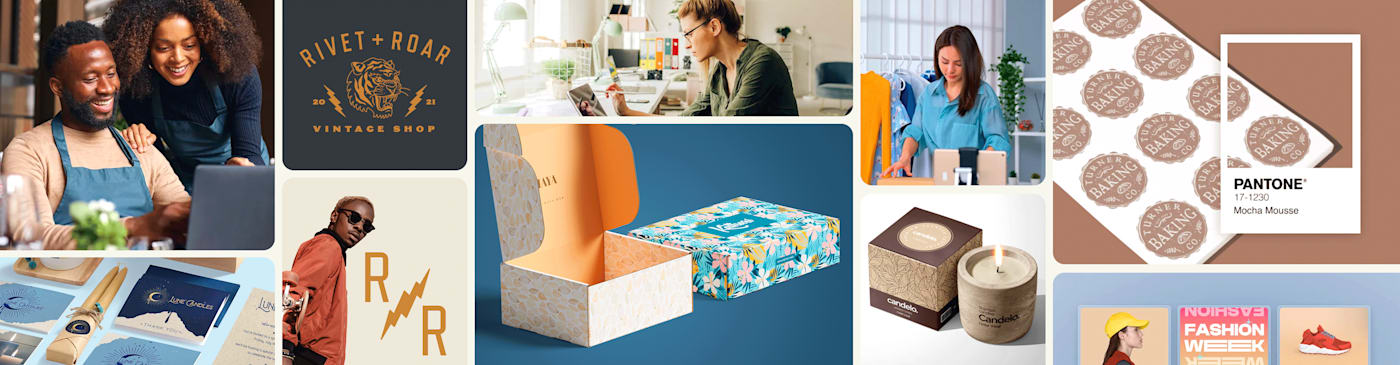
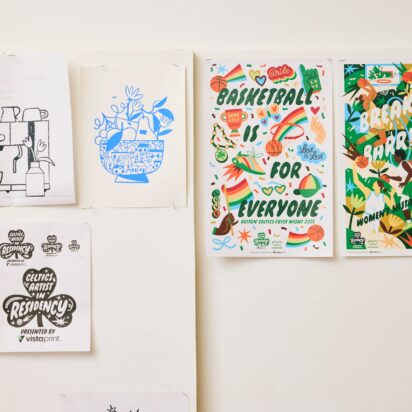
Top 10 graphic design trends 2026
A new year means fresh chances to rethink your branding, and design trends are one of the most effective ways […]

The top 8 color trends 2026
Colors set the mood for everything from your website and digital marketing to your packaging and storefront. That’s why keeping […]
7 inspiring color trends for 2025
As we look toward what the biggest design and marketing trends will be for the new year, one of the […]

Tips for small business owners when working with designers
We chatted with Tristan LeBreton, Creative Director at 99designs by Vista, for his insights into how small business owners can […]

The 7 principles of design and how to use them (with infographic)
Design differs from art in that it has to have a purpose. Visually, this functionality is interpreted by making sure […]
Mood board examples for brand inspiration
You’re trying to explain your brand vision to a designer, client or printer. You know you want something bold but […]
Balance in graphic design: A simple guide
If you’ve ever looked at a flyer and wondered why it felt kind of… off… you were probably reacting to […]
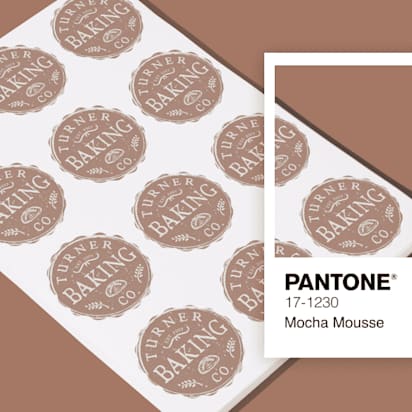
Mocha Mousse, the Pantone Color of the Year 2025: Everything you need to know
We’ve rounded up everything you need to know about Pantone Color of the Year 2025: Mocha Mousse. Join us to […]


Promotional product ideas: 5 ways to fortify your brand
Promotional products are a must-have for any marketing toolkit. Whether you’re looking to build connections with customers, expand your revenue […]

Redesign resolution: A new look sparks a brand transformation
A new year brings new opportunities for everyone…especially small business owners. And Jack Eller, owner and designer of Jack Eller Studio, is ready to take his jewelry brand to the next level.

8 best Fiverr alternatives for businesses and freelancers
The freelancing platform Fiverr can work well when you need to hire someone for quick, clearly defined tasks, but other […]

38 business quotes guaranteed to inspire
Running a small business is a big deal. It takes passion, determination and ingenuity. And while it can be incredibly […]

What is growth marketing?
What is growth marketing? Growth marketing aims to sustainably grow a business over time, rather than overtly drive sales. Put […]

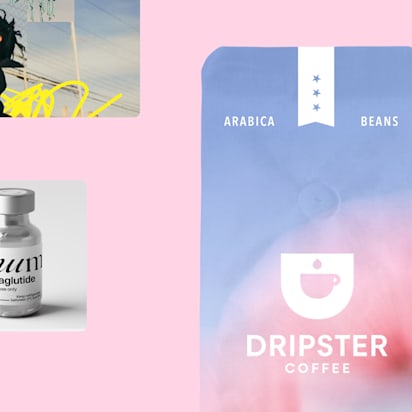
Types of packaging boxes and bags: How to choose the best for your brand
Packaging does more than protect what you sell, it shapes a customer’s first impression, their unboxing moment and how they […]
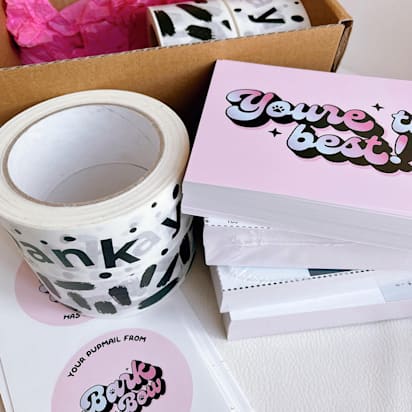
6 unexpected ways to use stickers for small business
Stickers are amazingly versatile tools for promoting your brand. You probably showcase your branding on your essential marketing materials, like […]

What we learned: Hiring employees & growing a staff
Hiring an employee is a major step for a small business owner. When you decided to start your business, you […]

The Master List of Easy & Creative Fundraising Ideas for Nonprofits
Fundraising isn’t just about collecting money—it’s the heartbeat that keeps nonprofits alive and kicking. It fuels our missions, keeps the […]

Digital marketing: How to grow your business online
Whether you’re a bricks-and-mortar store or an online retailer, knowing how to grow your business online is a must in […]

Setting up shop: 5 things you need to get your business off the ground
Are you finally opening up a pet grooming shop, launching a boutique or making that bakery dream happen? Congrats! Deciding […]

The power of community: Sourcing inspiration, support and help for small businesses
Starting a small business can feel isolating. Growing a company often requires you to wear many hats and work long […]

6 actionable strategies for building customer loyalty
In Missoula, Montana, Runner’s Edge takes building customer loyalty seriously. Very seriously. Each holiday season, the running specialty store sends […]

How to start a retail business that gets noticed
Figuring out how to start a retail business is a big undertaking, but it can be incredibly rewarding to see […]

5 steps to starting a business with confidence
Getting the ball rolling on your new small business idea is an exciting time. Ideas are flowing, tasks are lining […]

How to come up with a business name: The ultimate guide to finding business name ideas
A good business name should embody your brand. It should be memorable. And it should remind your customers and employees […]
How restaurant branding shapes where Americans eat and drink (survey)
Americans order from restaurants all week, in all sorts of ways. But with prices rising and income growth slowing, diners […]

How to make a custom stamp for business branding and promotion
The custom stamp is the single most cost-effective tool for physical branding – from packaging and labels to loyalty cards […]
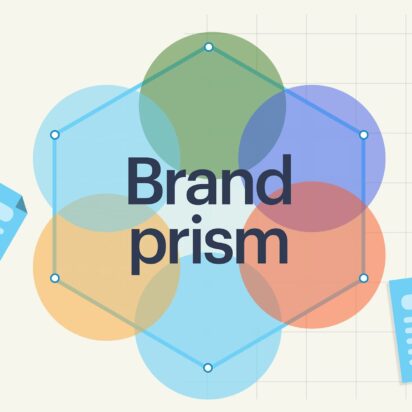
The Brand Identity Prism: What it is and how to use it
The Brand Identity Prism, also referred to as Kapferer’s Brand Identity Prism, is a well-known marketing model that visualizes the […]
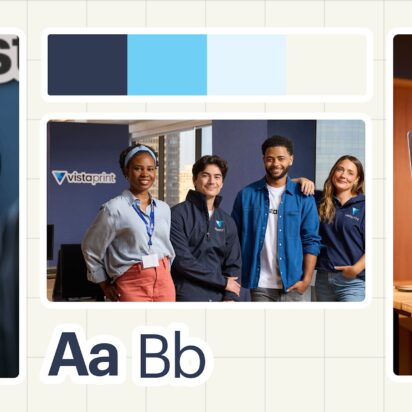
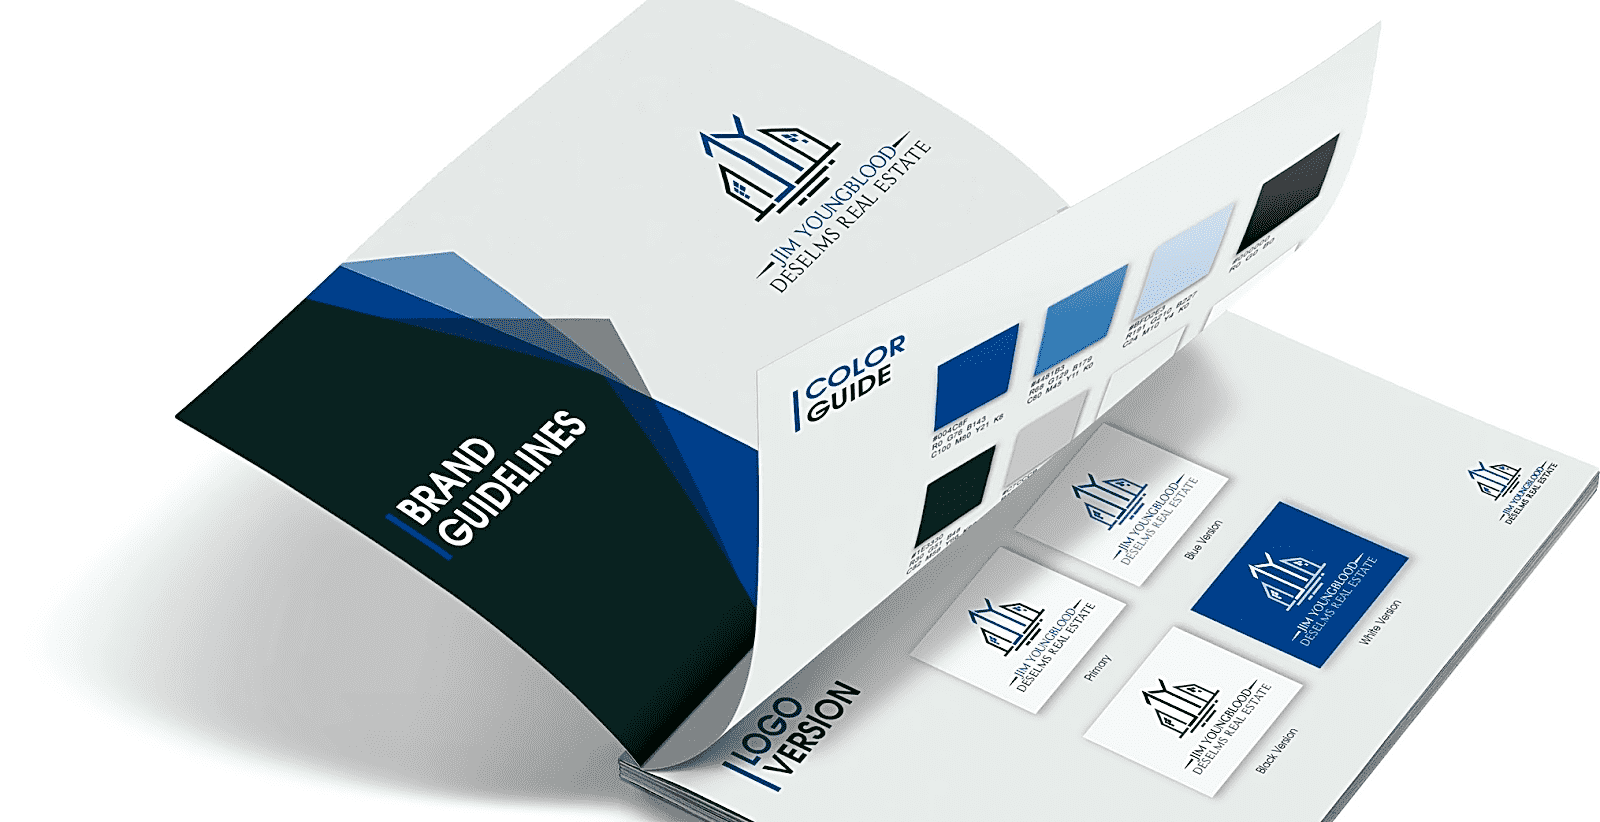
How to create a brand style guide: Best practices, examples, templates
A brand style guide keeps your brand from feeling like it changes its personality every time you post, print or […]
How to create cohesive branding for your small business
Many small businesses do their best to stay consistent, yet tiny mismatches slip through – a slightly off shade on […]
What is brand equity and why it’s important for your business
Branding may feel complicated, but the big idea is simple. Brand equity is the reputation-powered value that adds to what […]
What is brand identity? Develop a great one with our free downloadable worksheet
Brand identity is the special sauce that makes your business instantly recognizable and memorable. Just like your personal identity makes […]