Sending out your save-the-dates is an essential step in your wedding planning journey, letting guests know when the big day will take place. This comprehensive guide will walk you through how to create and send these important pre-wedding announcements. And because this is probably the first piece of wedding stationery guests will receive, you’ll want to set the tone just right. Here’s everything you need to know about when and how to send save-the-dates, including some handy tips and tricks.
- Send save-the-dates six to nine months before your wedding, or eight to 12 months ahead for destination weddings, to give guests time to book flights and accommodations.
- Postcards cost the least to mail at standard postcard rates, while square envelopes and embellished cards require extra postage that can add up quickly with a large guest list.
- Stick to 4″ x 6″ or 5″ x 7″ dimensions to qualify for regular postage rates and avoid the non-machinable surcharge that square or oversized formats trigger.
- Take one complete, assembled save-the-date to the post office to determine exact postage costs: magnets, wax seals and thick cardstock can push you into higher rate categories.
- Double-check every address, including apartment numbers, and have a second person review them to catch errors that could result in undeliverable mail and wasted postage.
Why save-the-dates matter?
Save-the-dates are an important piece of wedding stationery and a crucial part of wedding planning, setting the stage and building excitement for your big day. While not absolutely essential for every wedding, save-the-dates are particularly important for destination weddings and when guests will be traveling from abroad or out of town.
While not mandatory for every wedding, save-the-dates are particularly helpful when guests will need to make travel arrangements or take time off work. Everyone you plan to invite to the wedding should receive a save-the-date, even if they already know when the big day will be.
These pre-invitations give your guests advance notice to mark their calendars and make necessary arrangements. You can also provide a URL or QR code on your save-the-dates directing to your wedding website, where guests can find more information.
When to send save-the-dates?
Timing is crucial when it comes to when to mail your save-the-dates. They should go out after you’ve finalized your guest list, secured your venue and set a definite date.
If your wedding date changes after sending save-the-dates, contact your guests as soon as possible with the new details. An email or phone call followed by a written update works best. Don’t forget to update your wedding website with the new date, too.
Generally, it’s best to mail save-the-dates six to nine months before your wedding date. This gives guests ample time to plan and make necessary arrangements. For destination weddings or weddings with international guests, consider sending them even earlier, around eight to 12 months in advance.
For more detailed information on the timeline, check out our guide on when to send save-the-dates.
How to mail save-the-dates in five easy steps
Now that you understand the why and when of save-the-dates, let’s dive into how to send save-the-date cards.
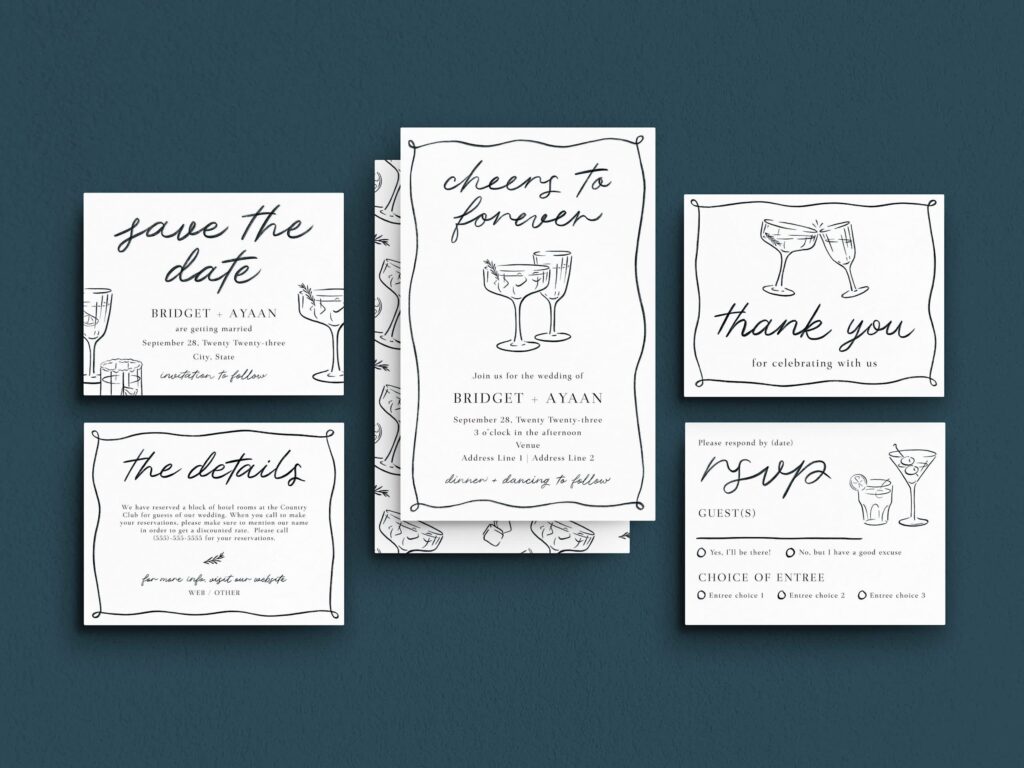
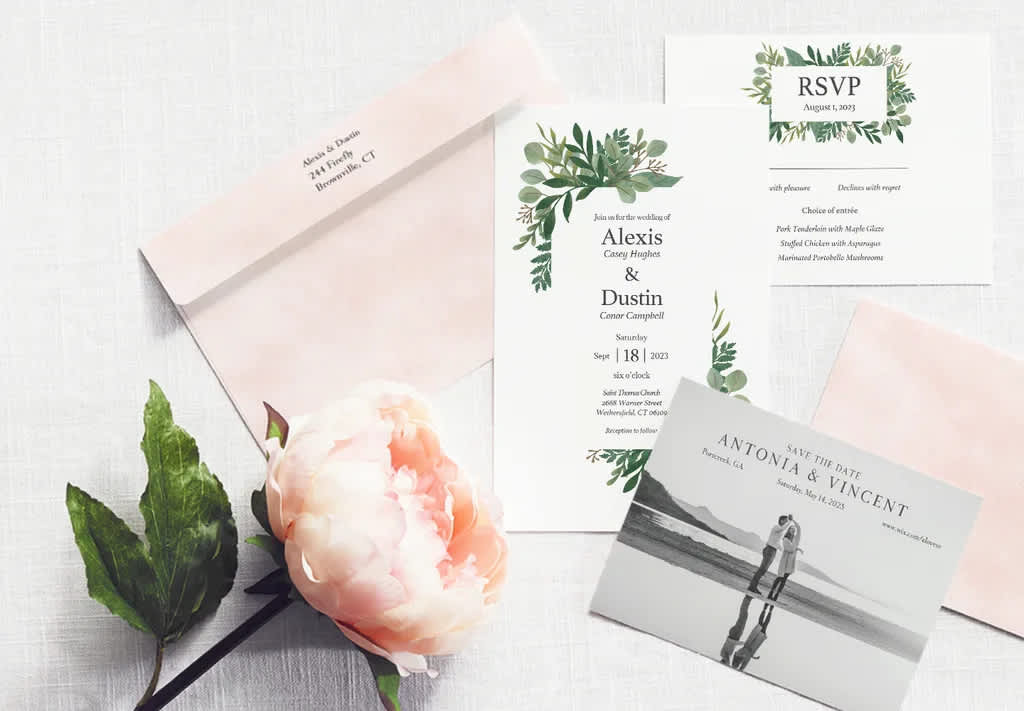
Step 1: Design your save-the-dates
The first obvious step in mailing save-the-dates is creating them. Here are some tips for designing save-the-date cards:
- Choose a design template that matches your wedding theme and aesthetic.
- Consider how to word your save-the-dates. Include essential information like your names, wedding date and location (city and state/country).
- Add a line like “Invitation to follow” to clarify that this isn’t the official invitation.
- Include a wedding QR code linking to your wedding website for additional details.
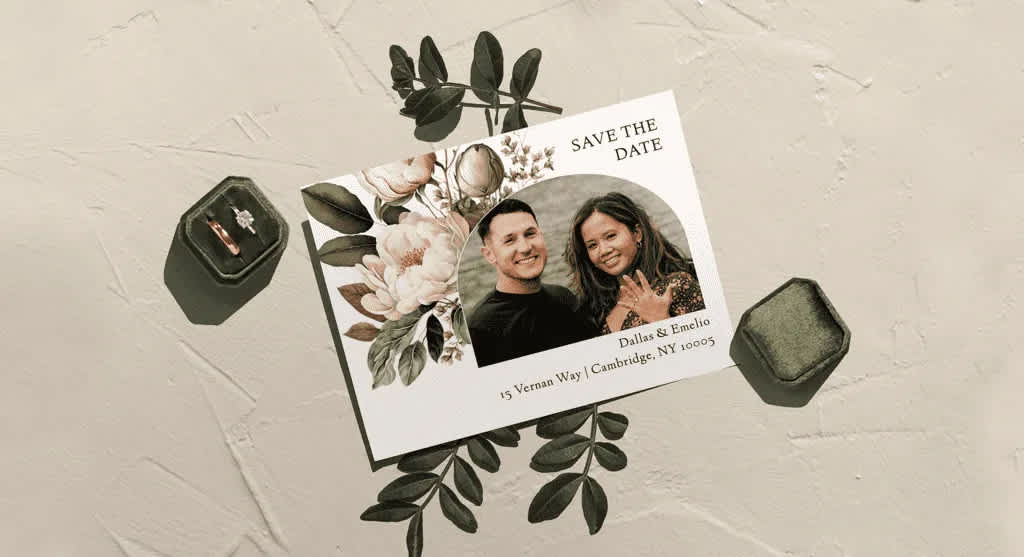
Your save-the-dates should include your names, wedding date, and location (city and state/country). Add a line like “Invitation to follow” to clarify that this isn’t the official invitation. Generally, you won’t include RSVP information on save-the-dates; that comes with the formal invitation later.
Need some inspiration? Check out our wide range of save-the-date templates that suit various styles and themes.

Step 2: Choose paper and save-the-dates with envelopes
Selecting the right paper and envelopes is important for aesthetic and practical reasons. Consider the following:
- Paper weight: Choose a sturdy paper that can withstand mailing without damage.
- Size: Stick to standard sizes to avoid extra postage costs.
- Finish: Consider different finishes like matte, pearl or glossy to enhance your design.
- Envelopes: Use custom envelopes that complement and protect your save-the-date cards.
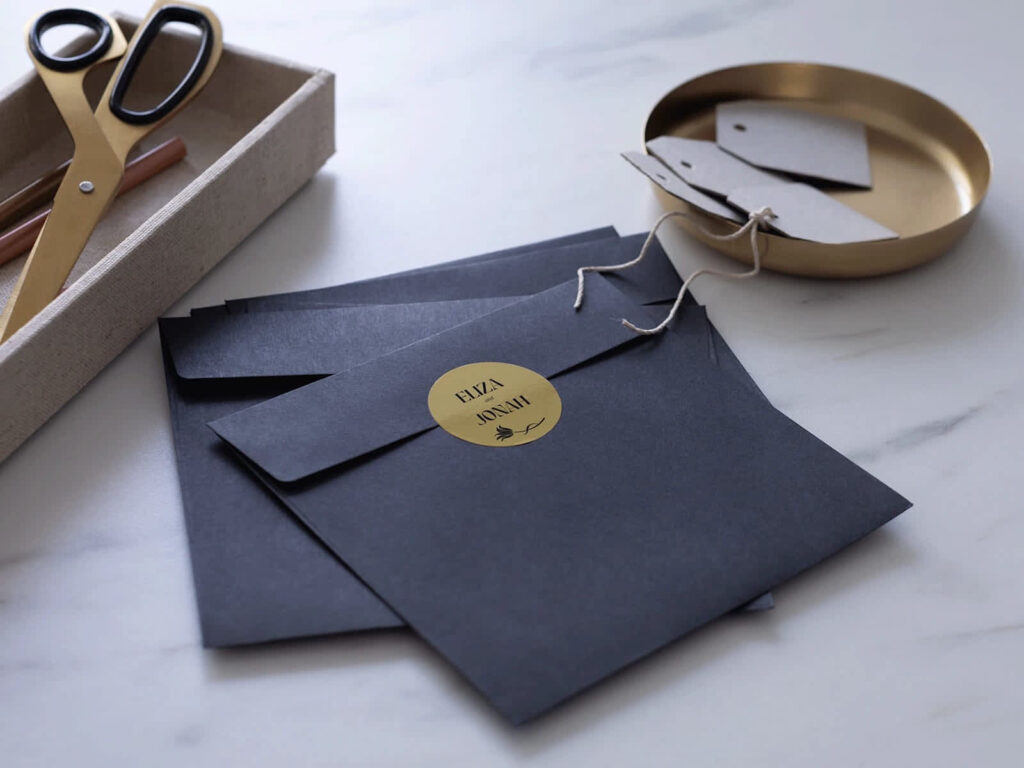
- Stamps and seals: Add a personalized touch with custom stamps and envelope seals with your wedding monogram or logo.
Standard sizes, like 4″ x 6″ or 5″ x 7″, are most common and cost-effective for mailing. These dimensions qualify for regular postage rates and are less likely to get damaged in transit.
Step 3: Address with style and clarity
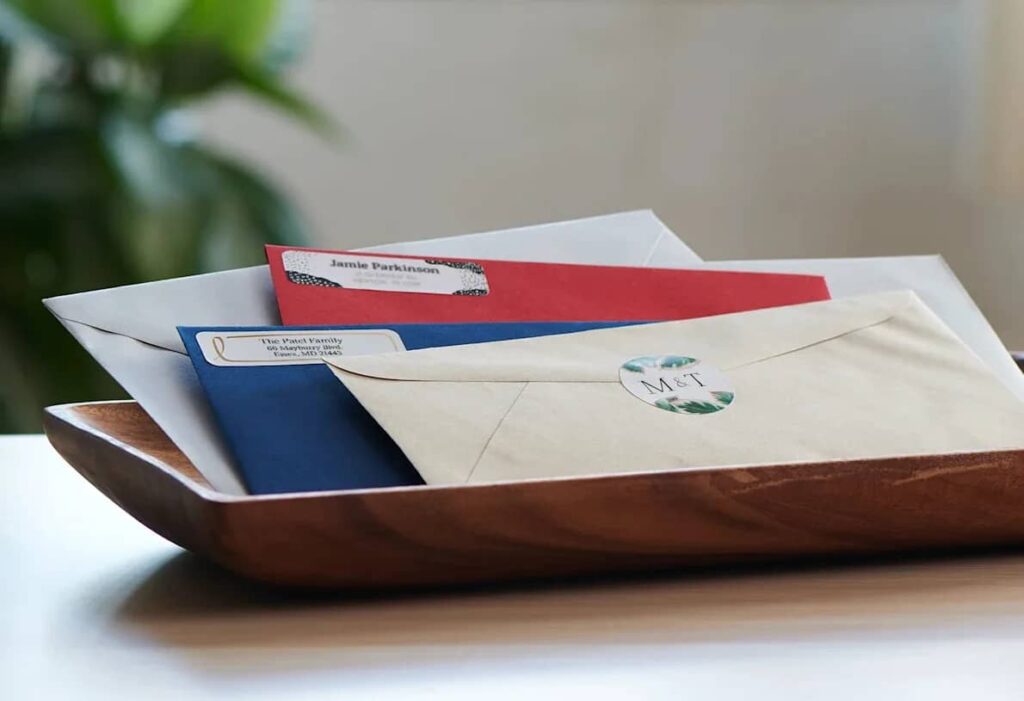
Proper wedding envelope addressing is key to ensuring your save-the-dates reach their intended recipients. Follow these guidelines for a smooth addressing process:
- Collect everyone’s addresses in good time to ensure the envelopes go to the correct address.
- Use clear, legible handwriting or printed mailing labels.
- Include full names and addresses, including apartment numbers if applicable.
- For formal save-the-dates, use titles like “Mr.”, “Mrs.” and “Dr.”
- Double-check all addresses for accuracy. One person should write the addresses, while the other checks them so every envelope gets a fresh pair of eyes.
When inviting a guest with a plus one, include “and Guest” after the invited guest’s name on the envelope.

Step 4: Add personal touches
Incorporate personal touches to make your save-the-dates more memorable:
- Add a personalized note or message.
- Browse our collection of save-the-date quotes to add a special touch to your announcements.
- Feature a photo of you and your partner.
- Use custom envelopes, stamps and envelope seals in your wedding style.
- Include a save-the-date magnet.
While you can personalize each save-the-date with handwritten notes or custom elements, consider the size of your guest list and how much time this will take. The core information and style should remain consistent across all save-the-dates, but small personal touches can make them feel special.
Step 5: Mail your save-the-dates
When you’re ready to mail your save-the-dates, keep these tips in mind:
- Weigh a complete save-the-date package at your local post office to determine the correct postage.
- Apply appropriate postage to each envelope.
- Consider hand-mailing your save-the-dates at the post office for a more personal touch.
- For peace of mind, track your save-the-dates to ensure they’re being delivered.
Choosing the right format for your save-the-dates
Not sure which format to choose? Here’s a quick guide to help you decide.
Postcards
- Postage cost: Lowest (standard postcard rate)
- Mailing risk: Low, no envelope means less bulk
- Best for: Budget-conscious couples, casual weddings, modern aesthetics
If you’re mailing 100+ save-the-dates and want to keep costs down, postcards are your best bet.
Magnets
- Postage cost: Medium (typically requires extra postage due to thickness)
- Mailing risk: Medium, ensure magnets are securely attached
- Best for: Guests who need a visible reminder, destination weddings where advance planning is key
Magnets stay on refrigerators, so they’re perfect if you’re worried about guests forgetting your date.
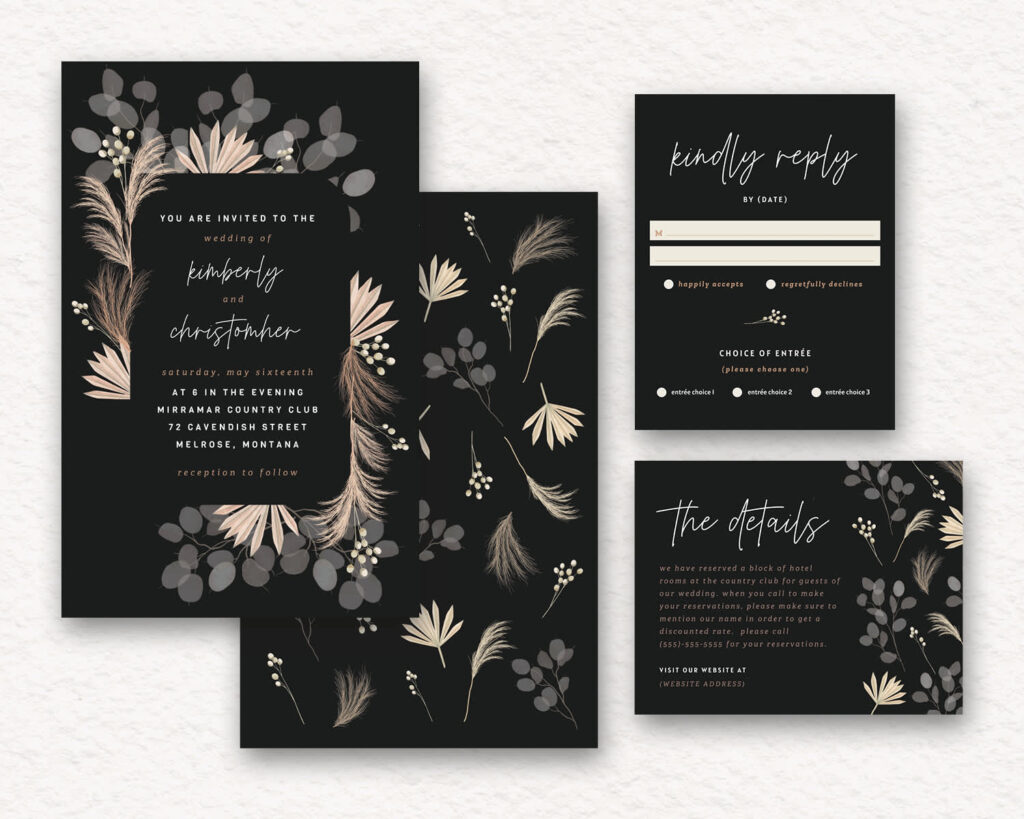
Cards in envelopes
- Postage cost: Medium to high (depends on size, weight, and embellishments)
- Mailing risk: Higher, square envelopes and heavy embellishments increase costs and handling
- Best for: Formal weddings, when you want to make a statement, premium aesthetic
If you’re adding ribbons, wax seals or thick cardstock, weigh your complete package first to avoid surprises.
Match your save-the-date format to your wedding
Keep the following considerations in mind when planning your save-the-dates. If you’re:
- Mailing to international guests: Send 10-12 months in advance and use postcards to minimize customs issues and international postage costs.
- Inviting over 150 people: Choose postcards or standard-size cards to keep postage costs manageable and avoid hand-canceling hundreds of embellished envelopes.
- On a tight budget: Postcards are your best bet; they require the lowest postage and eliminate envelope costs entirely.
- Wanting maximum visibility: Go with save-the-date magnets that guests can stick on their refrigerators as a daily reminder.
- Having a formal wedding: Cards in envelopes with custom stamps and seals create the elegant first impression that sets the tone for your event.
- Mailing embellished save-the-dates: Plan to hand-cancel at the post office to prevent damage from sorting machines, and factor in extra time for this process.
Best way to mail save-the-dates
Stick to standard sizes
Sticking to standard sizes can save you money on postage. Standard letter sizes (up to 6⅛” x 11½” and ¼” thick) qualify for regular postage rates, whereas square envelopes and oversized cards may require additional postage.
Special considerations for embellishments
If you’re adding embellishments or extra contents to your save-the-dates, such as magnets, ribbons or other 3D elements, remember that these may increase postage costs. Ensure any embellishments are securely attached, and consider the overall weight and thickness before mailing.
To avoid returns or delays, follow these do’s and don’ts:
Do:
- Use complete, accurate addresses with apartment numbers
- Stick to standard sizes (4″ x 6″ or 5″ x 7″) for regular postage rates
- Hand-cancel at the post office if your save-the-dates have embellishments
- Mail a test envelope to yourself first
Don’t:
- Use square envelopes without checking postage; they cost more
- Add bulky 3D elements without weighing first
- Assume standard postage will cover everything
- Skip return addresses – undeliverable mail needs somewhere to go
Use mailing services and tools
Several services and tools can make the mailing process easier:
- Custom envelope addressing tools can help you address your envelopes at no extra cost.
- Online postage services allow you to print postage at home.
- Address verification tools help ensure accuracy.
- Mailing services can handle the entire process, from addressing to mailing.
Send save-the-dates digitally
While traditional printed save-the-dates are still popular, eco-friendly and cost-effective digital options can be easily updated if details change. They can also include clickable links to your wedding website or registry. However, some guests might prefer a physical keepsake, and let’s be honest – nothing beats the thrill of receiving a printed save-the-date in the mail.
Take the time to mail your save-the-dates
Save-the-dates set the tone for your wedding celebration, so take the time to create something that reflects your wedding style and provides your guests with the information they need at this stage. For more wedding planning tips, check out our wedding stationery checklist.
Your save-the-date mailing checklist
Use this downloadable checklist to make sure you’ve covered everything from design to mailbox:
- Finalize guest list and collect accurate addresses
- Design save-the-dates with essential information (names, date, location)
- Choose format (postcard, magnet, or card in envelope)
- Order save-the-dates six to nine months before the wedding date
- Select envelopes and any embellishments
- Address envelopes clearly (or use an addressing service)
- Weigh one complete package at the post office
- Purchase correct postage for all save-the-dates
- Double-check addresses before sealing
- Mail save-the-dates (consider hand-canceling if embellished)
- Track delivery or send a test envelope to yourself
When you’re figuring out how to mail save-the-dates, your format choice affects both cost and logistics.


