Chances are you’ve seen someone wearing a cap today, or at least scrolled past someone wearing one. Custom hats grab attention, feel effortless and photograph well, making them ideal for event giveaways, employee uniforms and branded retail items. In this article, you’ll learn how to make custom hats that catch eyes and improve brand perception. We’ll walk you through how to choose the right style, fabric and printing technique so you can maximize ROI and create custom hats that appeal to their target audience.
- Branded hats are walking billboards for small businesses, keeping brands in the minds of customers.
- Match the style, fabric and design to the target audience, not just what looks good on a mood board.
- Embroidery endures for years, screen printing pops with color and patches or heat transfers bridge tricky design gaps.
- It’s important to consider minimum order quantities and setup fees, not just the unit price.
- Give yourself at least four weeks from design approval to delivery to prevent inventory hiccups.
Why custom hats?
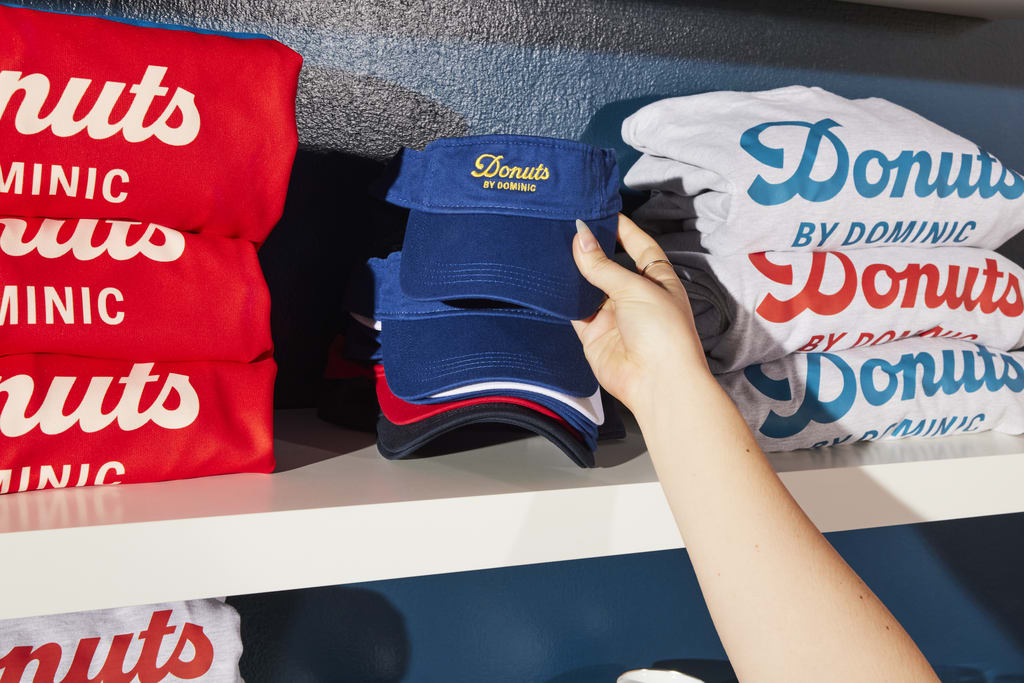
Whether you’re starting a merchandise business or want to print your branding on a wearable item, custom hats are popular because they’re stylish, practical and have serious marketing power. While other branded apparel might be weather-dependent and stickers fade, a hat makes sense in every season and is seen everywhere the wearer goes. Plus:
- They’re affordable: compared with jackets or techy gadgets, hats cost a fraction to produce yet have higher perceived value than pens or keychains.
- Universal sizing with adjustable straps and snaps also means no need to guess how many smalls or XXLs to order.
- They’re versatile: custom hats can be used for everything from corporate retreats to school fundraisers and limited streetwear capsules.
- A well‑made custom hat turns customers or employees into brand ambassadors or walking billboards.
Custom hats hit the sweet spot of wearable, brandable and built for all seasons. They’re walking billboards with year-round relevance that make every wearer a promoter. Bonus points if the design is awesome and people are proud to wear it!

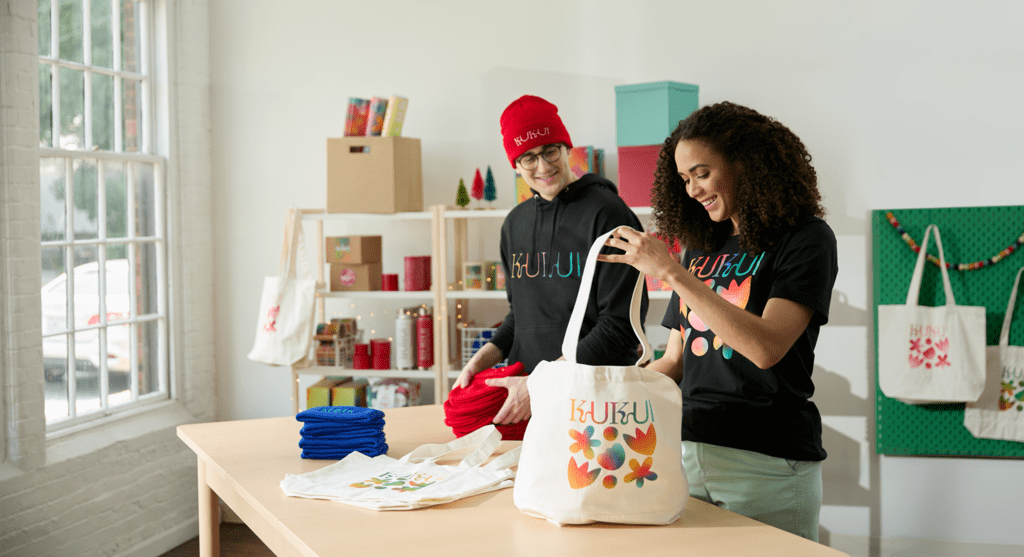
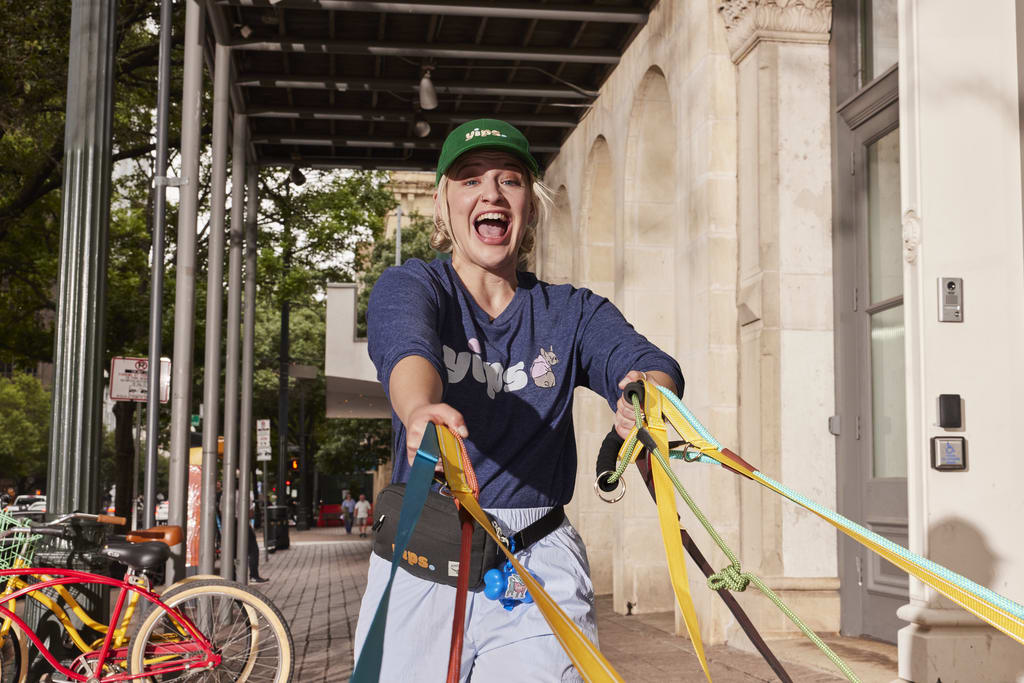
Custom hats make great employee uniforms
How to make custom hats step-by-step
Step 1: Choose the right style
When choosing the right style of hat, it’s important to consider the intended wearer or target audience. The style should align with the wearer’s preferences and lifestyle, and suit the artwork printed on the hat.
Make sure your choice is aligned with your customer and brand. Choose a hat style that speaks to your audience, suits the context and supports your artwork. You wouldn’t print Beanies for a swimwear brand, would you?
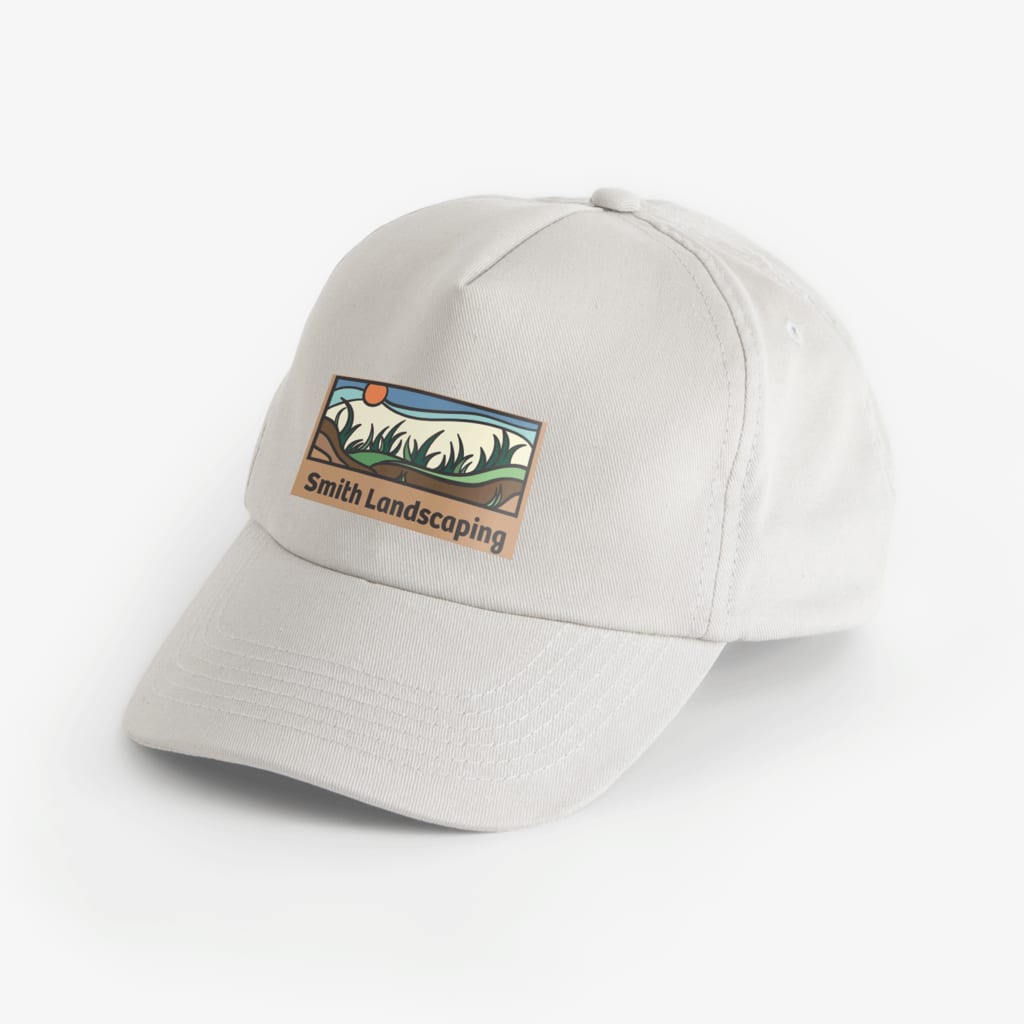
Baseball cap
The six‑panel baseball cap, with a gently curved brim and structured crown, has a clean, approachable look that works for everything from Little League uniforms to brewery staff kits. Embroidery pops nicely on cotton twill fronts, while a buckle or Velcro strap means this hat style fits all head sizes.

Trucker cap
This cap style’s tall foam front, breezy mesh back and expansive crown provide plenty of space for bold graphics. In recent years, trucker hats have surged in popularity, becoming a trending accessory among younger generations who embrace their retro charm and casual appeal. Understanding how to make custom trucker caps using screen printing or sublimated patches means you’ll have the perfect branding tool to suit most audiences.
Performance cap
Performance caps mix lightweight polyester with laser‑cut ventilation and moisture‑wicking sweatbands, perfect for runners, tennis players, golfers and gym-goers. Reflective embroidery or printed appliqués increase nighttime visibility so your branded activewear can always be seen.
Beanie
When temperatures drop, or you’re selling to the streetwear crowd, a knit beanie is the best hat style choice. Cuffed models offer space for small embroidery, while slouchy versions look effortlessly cool. And because beanies fold flat, they ship cheaply, making them a no‑brainer add‑on for custom merch lines.
Bucket hat
Once a fisherman’s staple, bucket hats flipped into fashion items thanks to 90s revival trends. The 360‑degree brim shades ears and necks, making it the ideal custom hat choice for kids and sunny-weather events. Oversized embroidery, woven patches or full‑panel sublimation all shine on its generous branding area.

Visor
Visors’ open crown suits golfers, tennis players and staff who want shade without flattening hair. The front band has enough space for small logos, while the underside brim is ideal for printing taglines or URLs.
Snapback cap
With its high crown, flat brim and plastic snap closure, snapbacks scream streetwear and skate culture. The rigid front panel is great for printing large, bold artwork, while 3D puff stitching and under‑brim patterns provide design possibilities that make this hat style perfect for creative branding.

Source: Snapback cap by Mazeone© via 99designs
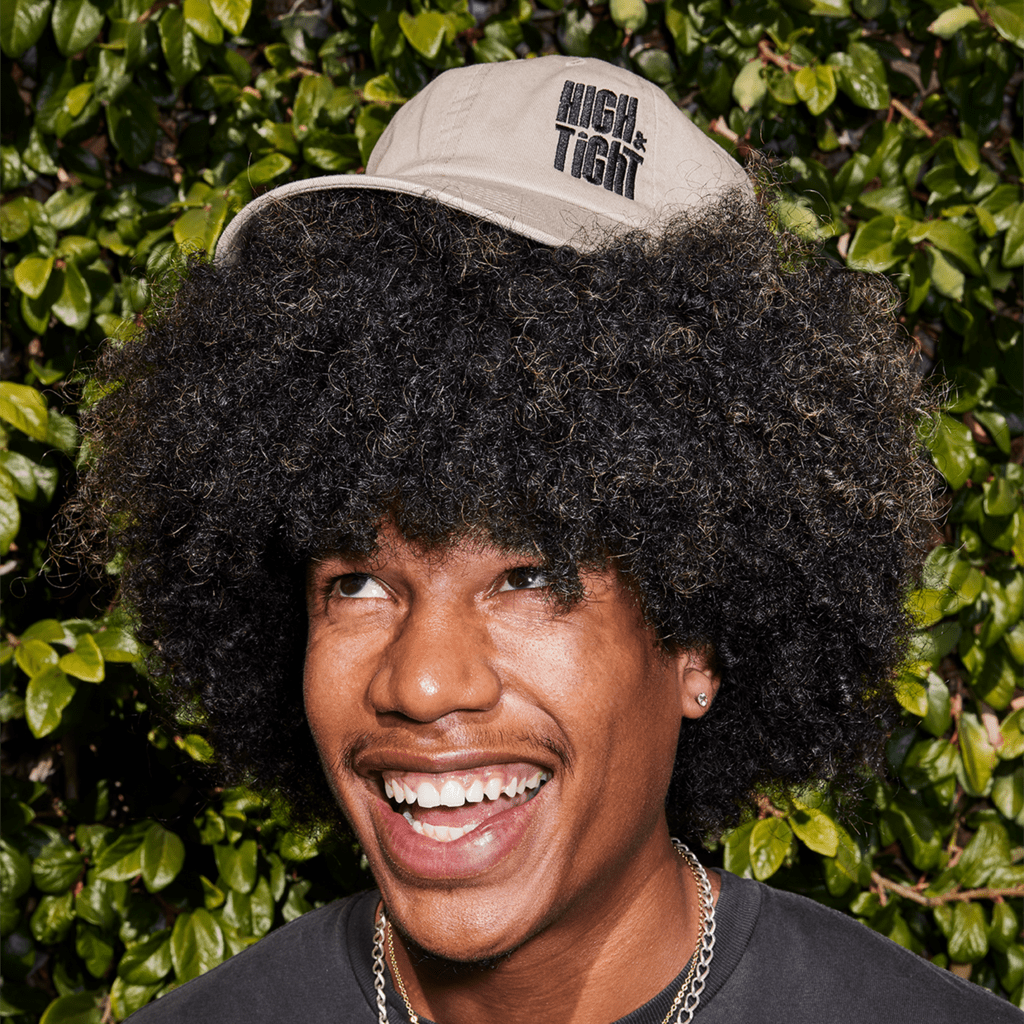
Dad cap
A dad cap is a baseball cap with less structure and a slightly worn‑in cotton feel. Its unstructured crown sits low, creating a laid‑back vibe adored by coffee‑shop customers and creatives. Lighter stitch densities prevent rippling, so lean on minimal logos or micro patches for best results.
Step 2: Decide which material to use
Fabric options
- Cotton: Natural, breathable, easy to dye.
- Polyester: Shape‑steady, moisture‑wicking, great for sublimation.
- Mesh: Usually polyester, maximizes airflow on warm‑weather styles.
- Wool: Warm, luxurious texture perfect for premium winter hats.
- Blends: Cotton‑poly or wool‑acrylic mixes balance soft feel, durability and price.
How fabric influences design and comfort
Cotton twill absorbs screen‑print ink well, but heavy, high‑stitch embroidery can cause sagging over time. Polyester fights fade and dries fast, so runners can wash their performance caps often without losing shape. Mesh practically eliminates sweat rings yet limits the printable area to the solid front panel. Wool works very well with 3D embroidery, but can overheat wearers during the summer months. Choosing between these fabrics isn’t just about aesthetics; it’s about where and how often the hat will be worn.
Design lives or dies on the surface it’s applied to. The texture, weight and stretch of your fabric affect everything, from how the ink behaves to stitch clarity to how it feels in-hand and on the head.
Step 3: Choose a printing method
Before you pick colors and thread counts, you’ll need to understand how to print on hats and decide which method you’ll use to print your artwork, whether that’s classic embroidered stitches, bold ink prints or something else.
Embroidery
This is the most durable printing method. Raised thread and limitless color swaps (at no extra cost once digitized) are perfect for printing corporate logos and college crests. If you’re researching how to make custom embroidered hats, know that stitch count directly influences price and complexity, and simplifying gradients or details saves money and time.
Embroidery doesn’t just decorate, it adds a new dimension. There’s a tactile feel to it that elevates even the simplest logo or illustration.
Screen printing
Ink forced through mesh screens produces vibrant, opaque artwork, especially on foam trucker caps or the undersides of brims. Because each color needs its own screen, this printing method is better suited to simple, one-or-two-color designs. Multi‑hue masterpieces cost more but can pay off in statement power. Properly cured plastisol ink can survive countless sunny road trips.
Screen printing is all about clarity and punchiness, bold fills, crisp lines. It’s the go-to when your logo or type needs to stay clean and show your design off, even on the small canvas of a hat.
Patches
Woven or PVC patches are great for custom hat designs with lots of detail. The patches are produced separately, then sewn or heat‑sealed onto hat crowns, sidestepping tricky surfaces like thick rib‑knit beanies. Custom patch hats add dimension and raise perceived value fast.
Heat transfer
The heat transfer printing method involves pressing a thin film onto the hat using high temperature and pressure, great for short order timelines and multi-colored designs without needing to set up multiple screens. Just make sure to test wash samples, as cheap films can crack.
Heat transfers open up a different level of creative control; they allow for fine detail, gradients and complex color work that traditional methods can’t always deliver.
Step 4: Design considerations
Custom hat design success isn’t just about a snazzy logo; it’s about logo size and placement, and whether the colors will pop.
Logo placement
Front and center remains the classic choice, but side panels can project subtle sophistication, and back‑strap embroidery sneaks in a message visible only to those walking behind. Under‑brim prints create a “wow” factor that can fuel word‑of‑mouth value.
Front and centre is always a win and high-impact. It provides clear visibility and is ideal for bold branding and striking branding
Color and contrast
High‑contrast colors photograph best, meaning these hats are most likely to be posted on social media. If you have a pastel brand color palette, outline elements in a darker stitch or pair a light crown with bold thread so design details pop.
Make sure there’s solid contrast between your logo and the hat color, so it stands out. Think white logo on a black hat, or something dark on a lighter background, that kind of pairing creates quick, high-impact visibility.
Size and scale
Embroidery hoops on standard hats rarely exceed 2.25 inches, so tall logos may need cropping or shrinking. Foam trucker fronts can handle prints up to four inches high, but be sure to leave whitespace, as crowding every inch of the surface decreases visual impact.
Look at your fonts, icons and illustrations to make sure they’re sized up and scaled right so when it prints, it grabs attention from a mile away.
Prepare artwork
Send vector files (AI, EPS, SVG) or 300‑dpi raster files at the final size to the printer. Convert fonts to outlines and simplify complex shading. If gradients are important, consider a woven patch or dye‑sublimated panel, as embroidery doesn’t fade smoothly from one hue to the next.
Ordering tips and budgeting tips
- Quantities and minimums: Ask whether color changes count toward one minimum order quantity. Many printing shops combine totals if the art stays identical.
- Sampling: Always approve a physical or photo sample. Spotting a one‑millimeter misalignment can save hundreds later.
- Setup costs: Embroidery digitizing is once per design, while screen printing charges per color. Budget for both when forecasting the margin.
- Turnaround timeline: A typical production turnaround kicks off after art approval and runs 10-15 business days. Rush services shrink that to 3-5 days, but can double the price.
- Shipping and duties: Freight surprises kill profits. Factor the weight of dense wool caps versus light mesh truckers into cost estimates.
- Spoilage allowance: Reputable vendors guarantee a 1-3 % spoilage cushion, redoing any flawed pieces for free.
- Reorder efficiency: Keep stitch files, Pantone codes and sizing notes organized. Reorders skip setup fees and help you scale a design fast.
- Cost vs. perception: If budget forces trade‑offs, invest in crown structure and quality thread first, skip fancy interior labels until cash flow allows.

Turn heads with custom caps
Armed with these insights, you can confidently design custom hats that look great, feel comfortable and drive brand engagement, all without blowing the budget. From selecting the perfect fabric to nailing embroidery stitch counts, you now possess the checklist that turns an idea into a head‑turning reality. Test‑launch a small batch, gather feedback and refine your next drop. Whether you hope to start a merchandise business, raise funds for a cause or kit out your employees, your custom hats will bring smiles, selfies and return on investment. And if you need further inspiration, dive into hat design ideas and explore how to make merch for your brand.
Branded hats FAQs
What is the best method to print a hat with a logo?
Embroidery is best for longevity and texture, screen printing shines for bold, simple designs, and heat transfer is ideal for quick turnarounds and multi-colored designs. Test samples on your chosen fabric to confirm color accuracy and comfort.
What type of hat is best for branding?
Basketball caps, dad caps and structured snapbacks suit most audiences because they’re popular and have ample print space. Trucker and bucket hats are best for a trendier look, especially among younger generations. For athletic markets, performance caps convert best thanks to sweat‑friendly materials.
How much does it cost to make a custom hat?
At 100 pieces, embroidered cotton dad caps cost about $9-$14 per unit. Trucker caps are cheaper, while premium wool snapbacks with 3D stitching can cost $18-$25. Remember to include digitizing, screens or patch setup when budgeting, and keep in mind that final pricing will also vary based on order quantity, printing method, number of colors in your design and whether you need rush shipping.
How do I keep margins healthy if I sell branded hats online?
Order in tiers: Start with 48-72 units to validate demand, then reorder 250-500 using the same stitch file for price breaks. Bundle hats with limited T-shirts to raise cart value and cross‑promote your broader merchandise line.