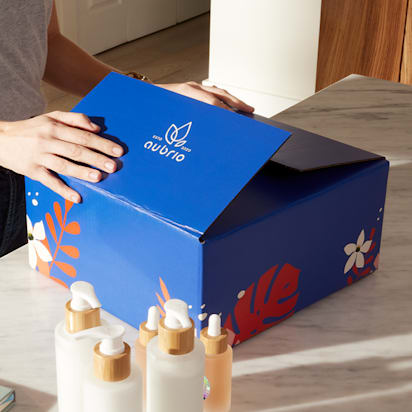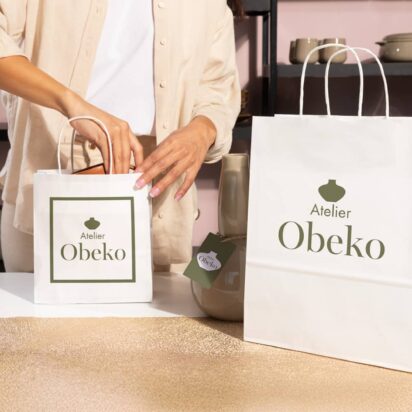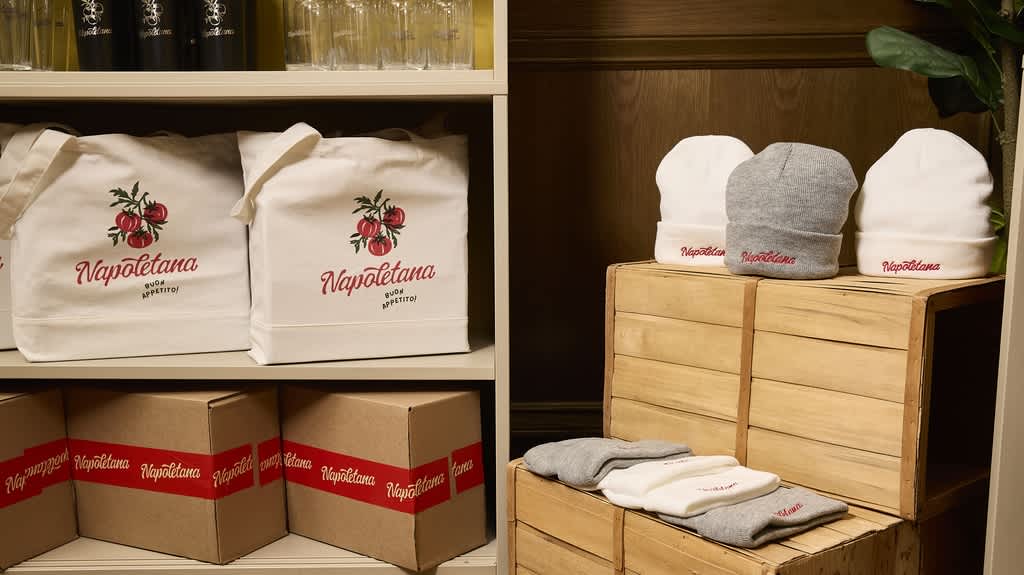
You’ve chosen the fabrics, checked the finishing touches and found customers who love what you make. And your clothing packaging deserves the same care, whether you’re sending one T-shirt or a whole outfit. A neatly folded garment, a well-fitting mailer and a personal thank-you note can make an online order feel like a visit to your store.
Clothes might not break in transit, but they can arrive damp, creased or snagged on a zipper from another item. Oversized packaging also leaves room for garments to move around and, depending on your shipping service, can increase your postage costs.
This apparel packaging guide covers materials, folding, sizing and seasonal updates to help you find a setup that works for your business. With VistaPrint’s smaller-quantity options, you can start with a few branded essentials and add more as your orders grow.
- Measure garments after folding and wrapping, including their thickness, before choosing packaging.
- Use lightweight mailers for soft clothing and boxes when garments need more structure or separation.
- Pack clothes completely dry, protect delicate details and separate items that could transfer color.
- Keep outer packaging consistent and refresh stickers, tissue or inserts for each season.
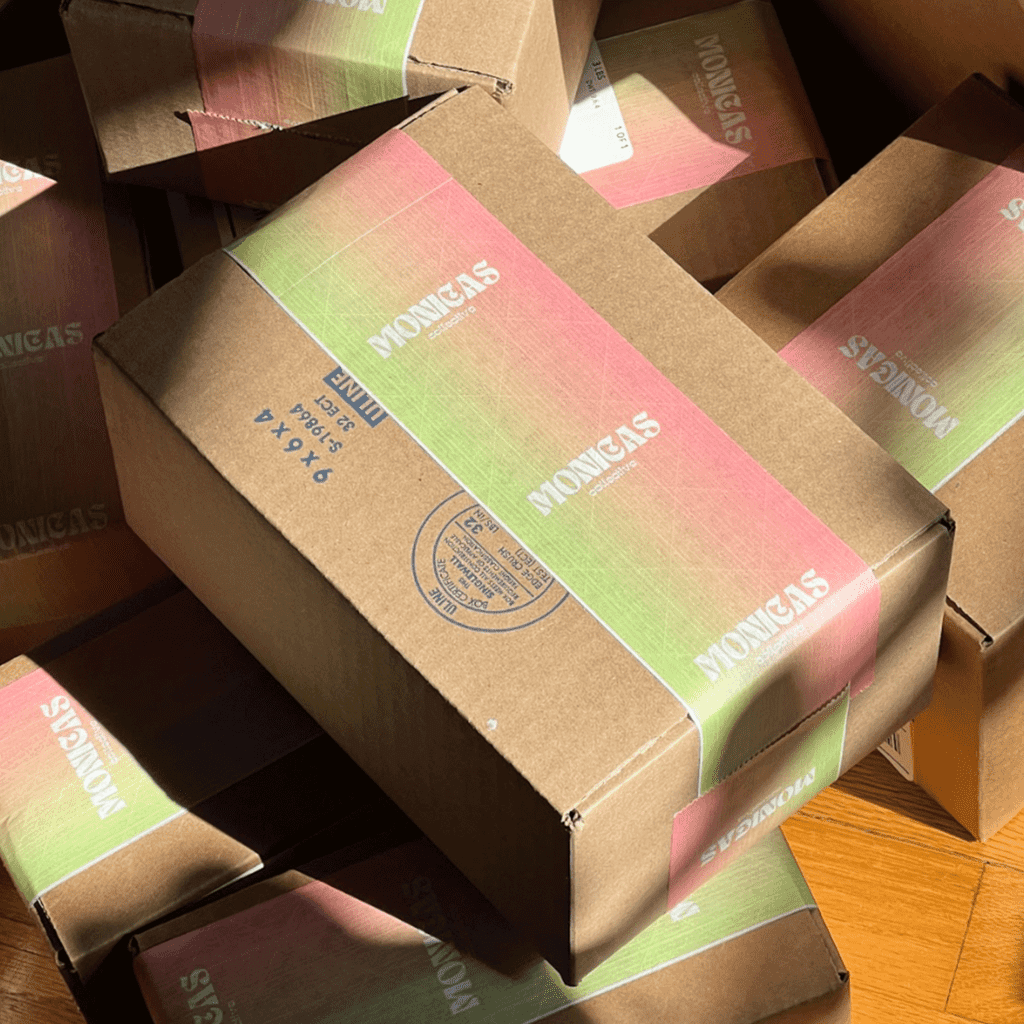
Choosing outer packaging materials
Choose packaging around the protection your garment needs, then compare the cost of sending the finished parcel.
Poly mailers for soft, everyday clothing
Poly mailers suit T-shirts, leggings and other flexible clothing that doesn’t need crush protection. They’re lightweight and water-resistant, although seams, punctures and poor seals can still let moisture in. They resist tearing, but sharp edges can still puncture them. VistaPrint’s custom poly mailers start at 100 and include a second adhesive strip for returns.
Kraft mailers for a paper alternative
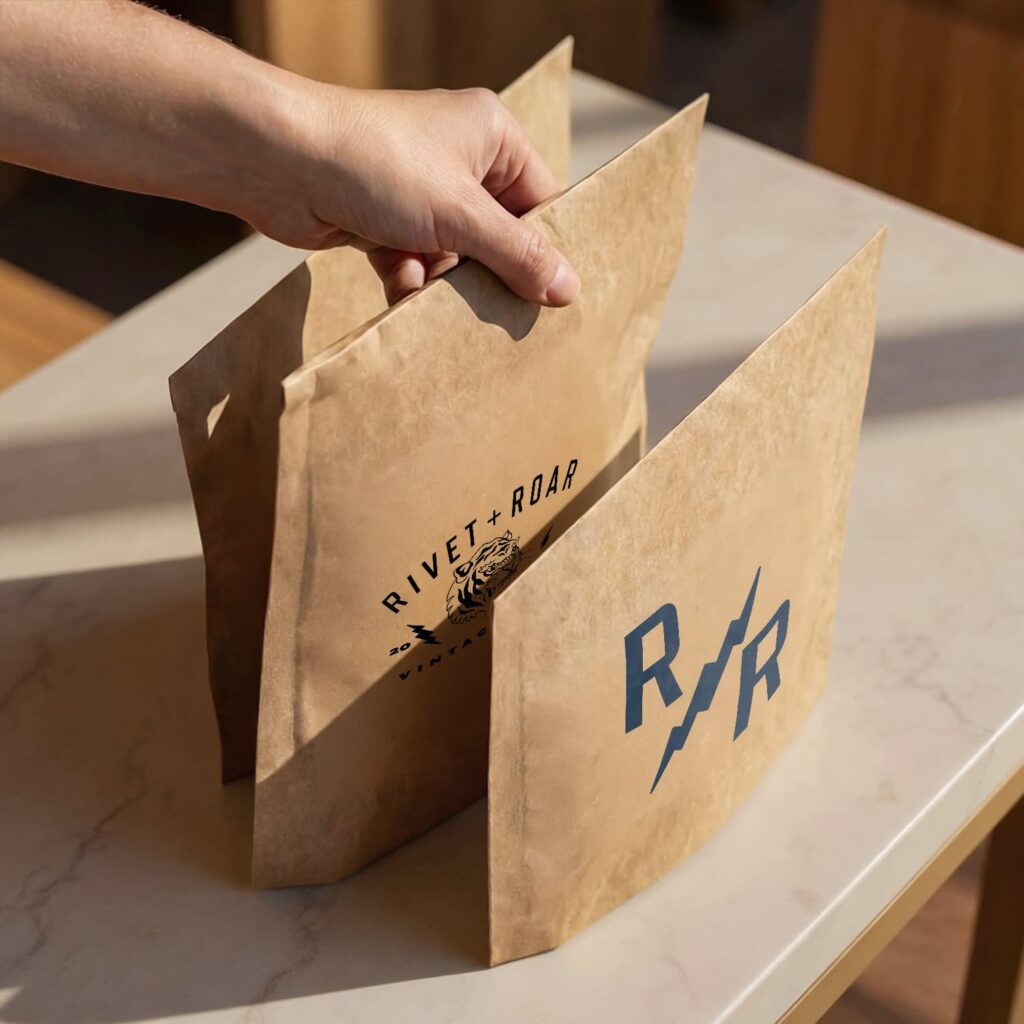
Kraft mailers can work well for flat, lightweight garments, especially when you want a simple paper finish. Choose a shipping-grade mailer with a secure closure, as a retail shopping bag isn’t designed for the same handling.
Paper offers less protection against wet conditions than plastic. Check coatings and local recycling guidance, too, because a brown finish alone doesn’t tell you whether packaging contains recycled material or is recyclable.
Corrugated boxes for structure and presentation
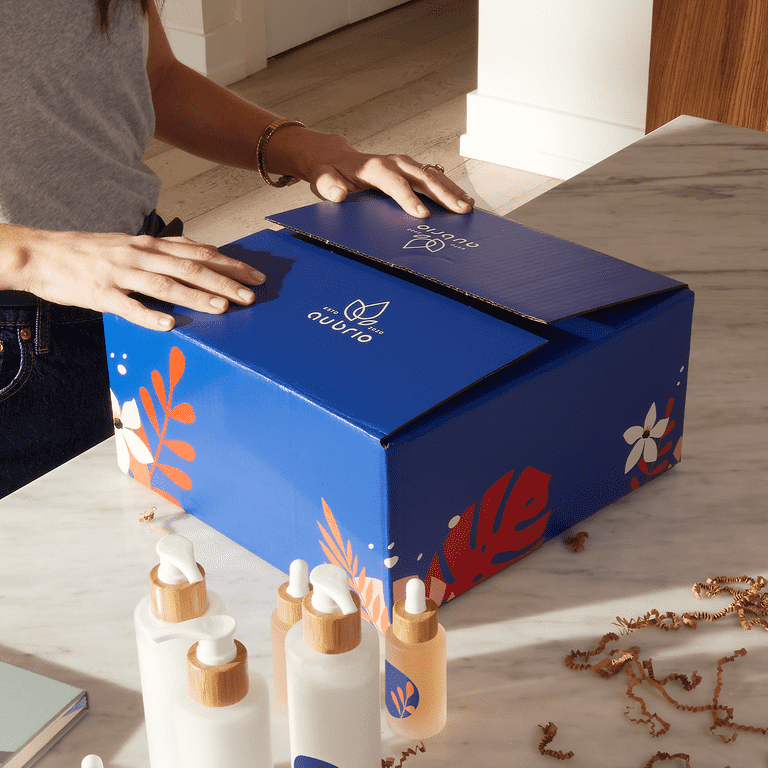
Custom mailer boxes give structured garments, gift orders and coordinated sets more support. A hoodie may travel well in a mailer, but a tailored jacket needs enough room to preserve its shape. Bear in mind that boxes usually add more packaging weight and take more storage space than flat mailers.
Compare the whole packing cost
Add together the outer packaging, inner wrap, branded extras, packing time and postage. Our guide to budget packaging costs can help you plan those expenses before placing a larger order.
Some services charge by dimensional weight when it exceeds the actual weight. FedEx uses length × width × height in inches ÷ 139 for its dimensional-weight calculation, with carrier rounding rules applied. A parcel measuring 14 × 12 × 5 inches produces about 6.04 pounds before the final weight rounding, even if the clothes weigh much less. Check your service’s rules and measure the fully sealed parcel.
Apparel folding and sizing guide
Use size charts as a starting point, then test your actual garment in the packaging before ordering a batch.
How to flat-fold garments
A flat fold spreads fabric across the package and works well for tees, pants and shallow boxes. Start on a clean, dry surface and smooth each section as you go.
- T-shirts and tops: Lay the garment face down, fold the sleeves inward and bring the sides toward the center. Fold the hem upward once or twice to suit the package length.
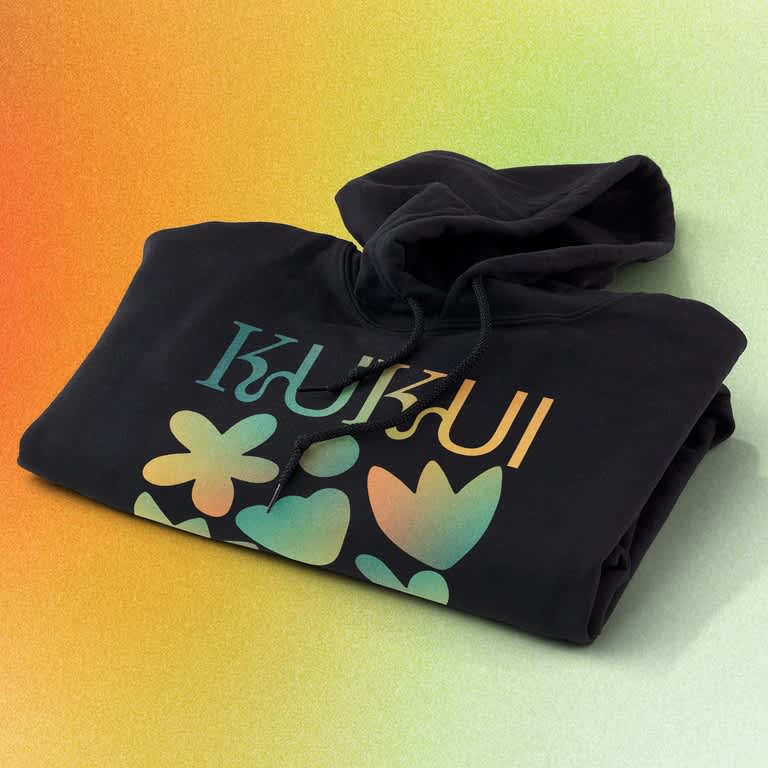
- Hoodies: Lay the hood flat against the back, fold the sleeves inward and bring the sides in. Fold the lower section upward without piling every thick seam into one spot.
- Jeans and pants: Align the legs, smooth the pockets and fold in half or thirds. Keep bulky waistbands away from delicate items in the same order.
Avoid folding directly across raised decorations or stiff prints where possible. Loosely pad delicate folds with suitable tissue instead of pressing them into sharp creases.
When to roll or bundle clothing
Gentle rolling can suit socks, jersey basics and casual clothing packed together in a box. Fold the sides inward, smooth the fabric and roll loosely from one end, without stretching it. Avoid tight rolling for structured tailoring, pleats or decorations that could crack or flatten, and remember that rolling won’t prevent every wrinkle.
Match the fold to the package
The dimensions below are trial sizes, not a guarantee for every garment. Mailers are listed as width × length, and boxes use internal length × width × height.
| Garment | Starting size to test | Folding approach | VistaPrint option to check |
|---|---|---|---|
| T-shirt or light top | 10 × 13-inch mailer | Flat rectangular fold | 10 × 13-inch poly mailer |
| Hoodie or sweatshirt | 14.5 × 19-inch mailer or 12 × 10 × 4-inch box | Flat fold, with hood and seams spread out | 14 × 18-inch poly mailer if it fits, or the 12 × 10 × 4-inch box |
| Jeans or pants | 12 × 15-inch mailer | Legs together, then half or thirds | 12 × 15.5-inch poly mailer |
| Lightweight dress | 12 × 15-inch mailer | Flat fold with skirt smoothed inward | 12 × 15.5-inch poly mailer |
| Socks or soft accessories | 6 × 9-inch mailer | Small flat bundle | 7 × 10-inch poly mailer |
| Multi-item outfit | 14 × 12 × 5-inch box | Separately folded layers | 14 × 12 × 5-inch mailer box |
For an unpadded flat mailer, the folded width plus thickness and folded length plus thickness are starting measurements. You still need extra space for insertion, seams and sealing, so follow the supplier’s sizing allowance rather than treating this as a universal formula.
For example, an 8 × 10 × 1-inch wrapped top needs more than 9 × 11 inches of usable flat space. Test a 10 × 13-inch mailer and check that it closes without stretching. A hoodie folded to 12 × 14 × 3 inches won’t fit a 12 × 10 × 4-inch box unless you change its fold.
Protecting clothes from moisture, friction and color transfer
Pack garments completely dry and use separate layers for weather protection and surface protection. You should always let freshly steamed clothing cool and dry before sealing it, as plastic can trap moisture already inside a parcel, and temperature changes can contribute to condensation. Adding another bag won’t fix damp packing conditions.
Choose inner protection according to the garment:
- Glassine bags: Provide a smooth paper layer that separates garments from rough surfaces. Don’t rely on glassine as a waterproof or humidity-proof barrier.
- Recycled plastic garment sleeves: Can give extra protection against water when properly closed, particularly inside a paper mailer or box. Check the material and closure specifications.
- Tissue paper: Helps keep folds together and separates embroidery, buttons and zipper pulls from nearby fabric. For delicate textiles, choose tissue confirmed as suitable for direct contact, like unbuffered acid-free tissue.
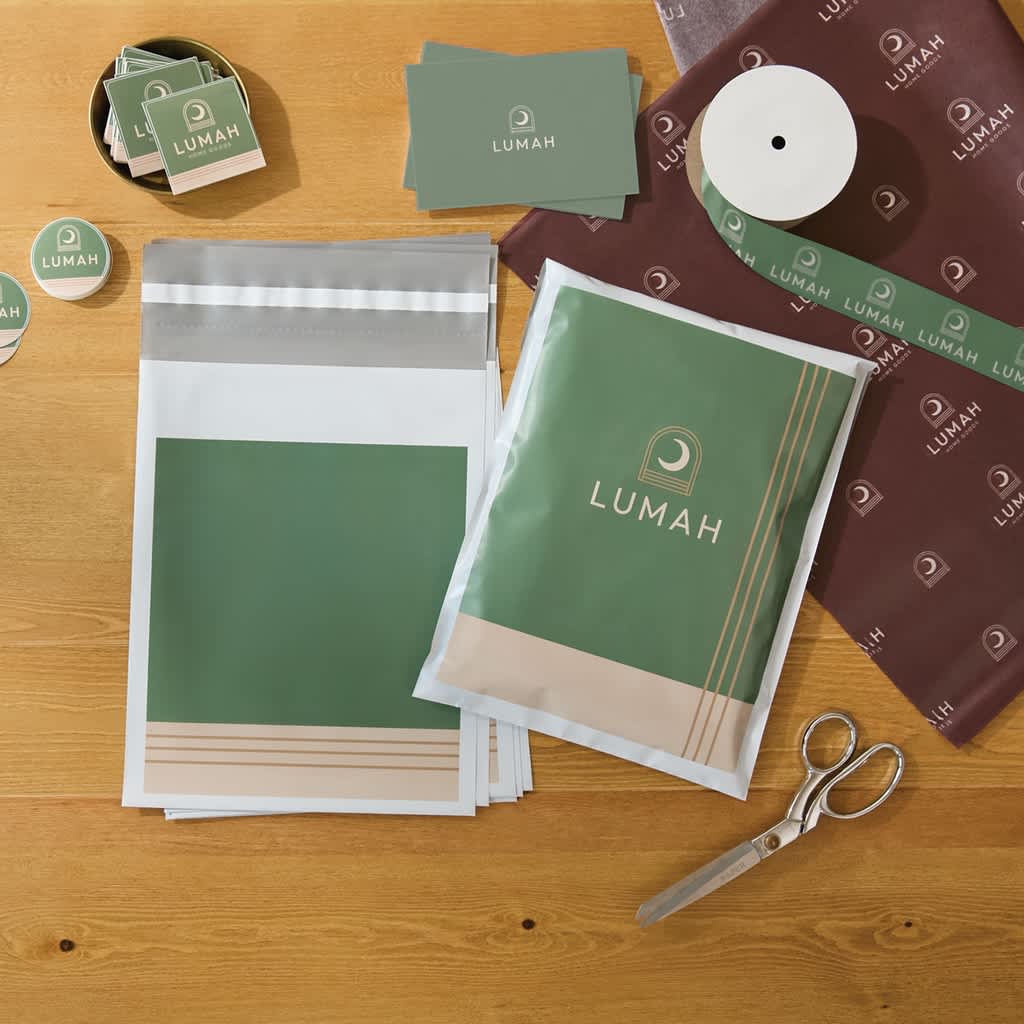
You can use custom tissue paper to add your brand color or a repeated logo, but check its suitability for your garment. Seal the wrap with custom stickers, keeping adhesive off the fabric.
Pack dark denim separately from white tops and check unfamiliar fabrics or printed wrapping for color transfer before you ship. Separating pieces reduces contact, but packaging can’t make an unstable dye colorfast. Don’t rely on ordinary parchment or glassine to prevent color transfer if garments get wet.
If you’re comparing eco-friendly clothing packaging, look for specific information about recycled content, coatings and disposal. Use only the layers your order needs, and give customers recycling instructions that match the actual materials.
A seasonal packaging calendar
Keep your main mailers usable all year and change one or two smaller details when a new collection launches. Plan seasonal apparel packaging design around your collection dates:
- Spring and summer: Prepare in January or February for a March launch. Try botanical artwork, lighter colors or a sunny thank-you message. Update one accent again for summer if your collections change.
- Back-to-school and fall: Prepare in June for a July or August launch. Warm colors and textured-looking graphics can introduce fall pieces. Use a postcard for outfit combinations or tips for getting more wear from everyday basics.
- Black Friday and Cyber Monday: Prepare in September or October for November. Use bold graphics and a clear offer on an insert. Check that the offer will still be valid when the parcel arrives, and remove expired cards from the packing station.
- Winter holidays: Prepare in September or October for an October or November launch. Add gift-friendly tags, festive illustrations or metallic-looking printed accents. Keep discount messaging separate from gift orders and return to evergreen materials after your holiday campaign.
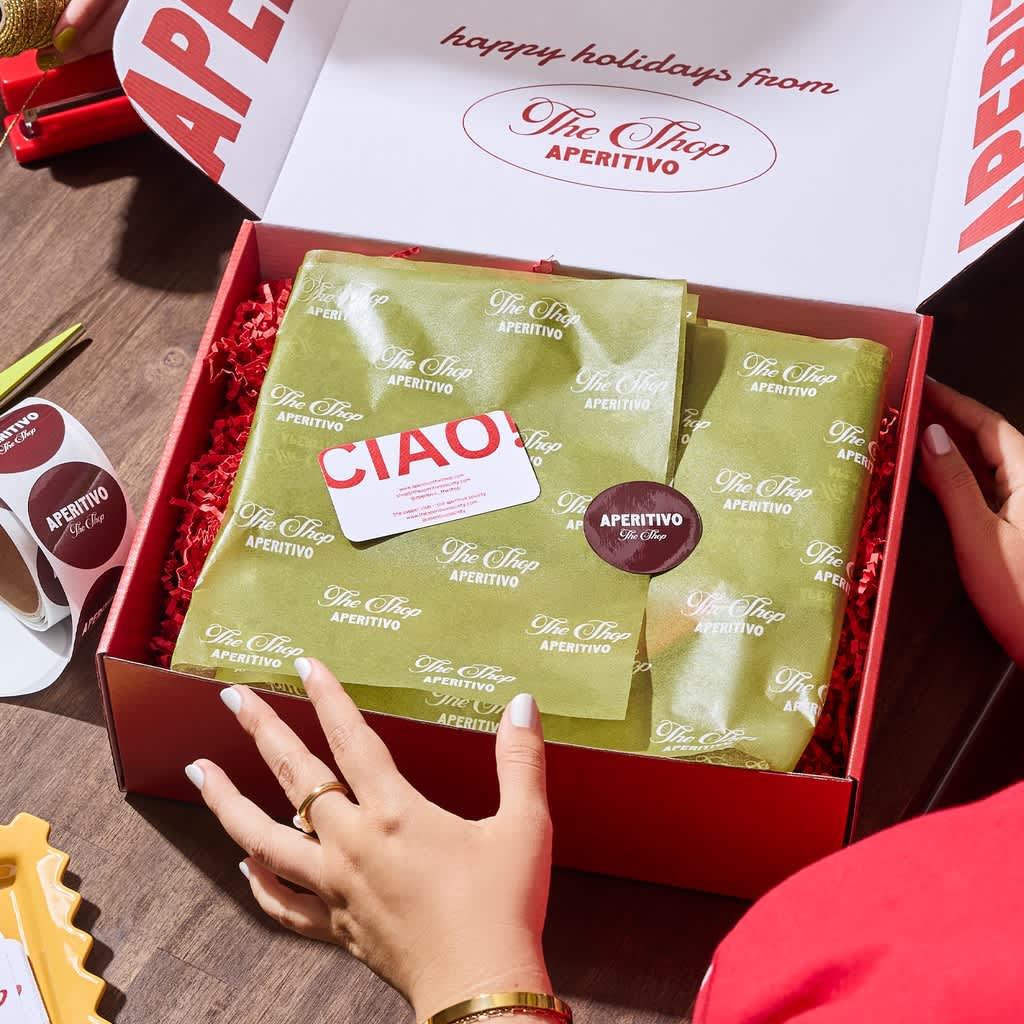
Allow at least 30 days as a planning buffer, then check actual production and delivery estimates before setting your order date. Build in more time for peak periods, proof changes and replacement stock.
VistaPrint roll labels and postcards let you change a message without replacing every outer mailer. For more inspiration, explore these packaging ideas for promotional campaigns.
Building a custom unboxing experience on a budget
The most practical apparel packaging ideas make an order easy to open and enjoyable to discover, so choose a few useful branded touches and repeat them consistently, rather than adding something at every layer. Think about these four places where your branding can appear, then choose what fits your budget:
- The outside: Put your logo on the mailer or add a branded label to a plain box, leaving the shipping label clear.
- The wrap: Fold tissue neatly around the garment and close it with one sticker. Avoid extra layers that make the customer work to reach their purchase.
- The garment: Add custom hang tags with your brand story, styling advice or a QR code to a care guide. VistaPrint offers quantities starting at 25. Keep any required garment labels in place.
- The insert: Use packaging inserts for a thank-you, useful product information or a simple invitation to come back.
Give customers a natural reason to share, such as “We’d love to see how you style it – tag @yourbrand.” If you’re starting small, prioritize a secure outer mailer and one branded detail, and time a few practice orders before adding more. Even inexpensive extras cost money if they slow down every parcel you pack.
Streamlining your clothing packaging strategy
Build your packing routine around a few tested combinations that you can repeat easily. Start with the sizes your best-selling garments need, then keep a packing reference nearby with the right fold, wrap and outer packaging for each. As your orders grow, review any damaged deliveries, the packing time and postage to see where a change would help.
Use this clothing packaging guide to get the essentials working first, then add seasonal details when they serve your brand and budget.
What is the best way to package clothes for shipping?
Fold clean, dry garments to fit a shipping-grade mailer or corrugated box. Protect delicate details, separate items that could transfer color and add a suitable closed inner sleeve when extra water protection is needed. Seal the outer package securely without overfilling it.
How do you fold clothing for packaging?
Smooth the garment, fold sleeves and sides inward, then fold the hem upward to fit the package. Fold pants with the legs together, then in half or thirds. Keep thick seams spread out and avoid sharp folds across decorations.
What size poly mailer do I need for a hoodie?
A 14.5 × 19-inch mailer is a common starting size to test. VistaPrint offers a 14 × 18-inch option, but thick or oversized hoodies may need its larger 19 × 23-inch size. Measure the wrapped hoodie and test the closure before ordering.
What are eco-friendly alternatives to poly mailers?
Consider paper mailers or corrugated boxes with verified recycled content and locally accepted recycling options. Recycled plastic mailers are another option, although film collection varies. Check any compostability claims against the certification and the available disposal facilities.
How can small apparel brands create a custom unboxing experience on a budget?
Start with well-fitting packaging and add one consistent brand detail, like a tissue seal or hang tag. Use a small seasonal run of stickers or inserts to refresh the look, and compare quantities and packing time before adding more.