You spent time designing a logo you love, and it looks sharp and vibrant on your website header and social media profiles. But when you upload that same JPEG logo to print on marketing materials, signage and packaging, the edges are jagged and the details are soft and blurry, making the design look less impactful and professional. But you don’t need to create your logo from scratch to improve the resolution. Depending on the quality and complexity of the original file, you can convert the JPEG logo into a scalable vector format or hire a professional designer to do it for you. This guide explains how to convert a JPEG logo to a print-ready file and check that it meets basic print requirements so your print assets look crisp at any scale.
- JPEG files are raster images made from a fixed number of pixels, so they can become blurry or pixelated when enlarged for print.
- Converting a JPEG logo into a print-ready vector file allows it to scale without losing sharpness, but simply changing the file extension to PDF or SVG will not vectorize it.
- A high-resolution raster logo may still be suitable for print, provided it contains enough pixels for the final dimensions.
- Printing requires a resolution of 300 DPI, accurate CMYK color modes and safety bleed margins. Print-ready artwork must always meet the specific printer’s requirements.
- Free vectorizing tools can work well for simple designs and colors, while detailed logos, gradients and custom lettering often need professional redrawing.
Raster vs vector logo files: What’s the difference?
Raster files (JPEG and PNG) are made from a fixed grid of pixels, while vector files (SVG) are made from scalable lines, curves and shapes. A JPEG may work well digitally at its original size, but can become blurry or pixelated when enlarged or reduced. In contrast, vector files defined by mathematical formulas allow your logo to scale infinitely for print without losing quality.

Understanding the difference between raster vs vector images and knowing how to convert a JPEG into a vector logo are important when building a flexible set of brand assets, and essential for creating a brand identity. When you save a logo as a JPEG, your design exists within a fixed grid of square pixels. Because digital screens operate on lower-resolution grids, raster formats work well for website graphics, email signatures and social media profiles, as long as the file has the right pixel dimensions. A large raster image may print clearly at a fixed size, but it cannot be scaled indefinitely like a vector image can.
Converting a jpeg to vector logo replaces fixed pixels with mathematical points, lines, curves and shapes. Because these adjust automatically when resized, a vector file can stay sharp when printed on everything from business cards to banners. Successful raster vs vector logo conversion gives a business a versatile master asset that grows alongside its marketing needs.

Saving a JPEG as a PDF or changing its file extension does not turn it into a vector graphic. The logo must be properly traced or redrawn for scalability.
As you build your brand identity, keep the master vector logo for print projects, as well as correctly sized raster exports for websites, email and social media. Clear logo usage guidelines can also help you define which file, color variation and minimum size to use in each context.
| Raster graphics | Vector graphics | |
|---|---|---|
| Common file types | JPEG, PNG, TIFF | PDF, EPS, SVG, AI and vector-based PDFs |
| Structural composition | Fixed grid of pixels | Mathematical paths, curves, shapes and anchor points |
| Scaling capacity | Limited: pixelates and blurs when enlarged beyond the original dimensions | Infinitely scalable: stays sharp when resized |
| Transparency | JPEG does not support transparency; PNG can | Usually supports transparent backgrounds |
| Editability | Individual shapes and elements are difficult to edit | Shapes, colors and paths can be edited separately |
| Ideal use cases | Website graphics, email signatures and digital assets | Print materials, master logos, signage apparel and packaging |
Why JPEGs can look blurry when printed
A JPEG must contain enough pixels for the size it’s printed at. A common benchmark for print materials is 300 DPI (dots per inch), but the exact number can vary by product, print method and viewing distance.
If you’re wondering: Why does my JPEG logo lose quality and look pixelated when printed? The answer is to do with pixel density. A logo looks clear on a screen because it’s displayed within a limited number of pixels, but when you enlarge that file for print, the pixels must cover a larger physical area. If your original raster file lacks enough pixels for the intended print size, the design software has to stretch the existing pixels, resulting in soft edges and blurry lines.
Estimate the pixel dimensions you need with this simple calculation: Required pixels = print size in inches × target DPI
For example, a logo printed 4” wide at 300 DPI should be at least 1,200 pixels wide. But enlarging a 1,200px file to 8” would reduce its resolution to 150 DPI.
DPI applies to raster images and raster elements, whereas a true vector logo does not have a fixed resolution, because its lines and shapes are recalculated whenever resized. Always check the specifications for your project, as larger print materials viewed from a distance may not require the same resolution as smaller assets like business cards or postcards.
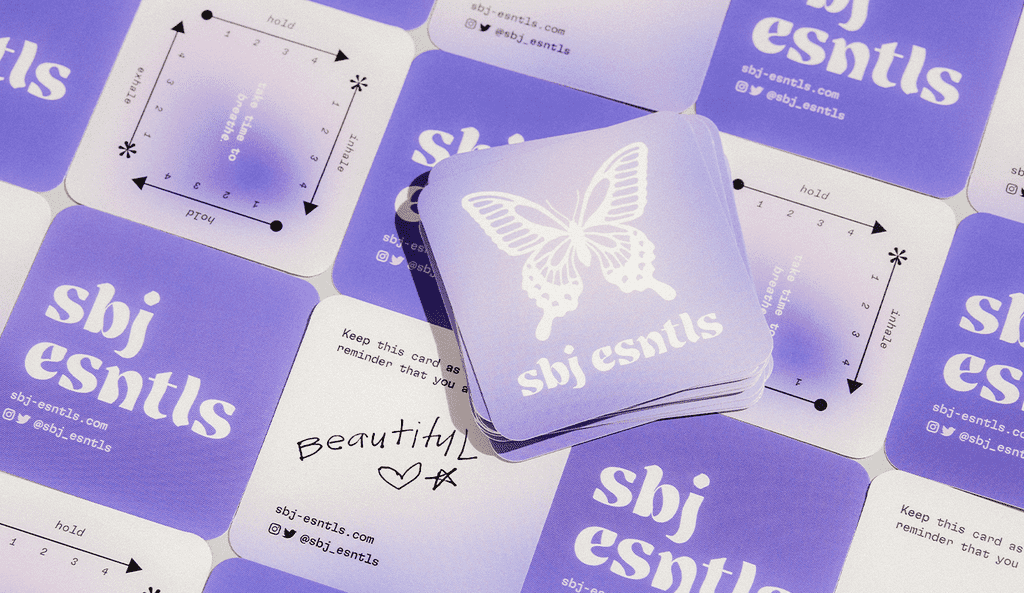
A high resolution logo print helps your business appear polished, consistent and established, building credibility and trust. A sharp, crisp logo printed on everything from packaging to postcards and uniforms signals professionalism. Investing time to convert your logo file transforms every physical touchpoint into a polished marketing tool.
Converting a JPEG logo to a print-ready file step by step
Automated tracing works best for simple logos with bold shapes, solid colors and high contrast. It can create a scalable vector file at little or no cost, but logos containing gradients, shadows, textures, photography or intricate lettering may need to be manually redrawn for best results.
If you need a low-cost solution to converting a JPEG logo to a print-ready, browser-based vectorizing tools can trace simple JPEG logos quickly and for free. After your logo has been vectorized, you will still need to check its appearance, dimensions and colors.
Step 1: Use the best original file
Start with the largest logo file that you have, avoiding screenshots, social media downloads or files that have already been enlarged. Check whether the logo designer supplied an SVG, EPS, AI or an editable vector PDF before recreating a file that may already exist.
Step 2: Choose an online vectorizer
Open an online image tracing tool, such as Vectorizer.ai or Convertio, and review its file limits, export options and upload terms. Because you’re sharing a business asset with a third-party, avoid uploading unreleased branding unless before understanding the tool’s privacy policy.
Step 3: Upload your JPEG logo
Upload the best-quality JPEG or PNG file available. Crop unnecessary space where possible and use a version with strong contrast. A white or transparent background generally makes the shapes easier for software to identify.

Step 4: Adjust the tracing settings
Use the preview controls to adjust the color count, detail, smoothing and background removal. Reduce the number of colors for a flat logo, increase contrast to keep outer lines crisp, smooth any curves that appear uneven and remove unwanted background noise.
Step 5: Preview and refine traced paths
Zoom in and closely compare the traced version with your original logo. Check curves, corners, spacing, small text and typography for warping or missing details. Confirm that colors remain separate and that a white background has not distorted. If repeated adjustments cannot reproduce the logo accurately, a professional redraw is likely to give you a better result.
Step 6: Export the vector logo
Export the logo as a vector PDF, SVG or EPS file, depending on the format accepted by your printer. SVG is useful for retaining an editable, scalable master asset, while a vector PDF is convenient for print. Remember that placing a JPEG inside a PDF does not make it a vector file.
Once you’ve downloaded your converted vector file, open it in a free preview tool and zoom in. If the edges, curves and letters look completely smooth, your file is ready for printing!
Step 7: Check the file in your print layout
Open the exported print-ready logo in compatible design software. Keep the logo within the safe area, maintain its original proportions and check that any backgrounds extending to the trim edge reach the bleed line. When preparing a design for print use this checklist to confirm the product dimensions, safe area, bleed, image quality, fonts and export settings.
Resolution, bleed margins and colors
Vector conversion alone doesn’t make a file print-ready. Your artwork must also match any required dimensions, resolution, bleed, safe area and color specifications. Ensure your file meets 300 DPI requirements, includes full bleed margins and uses CMYK color rendering.

Understanding what makes a file print-ready helps prevent unexpected layout or color shifts. Pay close attention to the following technical checkpoints before submitting your design.
The 300 DPI benchmark
300 DPI (dots per inch) is a common target for raster images used in print products viewed up close such as business cards, flyers and brochures. Enlarging a raster image reduces its DPI, even when the file properties display a higher number. The effective resolution at the final print size is what matters.
Learn more about how image dimensions and print resolution work together before resizing raster artwork.

Vector lines and shapes do not have a fixed DPI, but photos, textures and any other raster elements embedded in the file need to be a high enough resolution. Always follow the specifications for your print product, as large-format designs viewed from farther away may have different requirements.
Bleed and safety zones
When printed products are cut to their final size, the paper can shift slightly. A bleed area extends backgrounds, colors and images beyond the trim edge so that no unwanted border appears in the final design.

The bleed area should extend slightly past the trim line (usually by 0.125 inches), while the safety zone sits inside the trim line, protecting important elements, like logos, text and contact details, from being printed too close to the edge. Bleed is added when a logo is placed into a product layout, and only design elements intended to reach the edge should extend to the line.
RGB vs CMYK
The RGB (red, green, blue) color model is used to display vivid colors on screens, whereas print processes use CMYK (cyan, magenta, yellow, black) inks. Because RGB displays brighter colors than CMYK can reproduce with ink, some shades may appear different in print. So it’s important to always convert your file to CMYK before printing.
However, converting a file to CMYK doesn’t necessarily guarantee an exact color match, as paper stock, finish and printing method can all affect the final appearance. Follow your printer’s color settings, use brand color values and review a printed proof to ensure color consistency.
Choosing a print-ready file format
PDF is a widely used print format because it preserves page dimensions, fonts and vector elements in one file. EPS, AI and SVG are useful scalable vector formats, although not every print platform accepts them as final uploads. High-resolution raster PNG, TIFF and JPEG files may also be suitable, provided they meet the required dimensions and resolution.

Whichever print format you choose, check that fonts are embedded or converted to outlines, the logo doesn’t look stretched or pixelated, transparent backgrounds behave correctly and the file matches the printer’s upload specifications.
Using professional design services for print-ready logos
Automated vectorization tools offer a quick solution for simple logos, while detailed artwork with gradients, shading, textures or custom hand-lettering often needs to be redrawn by a designer. Professional redrawing converts your original logo into a clean, scalable file that works across different print products, saving you time while protecting your brand identity.
Using automated tools to trace complex logos can result in distorted letterforms and colors, uneven curves, too many anchor points and jagged paths, while designers manually redraw each shape and letter as a clean vector element, refine spacing and prepare versions for different backgrounds and applications. They can also supply a set of master files, such as AI, EPS, SVG and vector PDF, alongside correctly sized PNG or JPEG exports for digital use.
Professional support can also be worthwhile when you no longer have the original source file or your logo needs to be reproduced across several print products. Connect with a designer through 99designs by Vista or VistaCreate to recreate your existing logo as a scalable asset, ensuring every curve, letter and color aligns with your original brand logo.

Once your files are ready, record the approved versions, colors and sizing rules in a brand style guide so everyone uses the logo consistently.
Get ready to print with your vector logo
Converting your brand logo from a flat JPEG to a scalable vector PDF ensures your business looks professional, established and trustworthy across every touchpoint. While a sufficiently large raster file may work for a small, fixed-size product, a simple logo can be converted into a vector file using an online tool and a professional can be hired to redraw detailed logo designs.
Whichever method you choose to convert a JPEG logo to a print-ready file, always check the final dimensions, resolution, colors, safe area and bleed requirements before uploading your artwork. Properly formatted logo files will keep branding consistent across digital and print.
Use VistaCreate to expand your brand toolkit, inserting your logo into digital templates, social media posts, digital ads and promotional graphics.
JPEG to vector logo FAQs
Why does my JPEG logo lose quality and look pixelated when printed?
JPEGs are made from a fixed number of pixels. When the file is enlarged beyond its original dimensions, those pixels are stretched, creating blurry edges. For a high resolution logo print, it’s always best to convert the JPEG to a vector logo.
What is the difference between a raster image and a vector graphic for printing?
Raster images, including JPEGs and PNGs, are built from pixels and can lose quality when enlarged. Vector graphics use mathematical paths, so they can be resized without becoming blurry. This makes vector formats scalable across different sizes, from business cards to signs.
How can I convert a flat JPEG logo to a vector format for free?
For simple, high-contrast logos, upload the best available JPEG to a browser-based vectorizer, then adjust settings such as color count, smoothing and background removal. Review the lettering and curves before exporting as an SVG, EPS or vector PDF. For detailed logo designs, professional redrawing gets more reliable results.
What file formats are considered print-ready?
A properly prepared vector PDF, EPS, AI and SVG are all scalable logo formats for print artwork. High-res raster TIFF, PNG or JPEG files may also work for fixed-size applications. The file must meet the printer’s requirements for dimensions, resolution, bleed, safe areas and color settings.