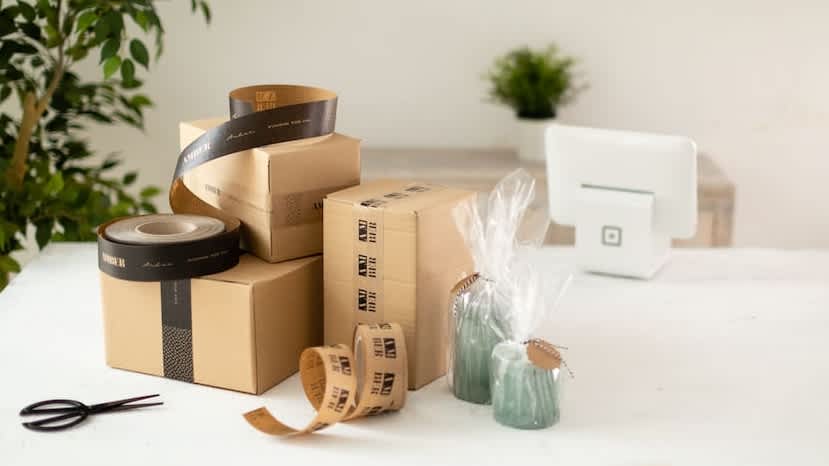
Whether you’re choosing handmade soap packaging or packing artwork for shipping, sending something you’ve made yourself can feel a little nerve-racking. You want it to arrive looking just as good as it did on your workbench, without spending a fortune on supplies. When you’ve put hours into making something, a chipped mug or bent print costs more than just the replacement order. And you’ll want protective packaging that still feels personal, with the right box, carefully chosen cushioning and a few thoughtful finishing touches.
Learning how to package delicate items for shipping starts with understanding what could damage them. This guide to specialty product packaging takes you through the options, so shipping handmade fragile products feels like a manageable part of your business.
- Match your packaging to the main risk, whether that is moisture, surface damage or breakage.
- Allow room for cushioning on every side, following your carrier’s guidance for fragile goods.
- Fully cure cold-process soaps before packing, and protect bath bombs from humidity.
- Use art-safe materials against prints, keeping decorative wrapping outside that protective layer.
- Test your packing method, seal the parcel securely and add branding where it won’t interfere with protection.
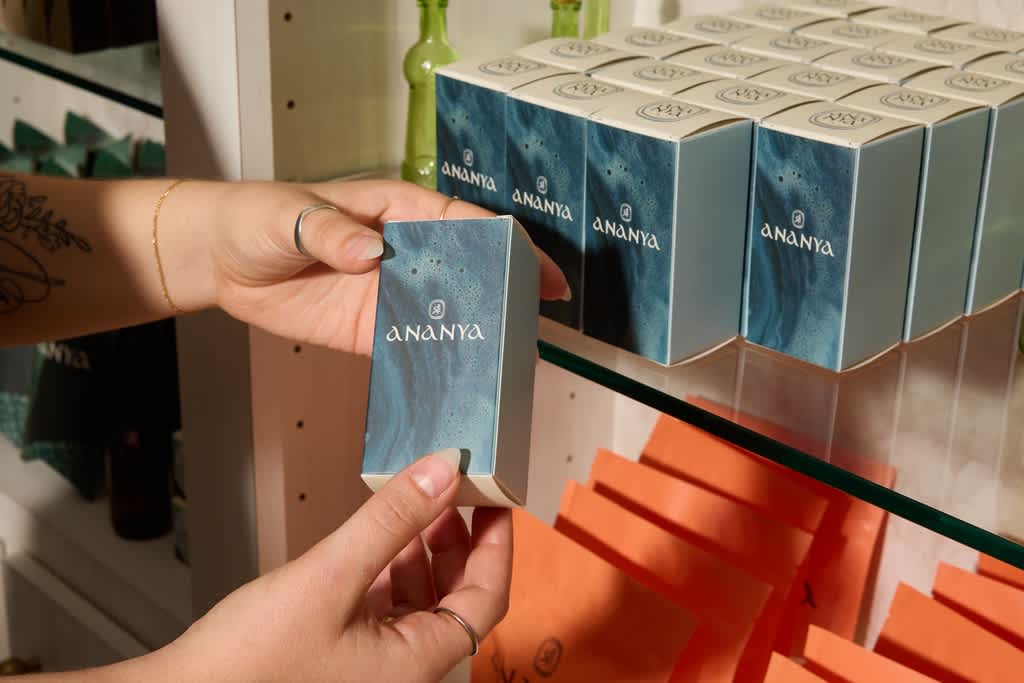
The maker’s decision framework: What does your product need?
Before ordering supplies, think about what could spoil your customer’s first impression. Is your product likely to absorb moisture, get scratched or break if the parcel takes a knock? Some items need protection from more than one of these risks.
Moisture-sensitive products
Cold-process soap needs airflow while it cures, so let it finish curing before packaging and shipping it. Breathable paperboard sleeves or unlined kraft wraps can suit cured bars, provided they work with your recipe and storage conditions.
Bath bombs need a different approach because moisture can start their fizzing reaction early. They need a suitable moisture barrier as well as cushioning, while melt-and-pour soap also benefits from wrapping that keeps humidity out.
Surface-delicate products
Art prints, photos and stationery can arrive unbroken but still be unusable because of scratches, bent corners or marks. Start with clean, smooth materials that are suitable for direct contact with the surface, then add more rigid support.
Original paintings need extra care, especially if their surfaces are textured or sticky. A framed print also belongs in the impact-fragile category because its glazing can break.
Impact-fragile products
Ceramics, glassware and glass candle vessels need cushioning that keeps them away from box walls and other products. Handles, rims and narrow stems deserve particular attention because pressure on these areas can cause breakage.
Choose shipping boxes with a strength that is suited to the packed weight. Heavier pieces may need double-wall corrugated board, while mailer boxes can suit lighter orders as long as they are properly cushioned.
Leave space for protection
For cushioned boxed goods, allow approximately 2–3 inches on all six sides as an initial planning guide, then follow the carrier’s product-specific instructions. FedEx recommends 3 inches of cushioning in and around the inner box when double-boxing breakables. A flat print in a reinforced mailer needs a different approach, so don’t treat two inches as a universal rule.
Measure the wrapped product and check the box’s usable internal dimensions. For example, an 8 × 6 × 4-inch inner box surrounded by 3 inches of cushioning needs an outer box with at least 14 × 12 × 10 inches of internal space.
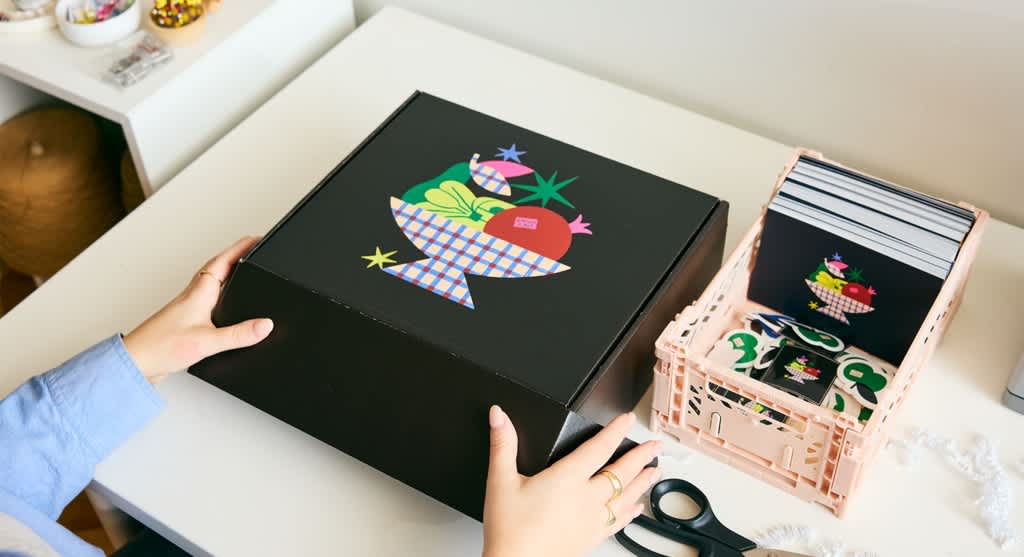
Keep the right material against the product
Grease-resistant glassine can help stop oils from marking soap packaging, as long as the supplier confirms it’s suitable for your formula, but it isn’t necessarily archival or waterproof. For prints, choose acid-free, lignin-free paper or sleeves specifically suitable for the artwork or photographic process.
Don’t assume ordinary glassine, gift tissue or printed wrapping is safe against every surface, as it may not be suitable for your specific product. Bring your branding into the unboxing experience with custom tissue paper around an already-protected item, but bear in mind that it won’t provide the shock protection needed for ceramic pieces.
Close the flaps and gently move the box for about three seconds. If you hear rattling or feel anything shifting, adjust the cushioning before sealing. This checks for movement, but doesn’t prove the package can withstand drops.
Seal the box securely
VistaPrint’s water-activated packaging tape combines custom printing with reinforced paper and a water-activated adhesive. When it’s properly applied to a compatible carton, the bonded seal can show visible damage if someone tries to remove it, helping you spot any tampering.
For a standard shipping carton with meeting flaps, use the H-tape method:
- Apply tape along the center seam where the flaps meet.
- Tape both edge seams, forming an H across the closed face.
- Repeat on the bottom, following the tape supplier’s application instructions.
For a tuck-top mailer, secure the opening according to its design instead. Keep shipping labels flat and readable, away from seams and closures.
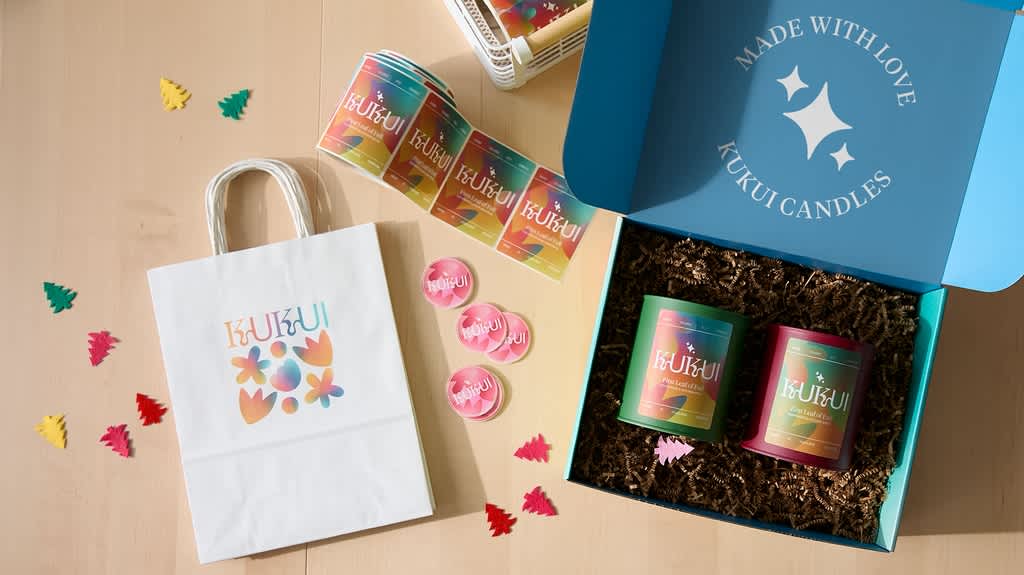
Packaging guidelines by handmade category
Once you’ve chosen your materials, turn your packing method into a short checklist. That makes it easier to prepare every order consistently, even when you’re busy.
Handmade soap packaging and bath products
Start with the formula because cold-process soap and bath bombs shouldn’t share the same wrapping method just because they look good together in a gift set.
- Check that the product is ready. Cold-process soap should be fully cured and bath bombs fully dry before packing.
- Choose the first layer. Use a breathable sleeve for cured cold-process soap, adding a suitable grease-resistant wrap if needed. For bath bombs, use a sealed moisture-resistant wrap or pouch rather than tissue alone.
- Add the presentation packaging. VistaPrint’s custom soap boxes give your bars a branded outer layer. Check the fit with a wrapped sample before ordering.
- Separate and cushion the products. Keep bath bombs from knocking together and fill gaps around individual cartons without squeezing their contents.
- Pack mixed orders carefully. Keep fragranced or oily products separate from paper goods, using appropriate barriers and compartments.
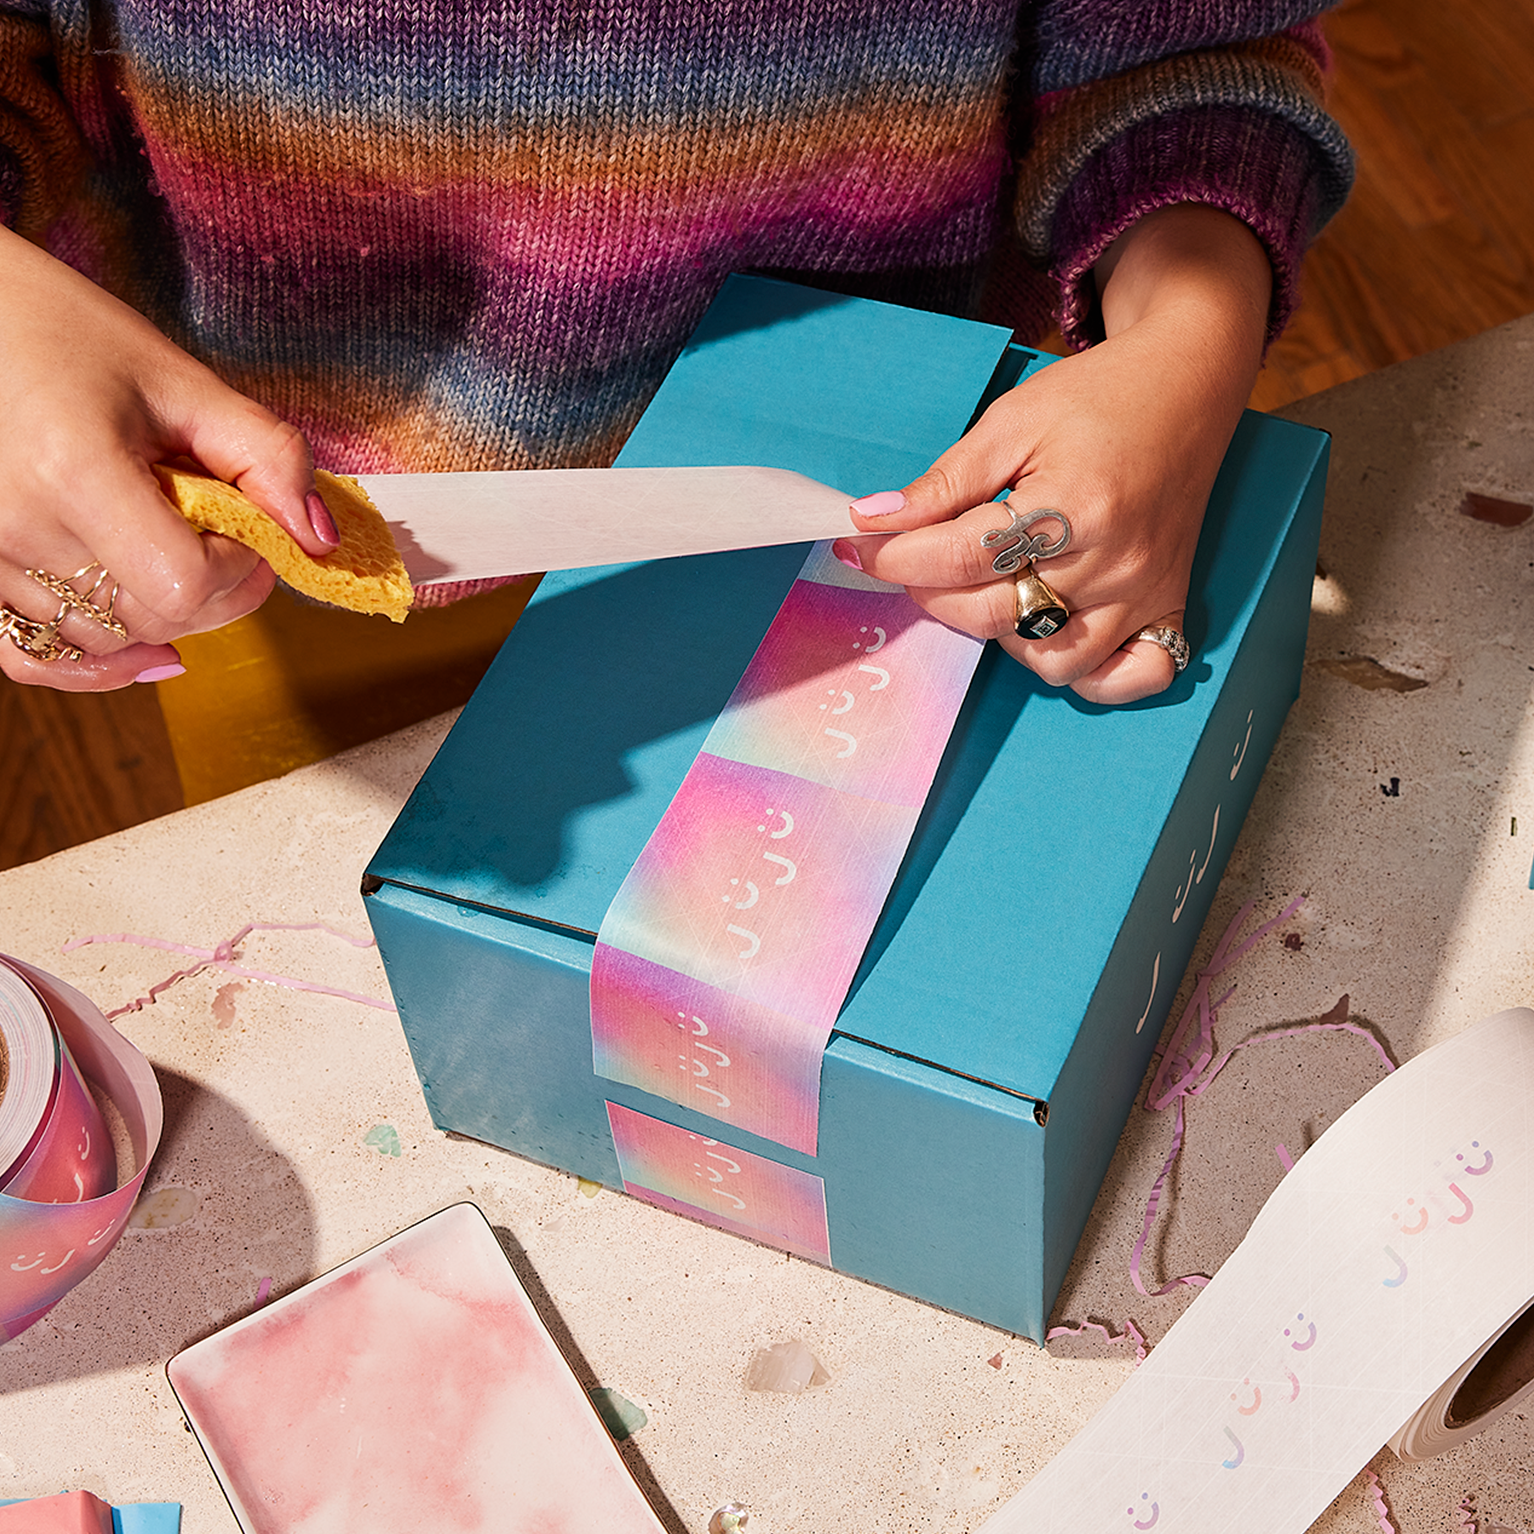
Your design can be as simple as kraft paper with a botanical label, or as colorful as a printed carton that matches each fragrance. Whatever the style, check for oil transfer, rubbing and damage after a trial shipment.
Packing artwork for shipping, from prints to stationery
For flat, unframed prints, the aim is to protect the surface while stopping the whole package from bending.
- Cover the artwork appropriately. Choose an art-safe sleeve or protective paper suited to the medium, and keep adhesive away from the print.
- Add rigid support. Sandwich the protected print between stiff boards that extend beyond its edges. Keep ordinary cardboard from touching the artwork directly.
- Secure the boards. Tape them together outside the print’s edges, leaving an easy opening tab so the customer can unpack it safely.
- Add moisture protection. A suitable outer moisture-resistant sleeve can protect the supported print during shipping. Glassine alone isn’t waterproof.
- Choose the shipping container. Compare shipping mailers to find out what is suitable for your product, or use a shallow corrugated box with corner protection.
Card sets need support so their corners don’t curl, while journals benefit from protected corners and a snug box that stops the covers from moving around. A “Do not bend” label can act as a reminder, but it doesn’t replace stiff packaging.
For original paintings, avoid wrapping methods that press against vulnerable paint. Acrylic surfaces can stick to glassine or plastic, so use a suitable no-contact packing system and seek specialist advice for valuable or unusually delicate work.

Ceramics, glassware and candle vessels
Double-boxing gives breakable pieces an extra layer of protection. Start with a corrugated inner box, then surround it with cushioning inside a strong outer carton.
- Wrap pieces separately. Protect each vessel and any removable lid, supporting handles without forcing the packing material tightly against them.
- Secure the inner box. Use cushioning that’s suited to the item’s weight, plus dividers or fitted inserts for multiple pieces. Nothing should touch another product or an unpadded wall.
- Cushion the outer box. Follow your carrier’s guidance, including the space below and above the inner carton.
- Check and seal. Gently check for movement, then seal the outer box securely.
Framed glass needs corner and edge protection, while heavy frames may need specialist packing. For candles, consider heat as well as breakage because a well-cushioned box won’t necessarily prevent wax from softening.

Designing a safe, memorable unboxing experience
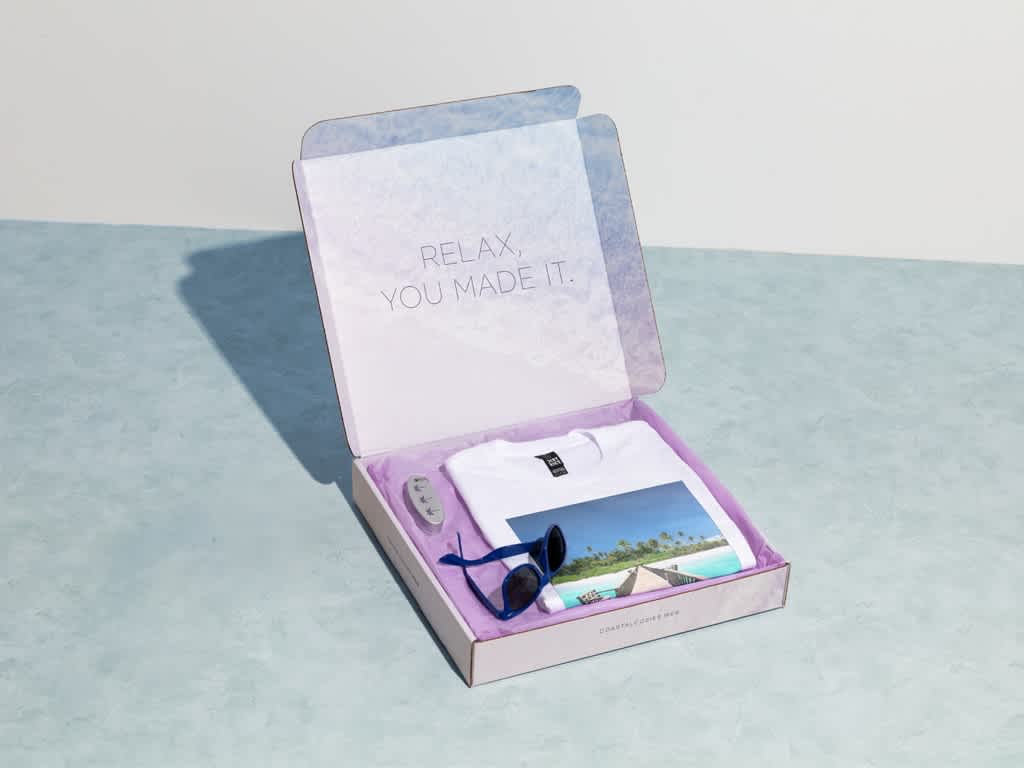
Think about what your customer sees first when they open the parcel. A neatly folded sheet of tissue and a thank-you note can make a practical packing setup feel considered, without adding lots of extra material.
A simple order works well: protective outer box, branded tissue, securely packed product and a useful insert. Keep the tissue accessible so customers can lift it away without pulling at the item underneath and use custom roll labels to close tissue folds or label individual products. A logo sticker adds personality, but it shouldn’t replace the tape or fastening needed to hold a protective package together securely.
Place packaging insert cards where they’re easy to find and include care instructions for pottery, storage advice for soap or a short note about the artwork, with a QR code for reordering or learning more.
For affordable seasonal updates, keep your protective boxes and inserts consistent while changing the color of the tissue, the sticker design or your thank-you message. This can give orders a fresh feel without having to redesign and retest the entire packing setup.
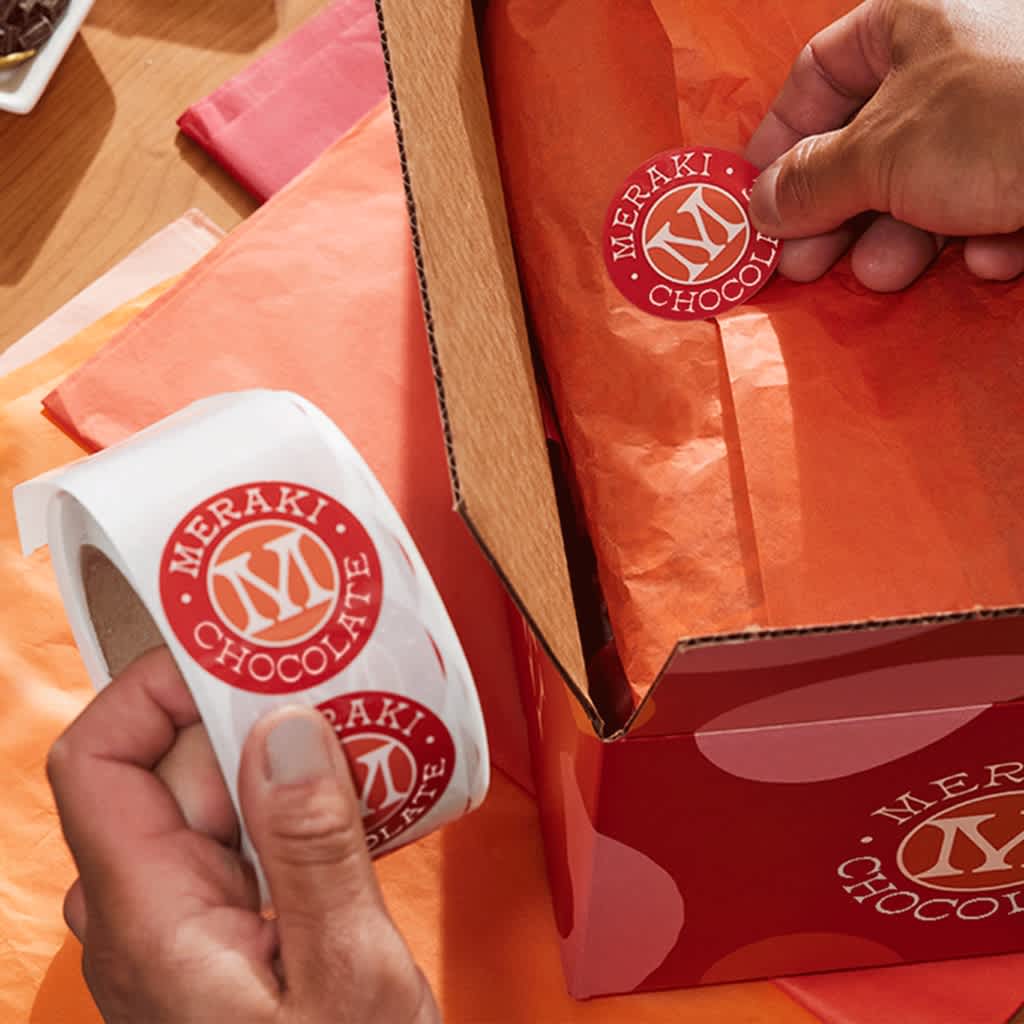
Keep shipping costs manageable
Compare the total cost of packaging, postage and replacements, rather than choosing supplies on price alone. A slightly stronger box may cost less overall if it prevents a damaged order. Use these checks before buying in bulk:
- Limit your box sizes. Choose a small range that fits your usual orders with the required protection.
- Measure the finished parcel. Carriers may charge by dimensional weight, which accounts for the space a parcel takes up.
- Compare suitable services. Check rates and delivery times using the packed weight and dimensions.
- Trial your setup first. Order samples and send test parcels before committing to a large packaging run.
Put your packaging plan into practice
Working out how to package delicate items for shipping gets easier when you start with one product and build a repeatable method around it. Photograph each packing stage and note the box size, materials and quantities so you can recreate the setup.
Use a representative sample for controlled handling and drop checks, following your carrier’s guidance, and inspect it afterward for any hidden damage. An informal test can reveal problems, but it doesn’t guarantee safe delivery or replace professional testing for valuable, fragile goods.
Then, as your orders go out, record any damage and adjust the packaging where needed. You’ll build a practical routine that protects your work and gives your customers a thoughtful welcome to your brand.
How to package and ship delicate products FAQs
How do you pack fragile items without bubble wrap?
Use suitable paper cushioning, honeycomb wrap or fitted inserts, then fill gaps so the item stays in place. Match the materials to the weight and fragility because loose crinkle paper alone may not protect heavy ceramics. Test the complete package before shipping.
What is the best box for shipping delicate items?
Choose a corrugated box strong enough for the packed weight, with room for suitable cushioning. Flat prints may suit reinforced mailers, while ceramics and glass often need double-boxing. A decorative gift box usually needs a separate shipping container.
How do I protect handmade items during shipping?
Identify whether moisture, scratches or impact pose the biggest risk, then choose the wrapping, support and outer packaging accordingly. Keep products separated, stop internal movement and seal the parcel securely. Check the finished setup with sample shipments before using it for customer orders.