Choosing types of stickers for a small business is one of those small decisions that can greatly improve everything around your brand. The right sticker holds up to real handling, keeps colors crisp and adds a finish that makes packaging feel intentional. It also helps your campaigns land better, whether you’re labeling products, handing out promos or building visibility in the real world.
In this guide, you’ll get a clear, practical breakdown of sticker types by material, finish, cut and format, plus the print specs that influence results. You’ll also get a simple method for choosing what fits your surface, environment and goal, with quick recommendations you can use immediately.
- Sticker types are easiest to choose when you sort them by material, finish, cut and format, since each one changes how the sticker performs and presents.
- Print specs that affect results most are adhesive (removable vs. permanent), durability (water, UV, scratch), thickness and protective coatings.
- To choose the right sticker, start with the surface, check the environment, set the lifespan and goal, then pick a format for volume and finish for brand feel.
- For common needs: paper or clear for packaging, die-cut or kiss-cut sheets for promos, vinyl for outdoor, static cling for windows and foil or holo for premium moments.
Key types of stickers
Types of stickers come down to the practical factors that determine how they look, feel and hold up in real business conditions like shipping boxes, fridge doors, rain and constant handling. Sticker types are defined by four core choices:
- Material – What it’s made from and how it performs
- Finish – How the surface looks and feels
- Cut – The shape and how tightly it follows your artwork
- Format – How it’s delivered and handled (singles, sheets, rolls)
Sticker materials (the biggest performance factor)
Sticker materials are where everything begins. The material affects how long the sticker lasts, how it handles moisture, whether it tears easily and what surfaces it actually sticks to. If you’re browsing types of stickers for your small business, you’ll mostly run into vinyl, paper, clear films and newer eco-friendly options. Each one has a very different personality and a very different lifespan.
Vinyl stickers

Best for: Outdoor use, water resistance, long-term branding
Vinyl is the workhorse. It’s a plastic-based material made for friction, moisture and outdoor exposure. If your sticker needs to survive weather, shipping or constant handling, vinyl is usually the safest route.
| Pros of vinyl stickers | Cons of vinyl stickers |
|---|---|
| Handles water, sun, scratches and temperature swings well | Costs more than paper options |
| Sticks reliably to plastic, metal, glass and curved surfaces | Standard vinyl isn’t eco-friendly |
| Best choice for long-lasting logo and branding stickers | Low-quality vinyl can shrink over time |
Vinyl stickers are a good “default” option for when you’re unsure and need durability.
Paper stickers
Best for: Indoor packaging, budget-friendly labeling
Paper stickers are the lightweight option. They’re great for packaging and labeling where the sticker won’t face moisture or rough treatment – think shipping boxes, product jars or bakery bags.
| Pros of paper stickers | Cons of paper stickers |
|---|---|
| Affordable for high quantities and frequent redesigns | Absorbs moisture and stains easily |
| Works well on cardboard, kraft paper and matte packaging | Can wrinkle on squeezable packaging |
| Easy to write on for batch numbers or flavor notes | Not built for refrigeration or outdoor exposure |
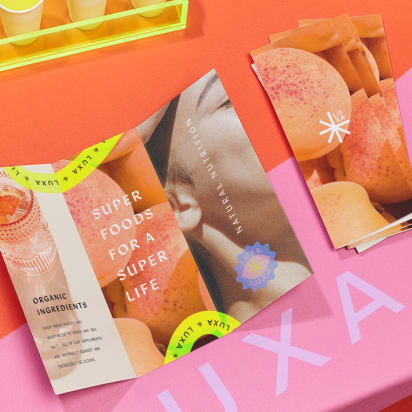
Clear/translucent stickers
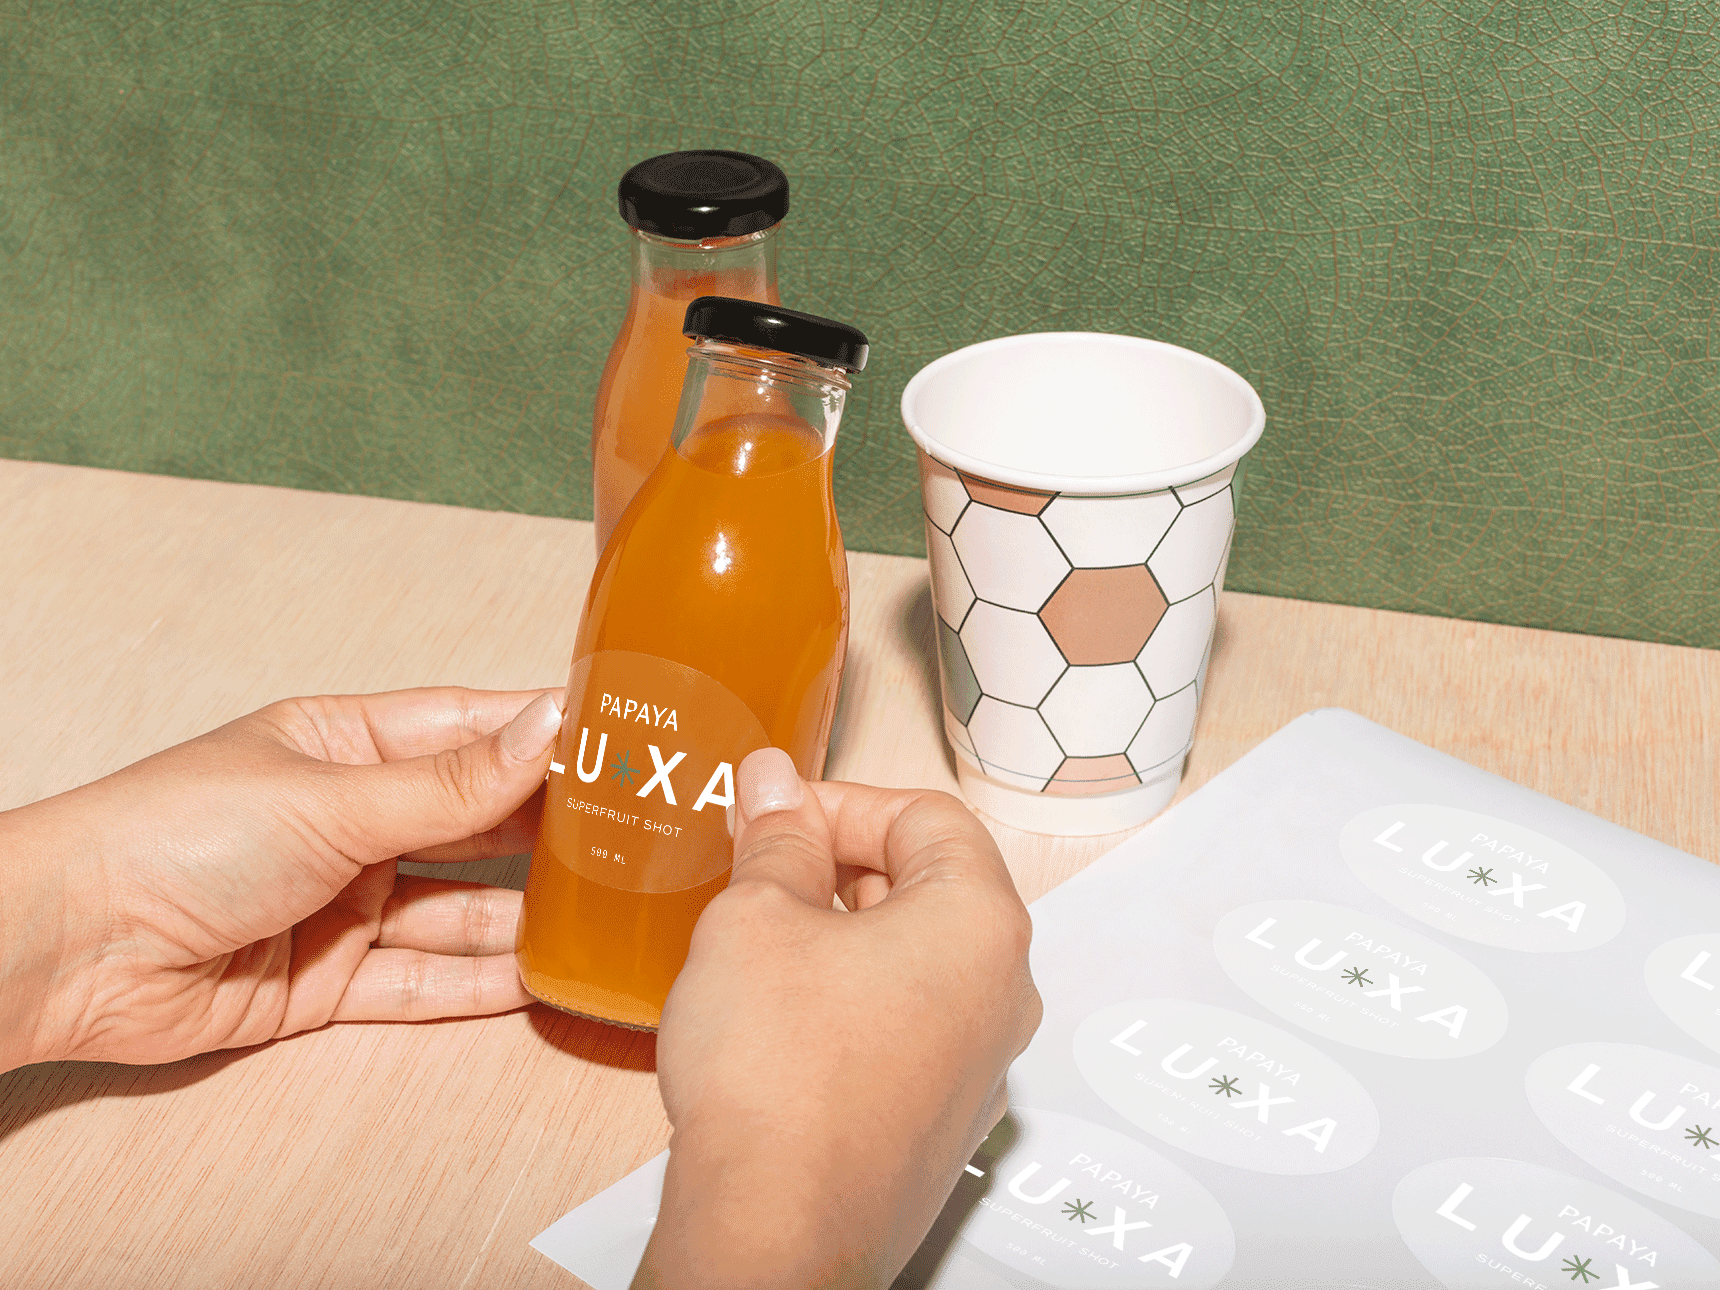
Best for: Modern “no-label” packaging look
Clear stickers use transparent film, so the surface underneath shows through. They’re popular for beverages, cosmetics and modern packaging that looks cleaner without a visible label block.
| Pros of clear stickers | Cons of clear stickers |
|---|---|
| Creates a sleek, printed-on look on glass or plastic | Needs strong contrast or white ink to stay readable |
| Lets product color and texture remain visible | Dust, bubbles and fingerprints show more easily |
| Great for minimalist branding with lots of negative space | Not ideal on textured or dark surfaces |
Eco-friendly/biodegradable sticker materials
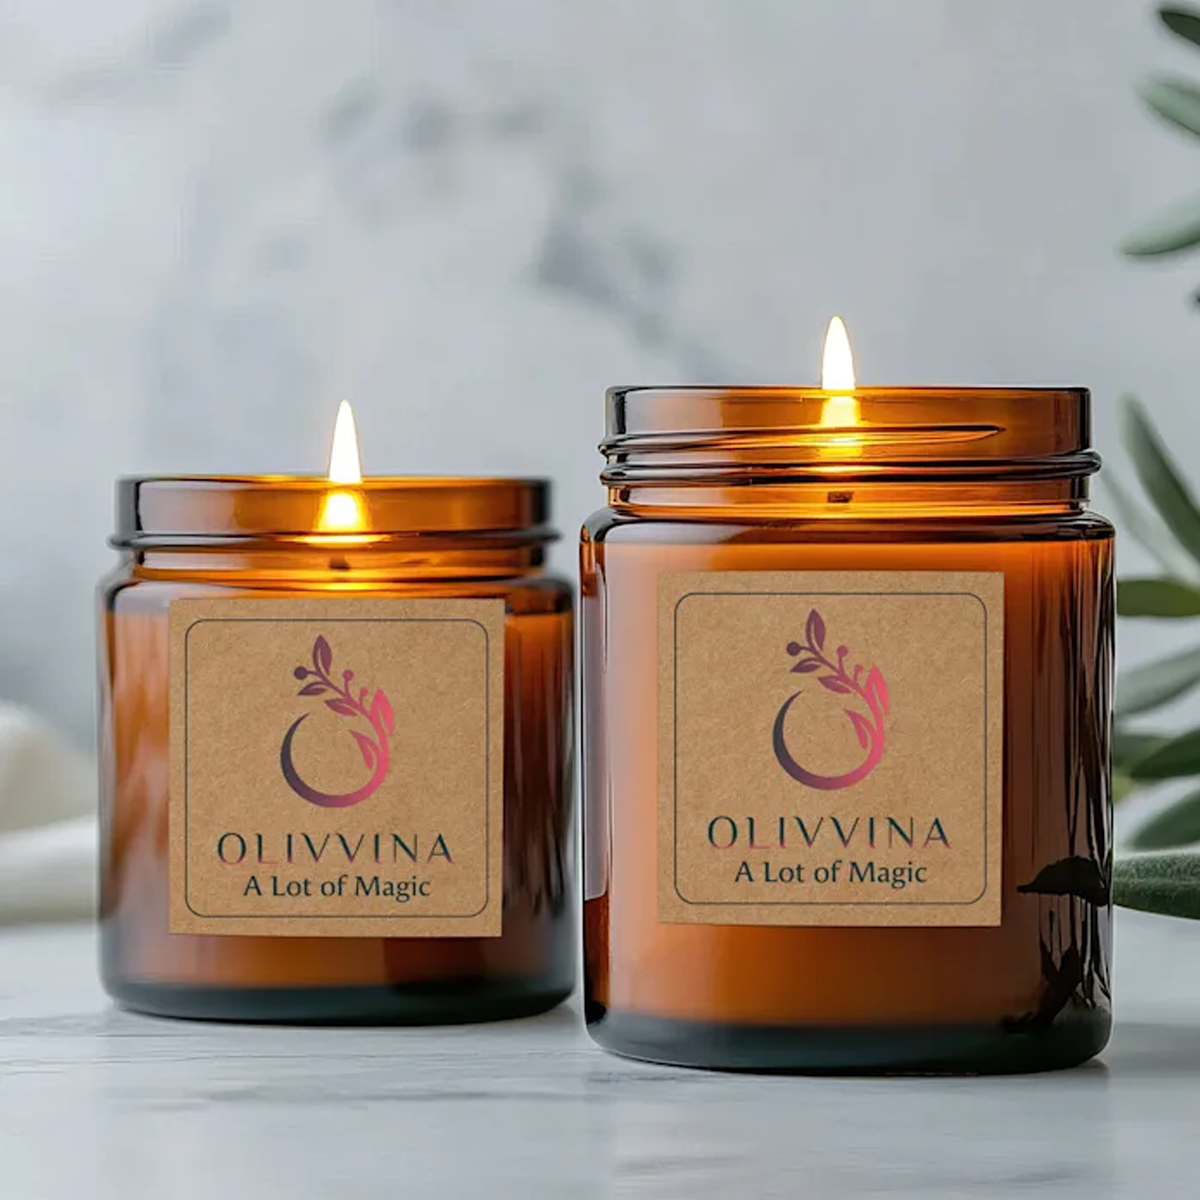
Best for: Sustainability-forward brands, short-to-medium use
Eco-friendly stickers are typically compostable papers or plant-based films paired with low-impact adhesives. They suit brands where sustainability is part of the product story, but they require realistic durability expectations.
| Pros of eco-friendly stickers | Cons of eco-friendly stickers |
|---|---|
| Aligns with eco-conscious packaging choices that customers notice | Limited water resistance, depending on coating |
| Often pairs naturally with recycled or plastic-free packaging | Fewer specialty finishes available |
| Strong option for short lifecycle packaging and promos | Can cost more, especially in small runs |
Eco stickers won’t love rain, refrigeration or oily surfaces – use them on dry packaging and plan for shorter wear.
Sticker finishes (how your brand feels)
Once the material is set, finish is your next lever. Finish doesn’t change what the sticker is for, but it does change how it reads in the real world: glare under lights, how rich colors look and whether it feels premium when someone runs a finger over it.
Matte stickers

Best for: Minimalist branding, text-forward labels, products photographed often
Matte finishes have a soft, low-glare surface that feels modern and controlled. They’re easy on the eyes and tend to make designs look more intentional, especially with minimal layouts and fine text.
| Pros of matte stickers | Cons of matte stickers |
|---|---|
| Little to no glare under bright lighting | Colors can look slightly muted vs. gloss |
| Premium, understated feel | Scuffs can show on darker designs |
| Great readability for text-heavy layouts | Not as attention-grabbing from a distance |
Gloss stickers

Best for: Bright branding, photo-heavy designs, packaging that needs visual pop
Gloss finishes add shine and punch. Colors look more saturated, and contrast tends to feel stronger, which is why gloss is common for bold designs.
| Pros of glossy stickers | Cons of glossy stickers |
|---|---|
| Makes colors look vibrant and high-contrast | Glare can hide details under direct light |
| Smooth, polished retail look | Fingerprints and smudges show more |
| Often a good match for photo-based designs | Can feel “too loud” for subtle branding |
Foil stickers

Best for: Premium packaging accents, logo highlights, special releases
Foil stickers add metallic highlights that immediately feel upscale. They’re often used for logos, seals and packaging meant to feel gift-ready. Depending on your needs, you can decide between gold and silver foil finishes (VistaPrint offers both!).


| Pros of foil stickers | Cons of foil stickers |
|---|---|
| Premium look with minimal design changes | Higher print cost and longer production time |
| Excellent for logos, seals and small highlights | Fine foil details can break up if the artwork is too thin |
| Adds contrast and sparkle without needing color | Can reduce readability if overused on text |
Holographic stickers
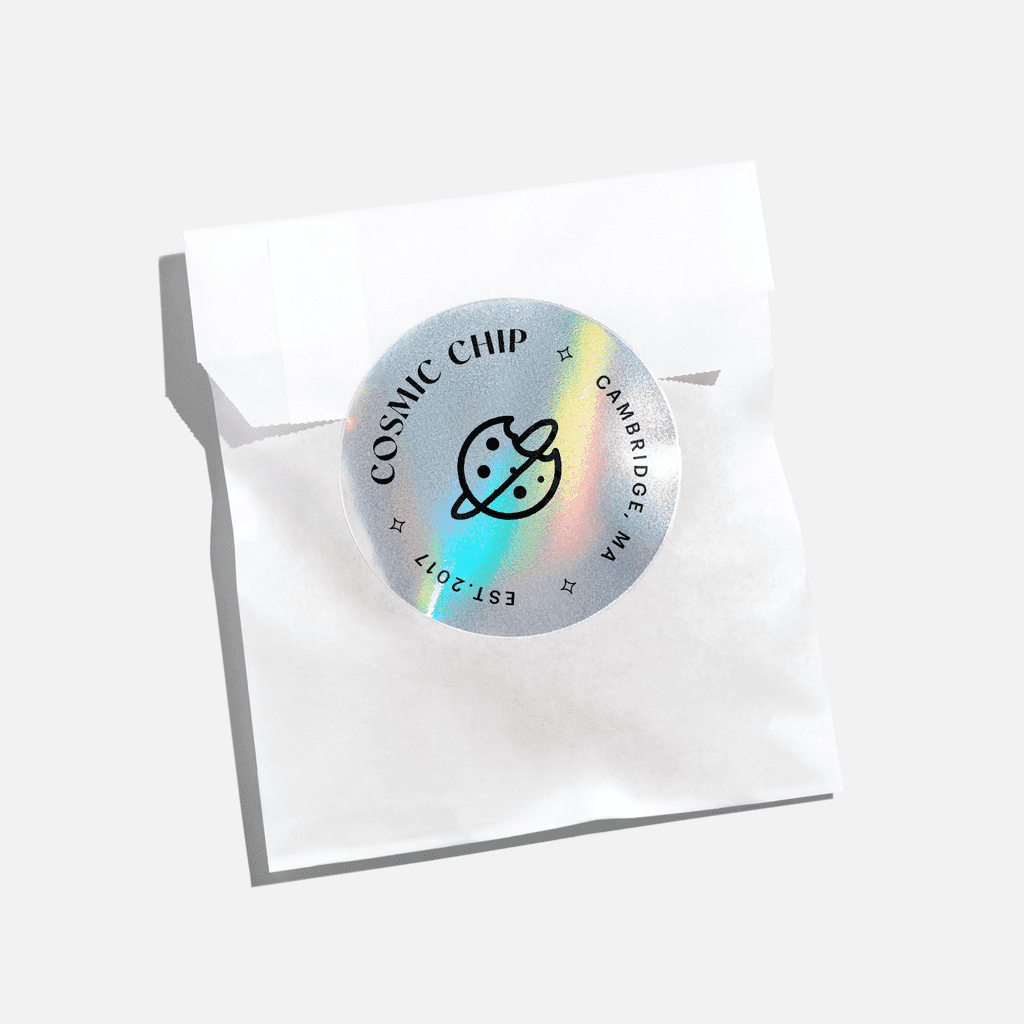
Best for: Bold campaigns, merch-style stickers, designs with simple, strong shapes
Holographic finishes shift color in the light and pull attention immediately. They’re popular in merch, streetwear-style branding and playful product drops where boldness matters more than subtlety.
| Pros of holographic stickers | Cons of holographic stickers |
|---|---|
| Extremely eye-catching even in small sizes | Can overpower text and fine detail |
| Feels collectible and trendy | Brand colors may look inconsistent under different lighting |
| Great for giveaway-style stickers and modern launches | Not suited for formal or minimalist brands |
Keep text chunky and high-contrast. Holographic film throws light around, so thin fonts, tight letter spacing and low-contrast colors get swallowed fast. Use holo as the background or border, then put the important words on a solid shape or white ink layer.
Sticker cut and format (how it’s produced and applied)
Now for the part that determines how your sticker arrives and how painless it is to use. Cut is the shape of each sticker. Format is how they show up in your hands – single pieces, sheets or rolls. While your artwork stays the same, how fast you can peel, place and repeat can change a lot.
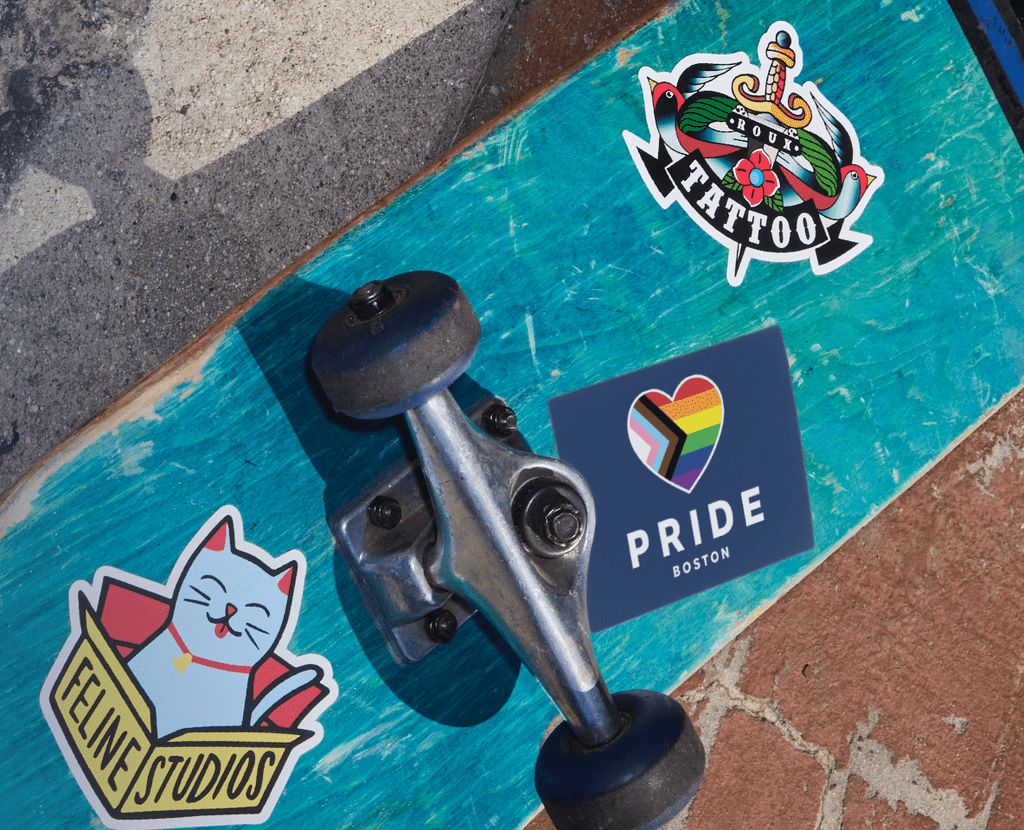
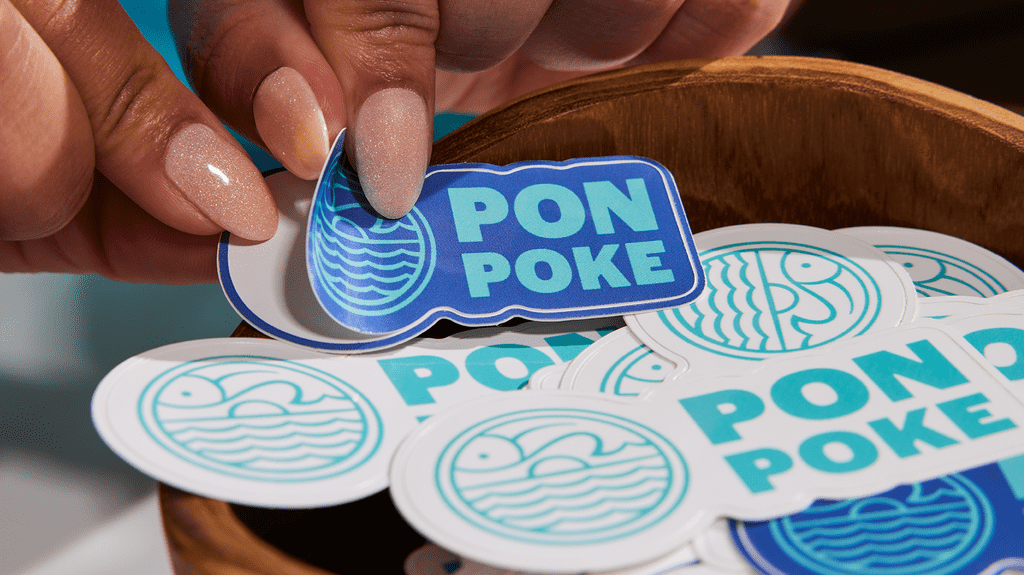
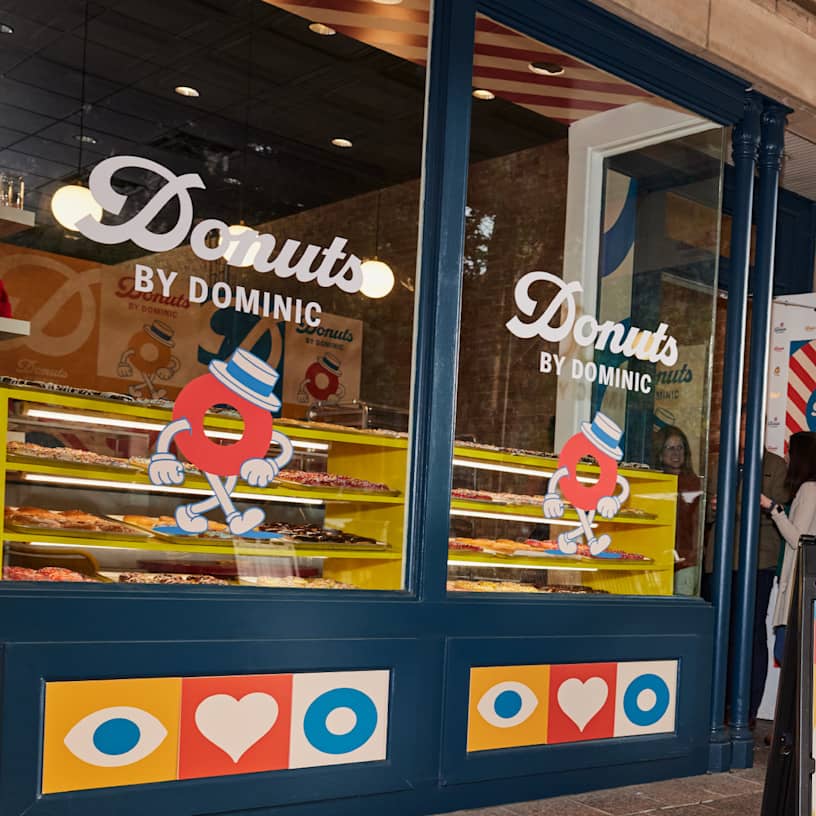
Die-cut stickers

Best for: Standout giveaways, brand personality
Die-cut stickers are cut to the exact outline of your artwork, so the shape carries part of the brand. A circle logo blends in. A custom silhouette looks intentional and a bit more like merch than a label. They’re also the stickers people tend to keep on laptops and water bottles, and even a simple logo feels more considered when the cut matches it perfectly.
Add a little breathing room between important elements and the edge. Tight borders look great on screen, but then get clipped the moment the cut shifts a hair.
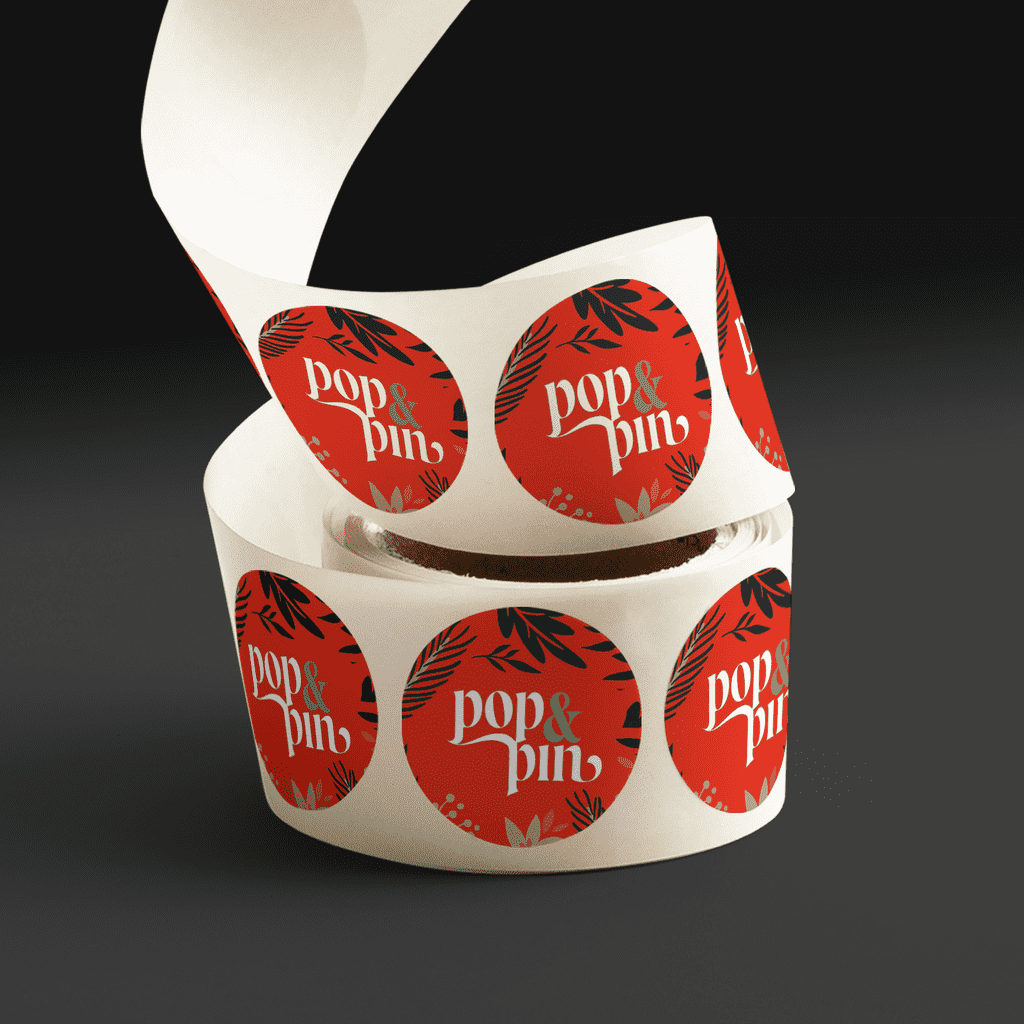
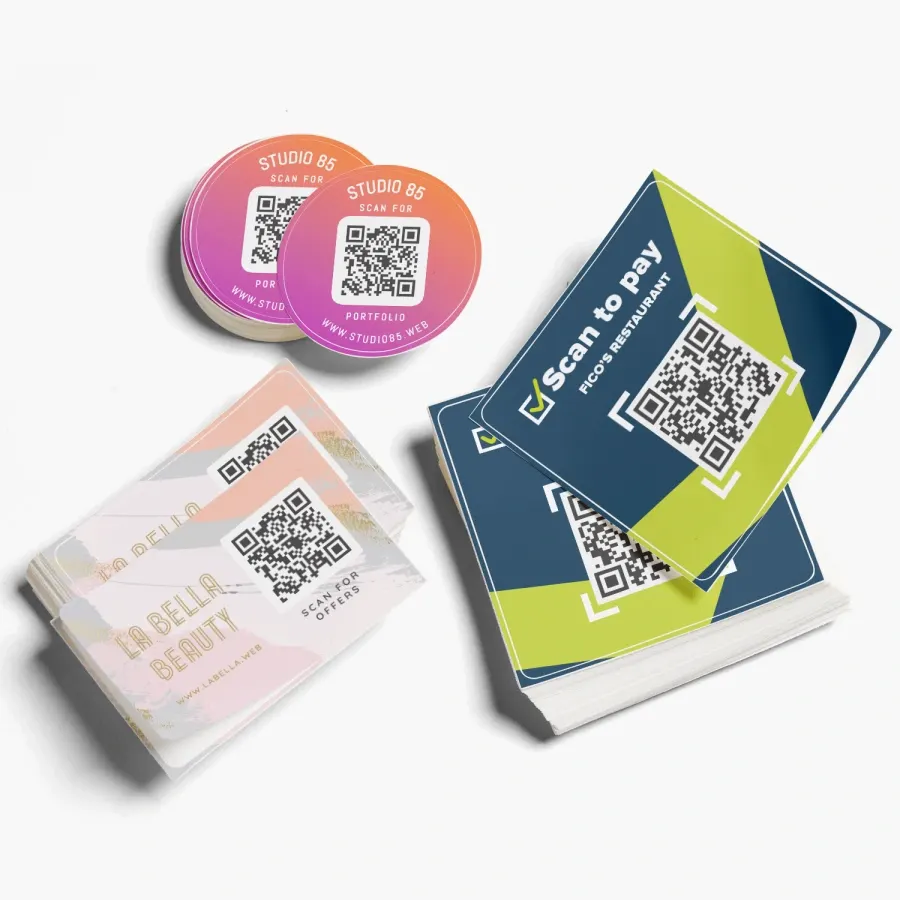
Kiss-cut stickers
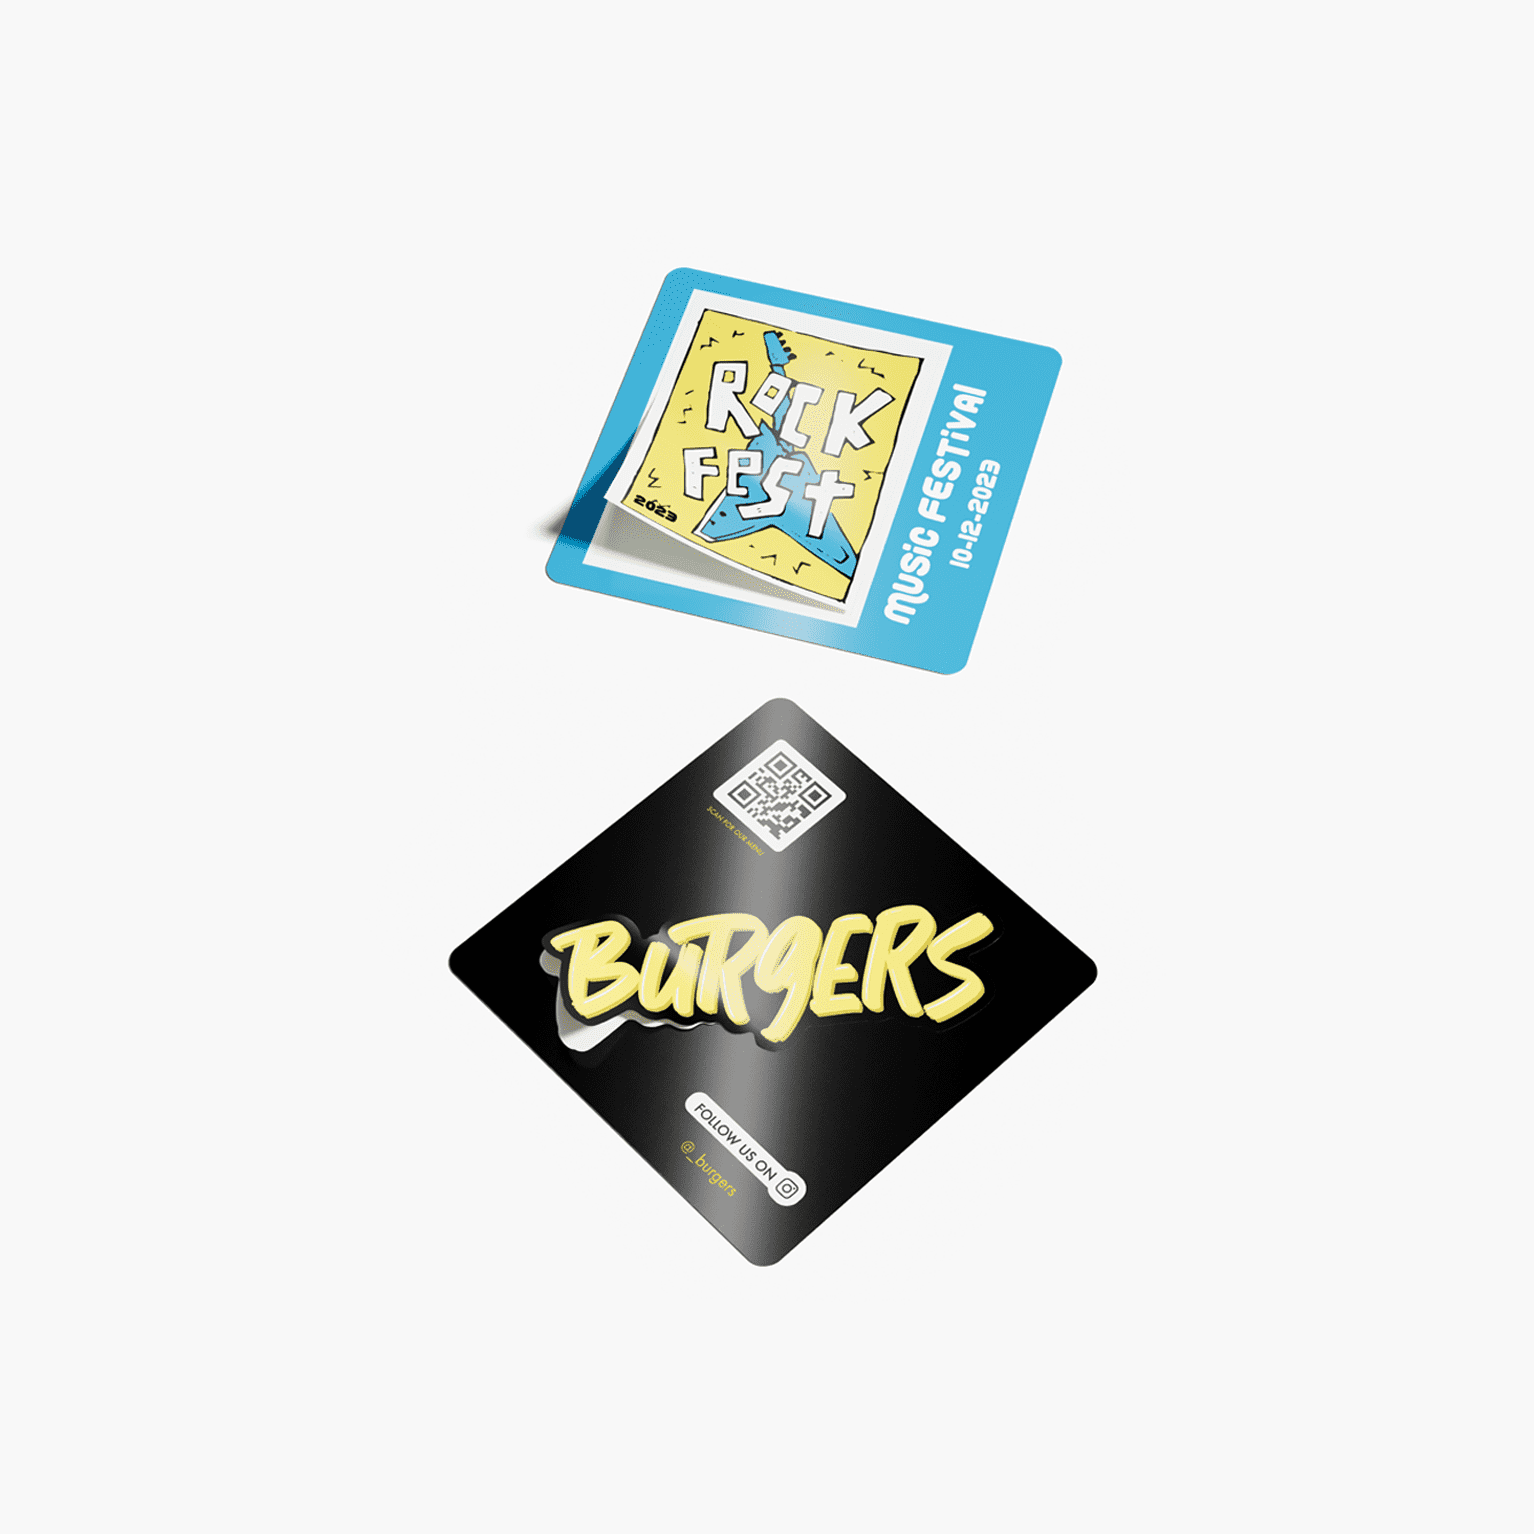
Best for: Sticker sheets, multiple designs, easy peeling
Kiss-cut stickers keep the sticker on a larger backing while cutting only the top layer. That sounds minor until you’re peeling stickers all day. The extra backing makes them easier to lift cleanly, protects the edges in transit and gives you room for multiple designs on one sheet without them turning into a fiddly mess.
Use the backing as a tool: Add branding, instructions or a QR code on the extra space, especially for promo sheets handed out at events.
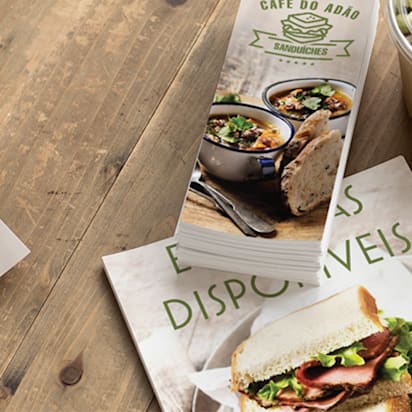
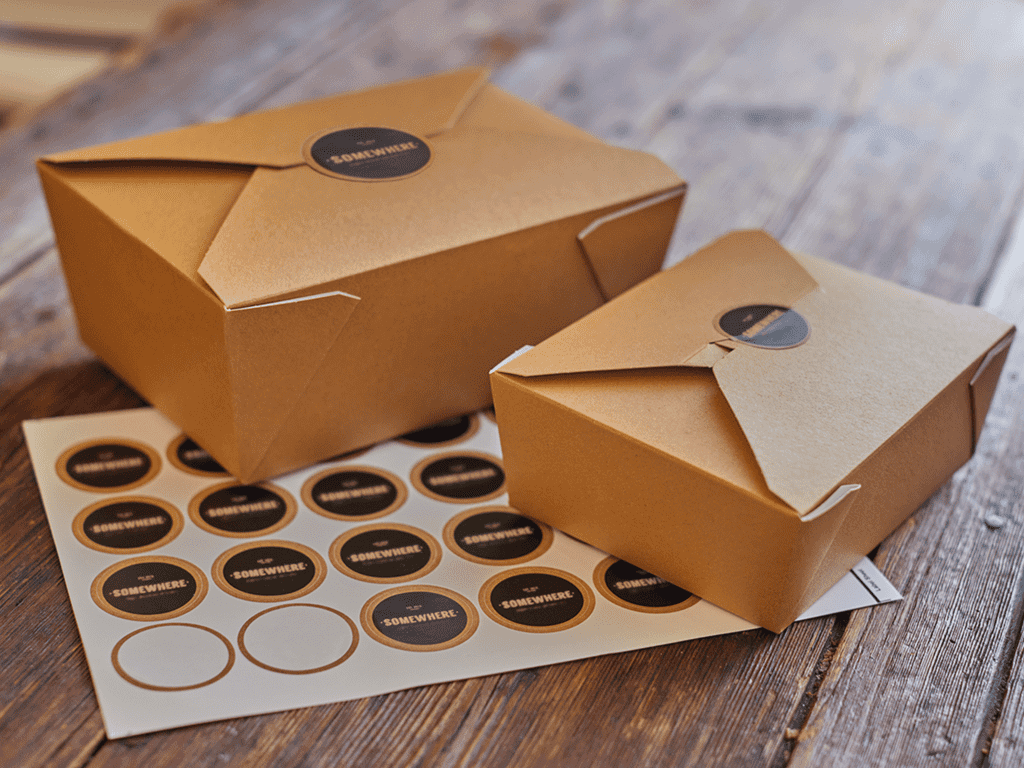
Sheet stickers

Best for: Small product runs, seasonal label sets, multi-design packaging batches
Sheet stickers arrive as a flat page with several stickers arranged together. They’re convenient when you need small batches, multiple versions or quick updates like seasonal flavors or limited runs. Storage is simple too: one stack, no loose singles drifting around your workspace.
Roll stickers

Best for: High-volume packaging, fulfillment workflows, fast consistent labeling
Roll stickers come wound on a roll for fast, repeatable application. If you label products at volume, rolls keep your process efficient and consistent, especially at a packing table. They’re also the format you’ll want if you ever move to machine application or need clean dispensing without touching the adhesive as much.
Technical print specs that affect results
You can pick the right sticker and still get mediocre results if the print specs are off. These are the details that decide whether stickers apply cleanly, stay put and keep looking good after a week of real use.
Adhesive strength
Adhesive choice comes down to whether you need clean removal or long-term hold:
- Removable adhesive is for short-term use where clean removal is necessary: promo windows, temporary price labels, event badges, subscription “thank you” stickers you don’t want ruining someone’s laptop. Look for terms like removable, repositionable or low-tack.
- Permanent adhesive is for anything you can’t afford to shift, curl or slide during transit. Use it on packaging, shipping materials and high-handling products. On textured surfaces (kraft boxes, unfinished paper, soft-touch packaging), permanent is usually the safer call.
Durability
Durability specs are most important when stickers face moisture, sunlight or friction.
- Water resistance matters for bottles, bathroom products, refrigerated items and anything that might be exposed to condensation. If the sticker isn’t rated waterproof, assume it will smudge or lift at the edges.
- UV exposure matters for outdoor signage, car decals and storefront windows. If you’re placing stickers in sunlight, ask for UV-resistant inks or an outdoor rating.
- Scratch resistance affects how fast stickers look worn. A laminate or protective coating helps most here.
Thickness
Thickness affects both how the sticker feels and how easily it applies cleanly.
- Thicker stickers feel more premium and are easier to apply without creasing, especially on larger sizes. They’re also less likely to look cheap when handed out as promos.
- Thinner stickers conform better to curves and small packaging, but they show bubbles and surface flaws faster. If you’re labeling narrow bottles or curved lids, thinner can actually apply cleaner.

Cost drivers
A few choices consistently raise sticker pricing:
- Vinyl over paper (durability costs)
- Special finishes like foil or holographic (extra production steps)
- Intricate die-cut shapes (more cutting time, more waste)
- Roll format for high-volume consistency (setup and winding add cost, especially at smaller quantities)
If you’re trying to stay on budget, skip the specialty effects and order in quantities that suit your core packaging needs.
How to choose the right sticker type
Once you understand materials, finishes, cuts and print specs, the sticker world stops feeling so overwhelming. The framework is useful because you can work backwards from real constraints rather than guessing based on looks alone.
Step 1: Identify the surface
The surface dictates whether the sticker bonds cleanly or starts lifting at the corners. Smooth materials give you more flexibility, while porous or textured surfaces make things trickier.
- Glass: Usually easy, but fingerprints and bubbles show – clean with alcohol first, then apply the sticker slowly.
- Plastic: Varies wildly; smooth PET is friendly, softer plastics can repel adhesives – test one before ordering 1,000.
- Cardboard/kraft: Porous and dusty by nature – stronger adhesive helps, and paper stocks can look great if moisture isn’t involved.
- Metal: Generally great adhesion, but outdoor metal heats up and expands.
Step 2: Confirm the environment
A sticker that performs well indoors can fail outdoors within a week. Figure out what conditions your sticker must withstand before you pick anything that’s just “pretty.”
- Moisture: Condensation, splashes, bathroom shelves, cold-chain storage.
- Exposure and wear: Sun through a storefront window, abrasion in shipping, constant handling at checkout.
Step 3: Define lifespan and purpose
Now, think about how long the sticker needs to last. Short-term promos can use removable adhesive and simpler materials. Packaging labels need a consistent hold through shipping and handling. Long-term branding calls for vinyl, lamination and finishes that won’t scuff after a week in the wild.
Step 4: Choose a format based on volume
Format is a workflow decision. If you apply stickers occasionally by hand, sheets or singles are fine. If labeling is part of daily operations, rolls save a ton of time and keep the application process consistent, especially once you’re packing dozens or hundreds of units.
Step 5: Pick a finish based on brand perception
The finish on your stickers creates a lasting impression. Matte feels modern and controlled, gloss feels bold and retail-forward. Foil and holo can work well when used with restraint, especially on small accents like logos and seals.
If your sticker carries important info, readability wins!
Step 6: Keep 2026 sticker trends in mind
Sticker trends in 2026 are leaning toward the practical. People keep stickers that are thoughtful, useful or collectible, and they toss the rest.
- Eco materials with clarity: Recycled stocks and biodegradable options are showing up more, but brands are getting smarter about explaining what’s actually compostable, recyclable or simply lower-plastic.
- Premium finishes in small doses: Foil accents and tactile textures are being used to upgrade packaging without turning the whole label into a disco ball.
- QR stickers that earn their space: Links to loyalty programs, review pages, menus, reorder flows or quick product instructions customers can actually use.
- Sticker packs as mini merch: Limited-run bundles and collabs can have customers thinking of the stickers as freebies worth keeping.

Once you know what type of sticker you need, learn how to make stickers in our guide.
Best sticker types for small business (by goal, environment and surface)
Different sticker types work best in different real-world scenarios. Below are the most reliable picks based on your goal, the surface you’re applying to and the conditions the sticker needs to handle.
Packaging and product labeling
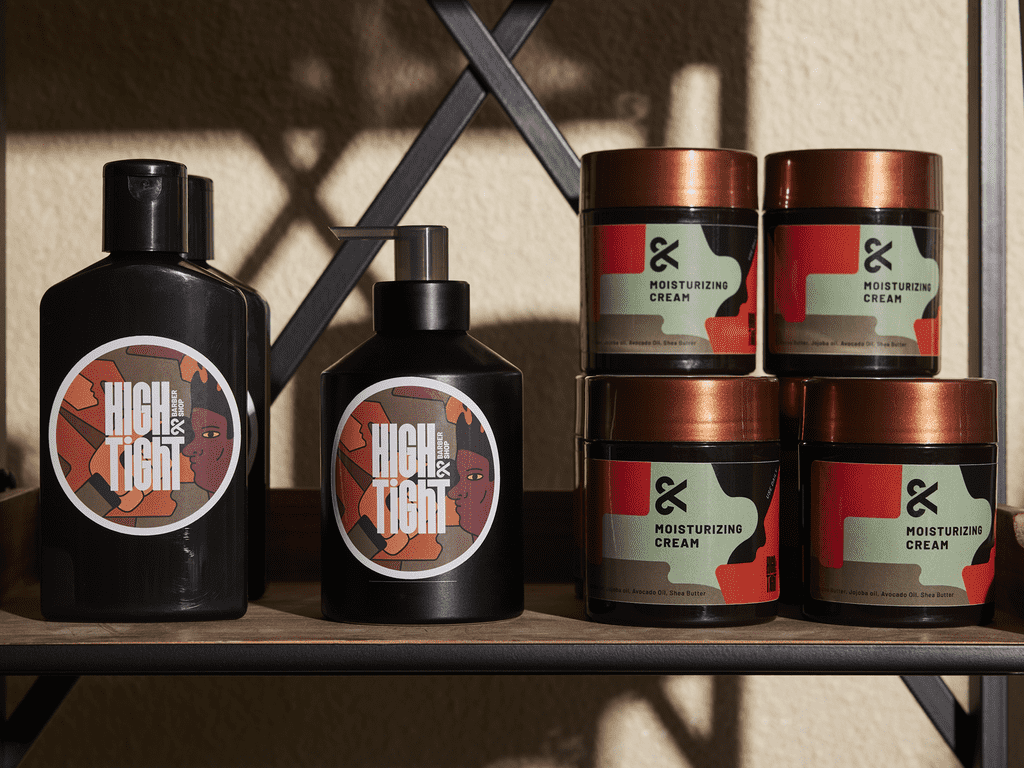
For everyday packaging, paper stickers are the go-to on cardboard boxes, kraft bags and dry indoor products. They’re affordable and they look right at home on handmade-style packaging.
If you want that clean, modern “no-label” look on glass or smooth plastic, go with clear stickers, but plan for contrast or white ink so the text doesn’t vanish.
When labels are exposed to moisture or rough handling (bottles, bathroom products, refrigerated items, shipping friction, etc.), vinyl labels hold their edges better and stay readable longer.
Promotional sticker types (events and giveaways)
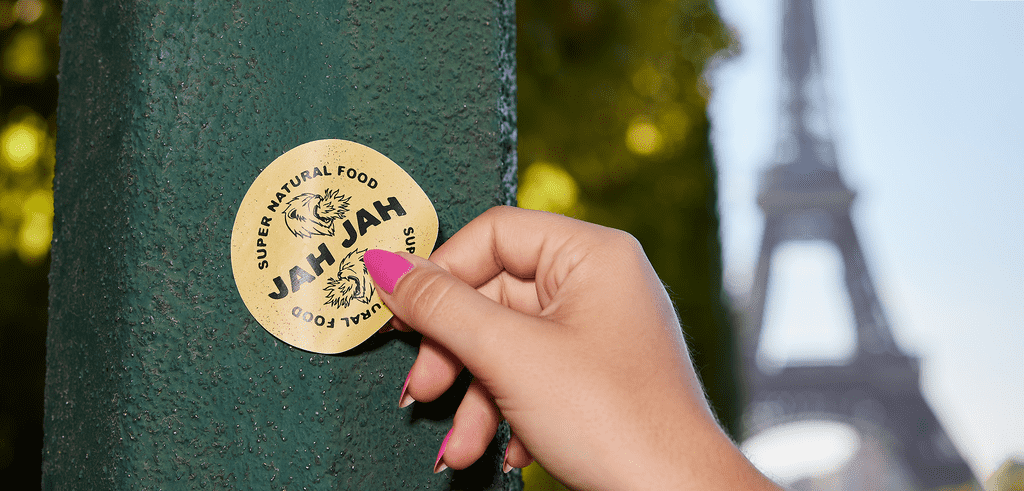
For stickers that people actually keep, die-cuts are a winner. The custom shape makes even a simple logo feel like merch, which is the whole point of a freebie.
If you want multiple designs in one handout, use kiss-cut sticker sheets so people can peel them quickly without mangling the corners.
Make your sticker more useful by adding a QR code to the sticker that leads to a loyalty signup, review page, menu or event landing page. Be sure to test it on a phone first and don’t bury it in tiny text.
Outdoor branding and long-term use
Outdoor use narrows the options quickly. Vinyl stickers handle sun, rain, temperature shifts and abrasion far better than paper, which is why they’re also the standard for bumper stickers and other vehicle decals.
If you want the design to stay crisp, choose weatherproof or laminated vinyl so the ink is protected and the edges resist scuffing and lifting.
Metal and plastic surfaces can get hot in direct sun, which stresses the adhesive and speeds up wear, so durability ratings matter here.
Windows and short-term promotions
For window promos you’ll swap out regularly, static cling is the cleanest option. It sticks without adhesive, removes easily and won’t leave residue behind on glass.
If you want a more integrated look, clear stickers can give a sleek “printed-on” effect, especially on storefront glass. If the promo is temporary, choose removable adhesive so cleanup doesn’t become an awkward scraping session after closing.
Premium branding and unboxing moments
When the goal is “this feels expensive,” use finishes that do the work for you. Foil stickers add a gift-ready upgrade fast, especially on logos, seals and small accents.
Holographic stickers bring bold, collectible energy to modern brands; just keep the typography thick and readable.
If your printer offers it, soft-touch matte delivers a tactile premium feel that pairs well with minimal layouts and clean branding.
Ready to make stickers a part of your print marketing strategy?
Stickers are one of the simplest ways to get more mileage out of your branding. The trick is choosing them intentionally: Match the sticker to the surface, account for the environment, then lock in specs that prevent lifting, smudging, fading and scuffing.
FAQs about creating and ordering stickers
How do I test a sticker before ordering in bulk?
Start with a small batch and apply stickers to the exact surface you’ll use day to day. Leave them for a week, then pay attention to how they hold up through regular interaction, shipping friction or refrigeration. Testing real conditions beats guessing.
What file setup helps avoid blurry or low-quality sticker printing?
Vector files (PDF, AI, SVG) are the cleanest option for sharp edges and scalable logos. If you’re using images, make sure they’re at least 300 DPI at the final print size. For die-cut designs, include bleed and keep text slightly away from the cut line.
Can stickers be applied to textured or recycled packaging?
Yes, but you’ll need the right adhesive. Porous materials like kraft boxes and recycled cardboard can cause basic stickers to lift early. Permanent adhesive and vinyl labels usually perform better on rough surfaces than standard paper stocks.
What’s the most common sticker mistake small businesses make?
Choosing based on appearance alone. A sticker can look perfect on a product mockup and fail immediately in moisture, sunlight or shipping. Surface and environment should come first, then finish and design details.