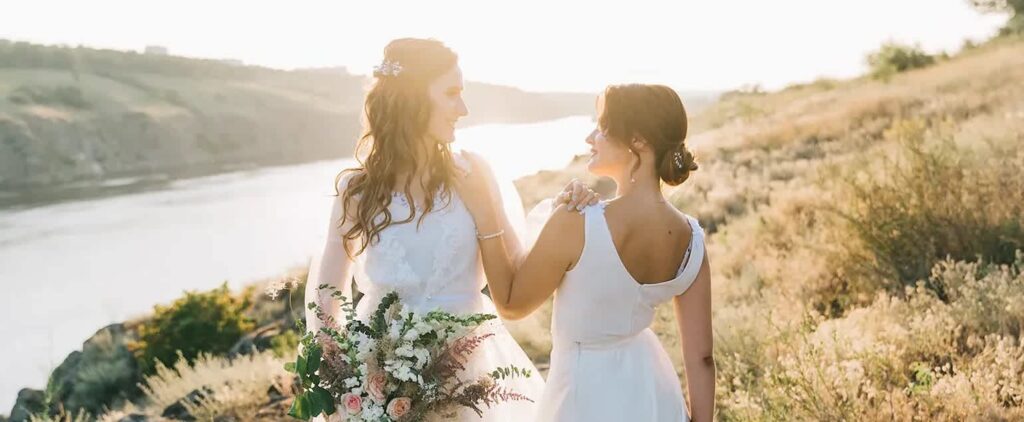
Your camera roll is filled with photos from your engagement, wedding day and anniversary trip. But scrolling through them on your phone doesn’t do those priceless memories justice. Printed photo books transform fleeting digital moments into something permanent you can hold, share and treasure. Whether you’re creating a wedding photo album book, commemorating a milestone anniversary or documenting your journey to “I do,” this guide will walk you through creative photo book designs to preserve your most meaningful memories. We’ll explore photo book ideas, storytelling approaches and practical layout tips.
- Wedding photo book ideas include chronological, intimate moments or behind-the-scenes memories.
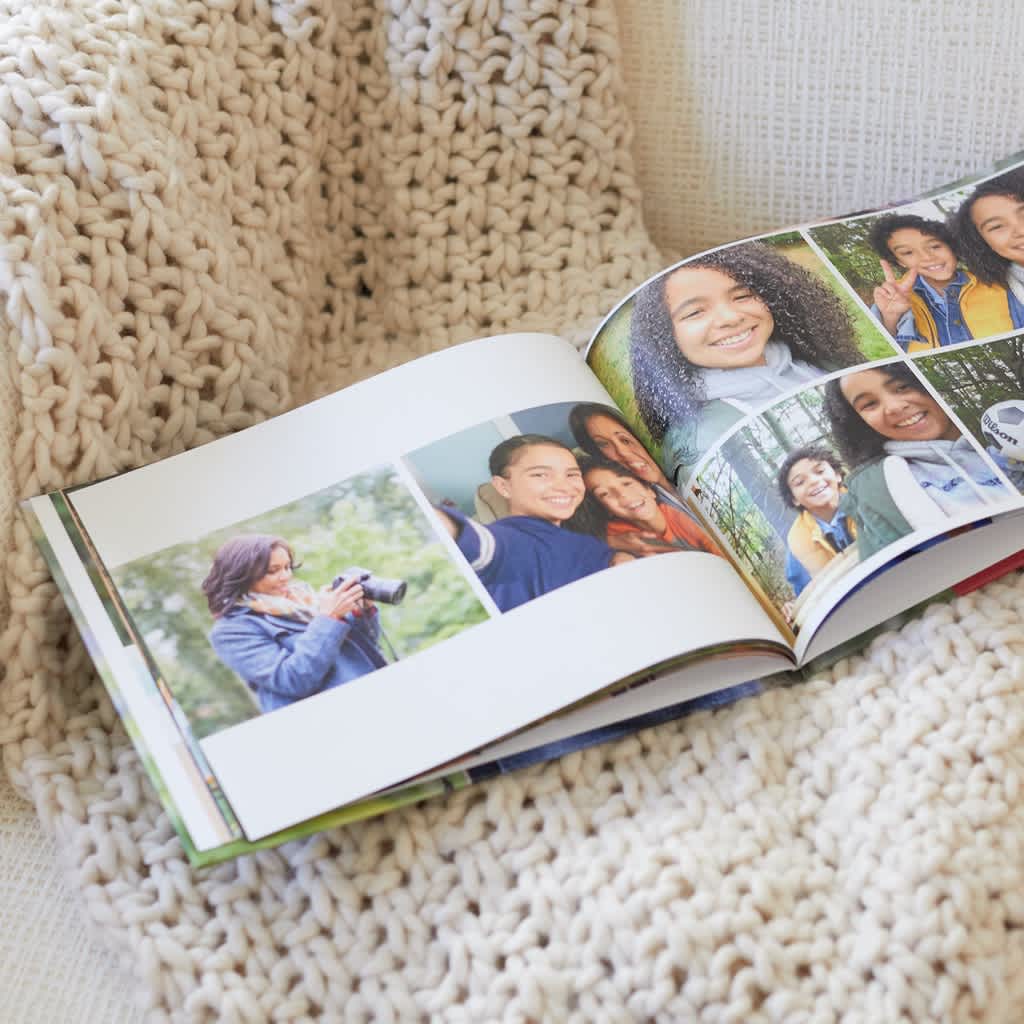
- Include one to four photos per page, with a mix of close-ups with wide shots for visual variety.
- Use glossy for vibrant colors, matte for timeless elegance and layflat binding for panoramic spreads.
- Build narrative flow, starting with anticipation, building to a peak and ending with a quiet, intimate moment.
- VistaPrint’s Smart Assistant helps select your best shots and create layouts, which you can customize.
Why create a photo book for life’s love stories?
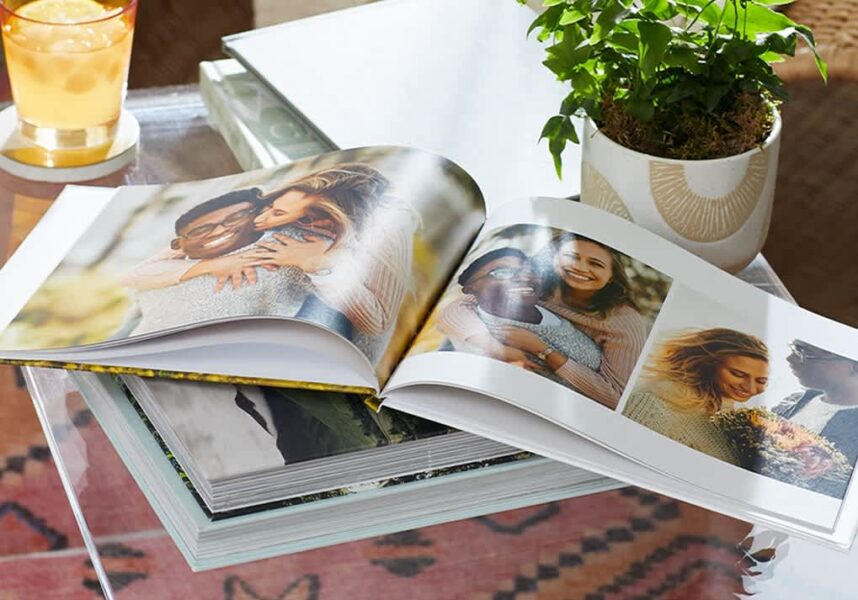
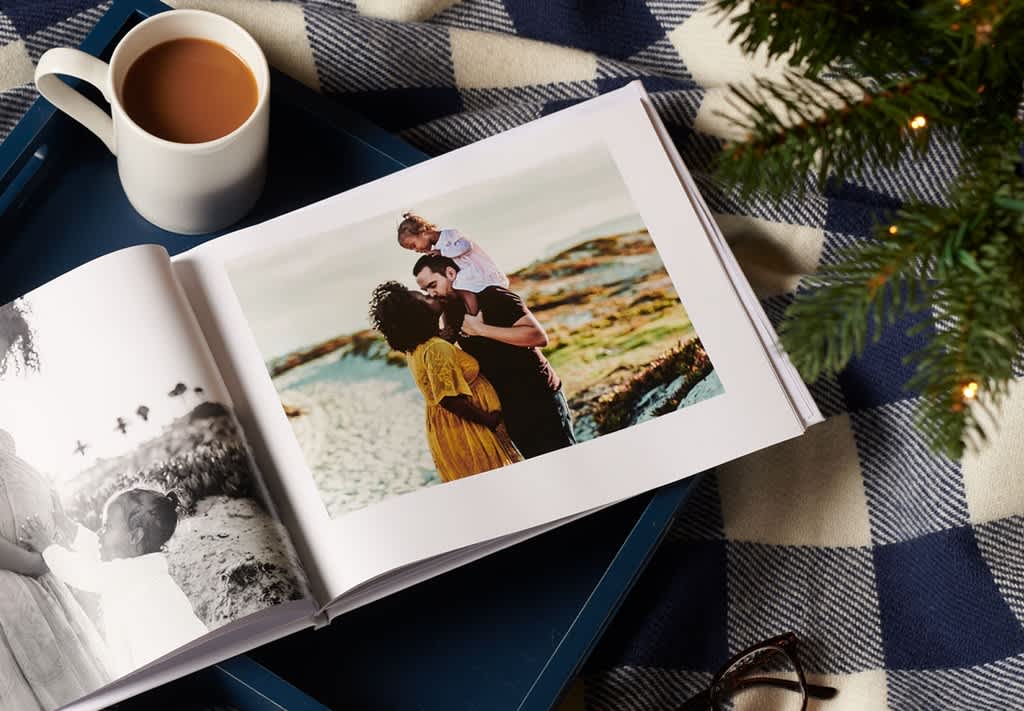
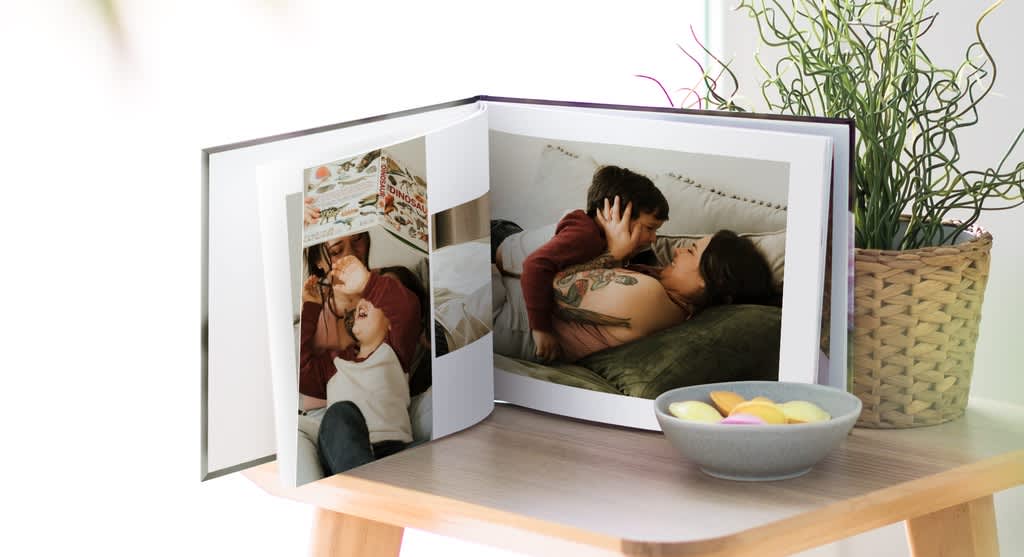
A custom photo book makes your memories last. Unlike scrolling through a digital photo album, a printed photo book is tactile, permanent and shareable. Flip through pages with your partner over coffee, pass it around at family gatherings or leave it on the coffee table for guests to admire.
The beauty of creating personalized photo book designs is telling your love story your way – highlighting your vows, the dance floor chaos or a quiet anniversary morning. Use photobooks to document and celebrate weddings, anniversary trips, engagements, vow renewals and travel adventures as newlyweds.
Check out wedding trends to see how couples are documenting their celebrations and get fresh ideas.
Wedding photo book ideas
Your wedding photo book design should reflect the story you want to tell. Give custom photo books as wedding gifts or create one to remember your own special day.
The chronological wedding book
This is the classic approach: a start-to-finish documentation of the wedding day. Begin with photos of getting ready, move through the ceremony, then the reception and finish with the couple’s exit. Use more photos for important moments, such as the vows, first dance, cake cutting and toasts, and fewer photos for transitions.
The emotional journey book
Organize your wedding photo book by emotion rather than time: joy, love, celebration, connection, anticipation. This approach works beautifully for couples who want their photo book to help them remember how they felt on their wedding day.
Mix ceremony and reception photos within each themed section. All the moments of joy are grouped together, regardless of when they happened. This photo book style gives you creative freedom to curate pictures based on how they make you feel.
Use your wedding color palette to create visual cohesion throughout.
The intimate moments book
Focus on behind-the-scenes snapshots, reactions and details your guests never saw: the quiet moment before the ceremony; your mom helping you into your dress; candid tears during toasts. This style works beautifully as a second photo book or smaller gift-sized version for parents and members of your wedding party.
The reception party book
If your wedding reception was the highlight, dedicate an entire photobook to the celebration, featuring dancing, toasts, décor details, guests having fun and the electric energy of the night. This works wonderfully as a coffee table book that’s high-energy, visually dynamic and fun to flick through.
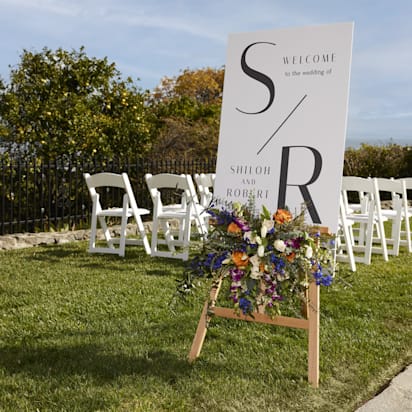
Include photos of your wedding signage and décor to capture the full atmosphere of the party.
The themed wedding photo book
Create themed photobooks that hone in on specific aspects of your celebration: wedding themes, details (florals, food, décor, signage), people (family portraits, friend groups, couple shots) or food, including photos of the wedding menu, meal, cake and toasts. These make excellent gifts or creative second photo book ideas.
Anniversary photo book ideas
Custom photo books that celebrate love are also perfect for documenting the journey before and after saying “I do,” such as engagements and anniversaries.
Anniversary milestone photo books
Celebrate a first, fifth, 10th or 25th anniversary with a personalized photo book that combines wedding day photos with special moments from married life. Start with your engagement, move through your wedding and highlight the best moments from each year together, such as your first home, vacations, new pets, career achievements – all the milestones that make your love story unique.
These work beautifully as gifts for your partner or another couple celebrating a major anniversary. Parents especially love receiving these as anniversary gifts to see their journey through your eyes.
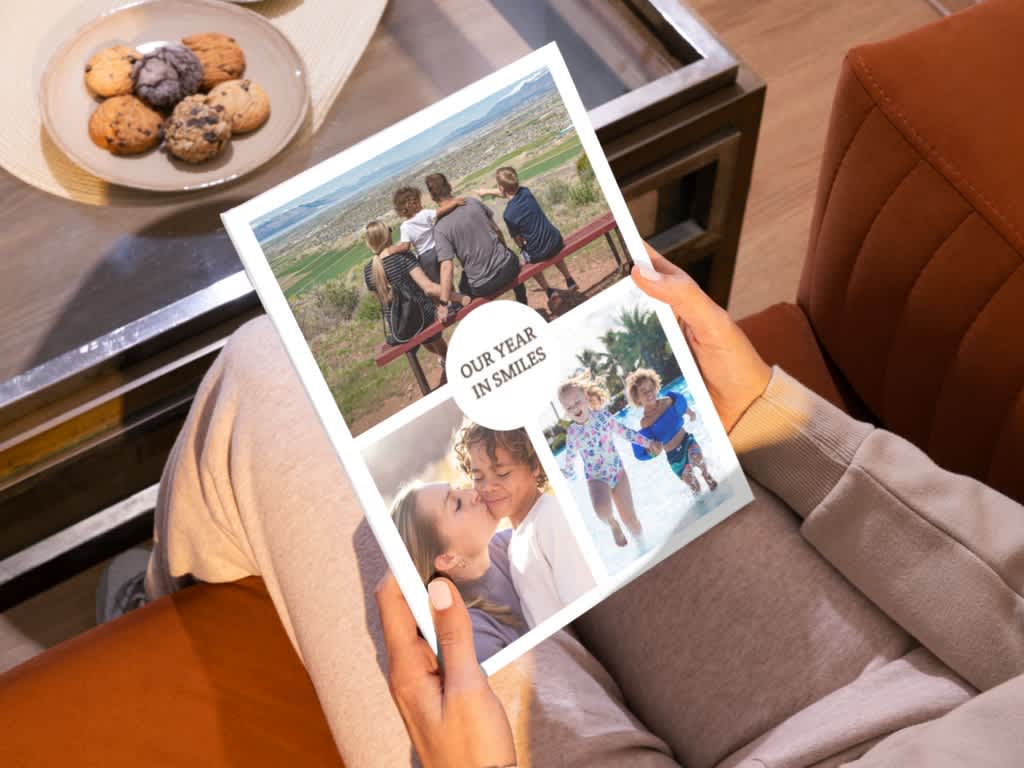
Year-in-review photo books
Document your first year of marriage or any milestone year with visual highlights from each month. This structure is perfect for beginners because it’s straightforward, moving chronologically through the year. Some couples create a “photo a day” book with one picture to capture each day of the year.
Travel photo books
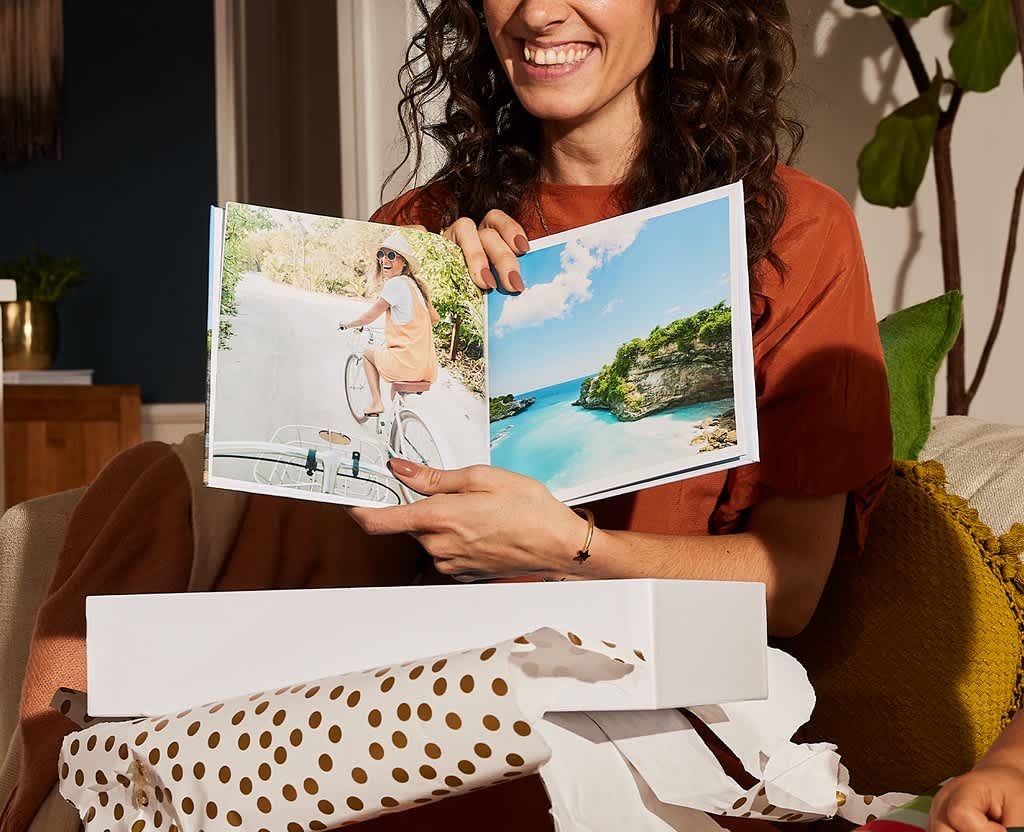
Document honeymoons, anniversary trips or memorable vacations together. Organize by destination or by day, and include maps, tickets and journal entries as design elements. These little touches make your travel photo book feel like a complete memento of the experience.
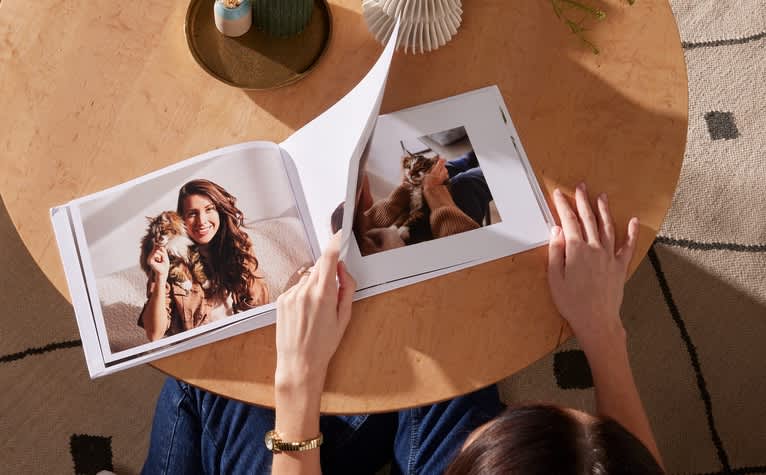
Pet photo books
Create a pet photo book celebrating your furry family members, from the day you adopted them to the adventures you’ve shared. Include photos of pets at your wedding (if they attended) or a collection of your cat photobombing your proposal or anniversary dinner attempts.
Pet photo books make wonderful wedding and anniversary gifts for animal-loving couples.
Engagement photo books
An engagement photo book captures the chapter between “yes” and “I do.” Document the special moments from the proposal and engagement parties through to early wedding planning. Include engagement photos, behind-the-scenes planning, rehearsal moments and the emotional lead-up to the big day. This idea works well as a companion to your wedding photo book or as a meaningful engagement gift for your partner, parents or close family members.
Photo book layout and design tips
The layout of your photo book helps your pictures shine without overwhelming the page. You want people to focus on the images and the story they tell, not get overwhelmed by overly busy designs or cluttered pages.
Choose your photo book layout
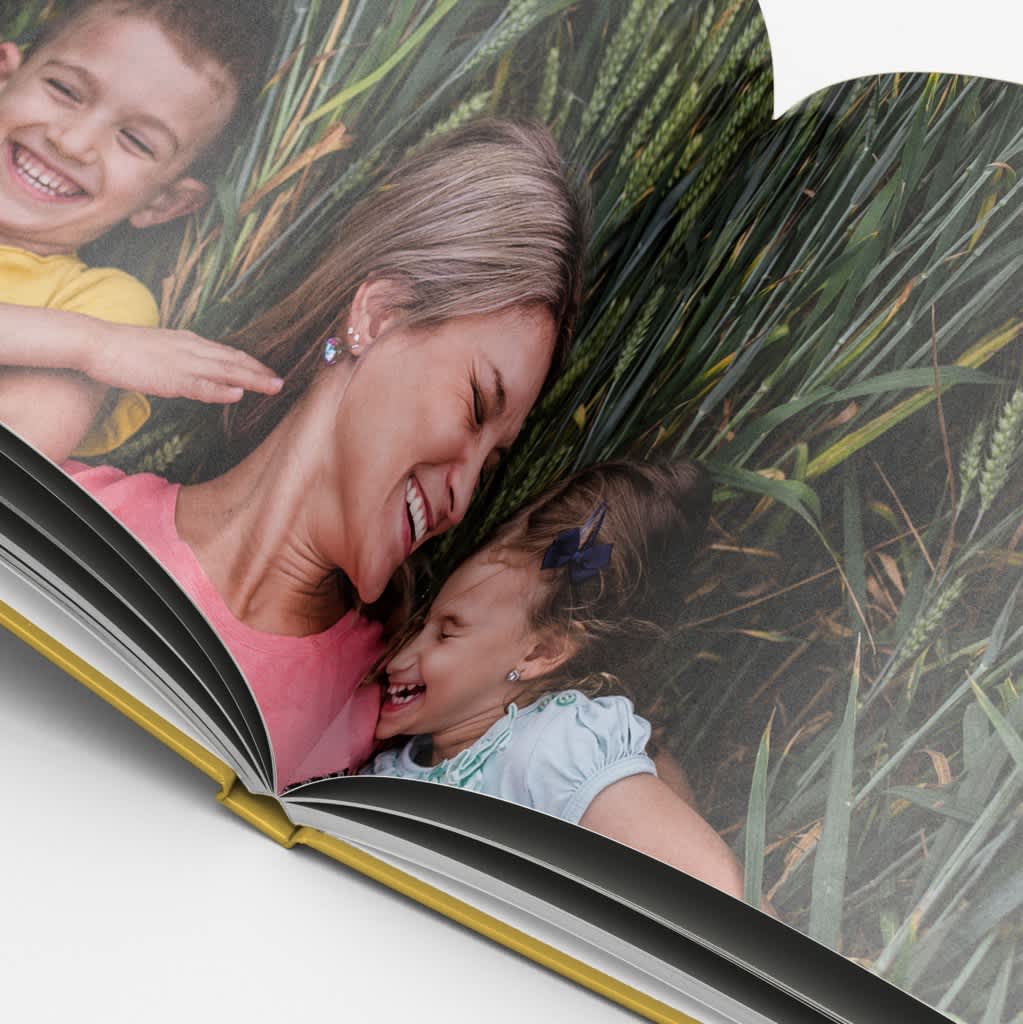
Full-bleed layouts create drama and impact. Use these layouts for your most powerful moments: a sweeping landscape from your honeymoon, an emotional close-up during vows or a stunning portrait. When a photo gets a full page to itself, it becomes the hero. Reserve full-bleed layouts for your top 5-8 photos in the book.
Multi-photo grids work beautifully for storytelling and candid moments. These photo book design layouts let you show multiple perspectives of the same event or create visual variety on a single page. A 2 x 2 grid works well for getting-ready photos or reception details, whereas a three-photo horizontal layout is perfect for showing progression, like walking down the aisle in three sequential shots.
Asymmetric layouts make your photo book feel modern. Instead of balanced grids, try placing a large image on one side with smaller images clustered on the other. For example, one large 8″ x 10″ portrait on the left page with three 4″ x 6″ candid shots on the right page creates visual variation without feeling chaotic.
Use a preset layout to see how spacing, photo density and hierarchy work together before using the customization options to add a personal touch to your design.
Balance images and whitespace
Whitespace isn’t wasted space – it gives the eye a rest and elevates your most important photos. When every page is crammed full of images, nothing stands out. But when you alternate dense pages with sparse ones, the photos feel more intentional.
Use margins deliberately. Leave at least 0.5 inches of margin around the edge of your page and 0.25 inches between photos in a grid. This prevents the page from feeling cluttered and gives each image room to breathe.
Consider the difference between bleed photos and bordered photos. Images that extend to the page edge feel immersive and modern, perfect for dramatic landscapes or close-up portraits. Images with white borders feel more traditional, ideal for classic wedding albums or a vintage look.
Use text and captions
Sometimes photos speak for themselves, but sometimes text enhances photo book designs. The key is knowing when to add words and when to let the images do the talking.
Include text when it adds meaningful context: excerpts from your vows, memorable quotes from toasts, dates and locations of important events, a favorite recipe from your wedding menu or journal entries from your travels. These textual elements make the photo book narrative richer without competing with the visuals.

Test your text by previewing your photo book at actual size. If you have to squint to read captions, increase the font size.
Be consistent with design
Stick to one design style throughout your book, using consistent colors, fonts and photo filters. This creates a cohesive look and makes your photo book feel intentional. For visual variety and a dramatic break, consider adding a black-and-white photo section. Tie everything together using your wedding color palette and the same fonts from your wedding signage and menus.
How to order photos for emotional impact
The order of your photos matters just as much as the photos themselves. It’s the difference between a random collection of images and a story with a clear narrative arc. Here’s how to arrange your photos for maximum emotional impact in three simple steps.
Step 1: Build narrative flow
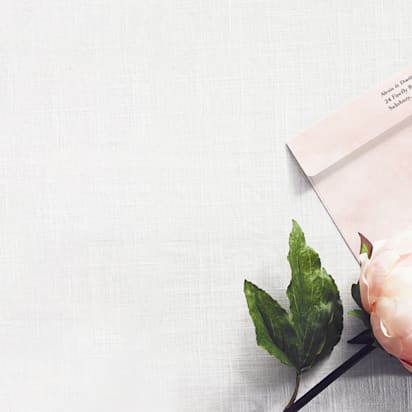
Start with anticipation and preparation. Open your photo book with moments of getting ready, the quiet before the celebration, the build-up of excitement. A photo of an empty ceremony space, hands fastening jewelry or a close-up of your invitation sets the stage beautifully.
Build up to the peak moment, whether that’s walking down the aisle, the first kiss, cutting the cake or the first dance – every photo book should have a climax. Guide readers toward that peak with intentional pacing; don’t rush there in three pages.
End with a quiet, intimate moment of connection. After all the excitement, close with something tender: a private moment between you and your partner, a sunset shot from your honeymoon or a candid laugh that captures pure joy. This gives the book a satisfying emotional resolution.
Print out thumbnail versions of your photos and lay them out on a table or floor. This makes it easier to see the flow and spot where pacing feels off.
Step 2: Create rhythm and pacing
To create rhythm and pacing in your photo book:
- Mix close-ups with wide shots. Follow three close-up portraits in a row with a wide shot. This variation keeps pages from feeling repetitive and keeps readers engaged.
- Alternate calm and high-energy moments. Don’t put all dance floor photos together and all quiet moments together. Weave them throughout the book so there’s a natural ebb and flow of energy.
- Incorporate page turns for reveals. Use the physical act of turning the page to your advantage. End one page with anticipation and start the next with the payoff. This works especially well for before-and-after moments or building toward a big reveal, like ending a page mid-aisle and turning to show the first kiss.
- Build in breathing space with single-image pages. When you want a moment to really land, give it a full page. Reserve these pauses for your favorite photos in the book.
Step 3: Highlight the most important moments
Certain photos deserve special treatment because they capture the heart of your celebration. Give extra space to ceremony highlights, reception peaks, portraits and meaningful details:
- Portraits deserve their own moment. Whether it’s you and your partner, family portraits or wedding party shots, give portraits room to breathe. A common mistake is cramming too many portraits onto one page – instead, feature one portrait per page.
- Details like rings, dresses, flowers and décor add texture to the story. Include at least one detail shot every four to five pages to break up portraits and action shots. These images give context and remind you of all the care you put into planning your wedding.
- Candid photos and guest reactions capture the atmosphere and emotion of the day. Include moments of genuine laughter, happy tears and spontaneity, as these are often the photo memories you treasure most.
Paper types, binding and cover options
Production and printing choices affect how your photo book feels in your hands and how long it lasts. Here’s what you need to know to make informed decisions.
Photo book paper types and finishes
Matte paper has a smooth, subtle finish with a soft sheen. It reduces glare, making photos easy to view in any lighting, and creates a refined, understated look. Matte is budget-friendly and works beautifully for classic wedding albums or photo books with vintage aesthetics. Choose matte for an elegant, timeless look where readability matters more than maximum color intensity.
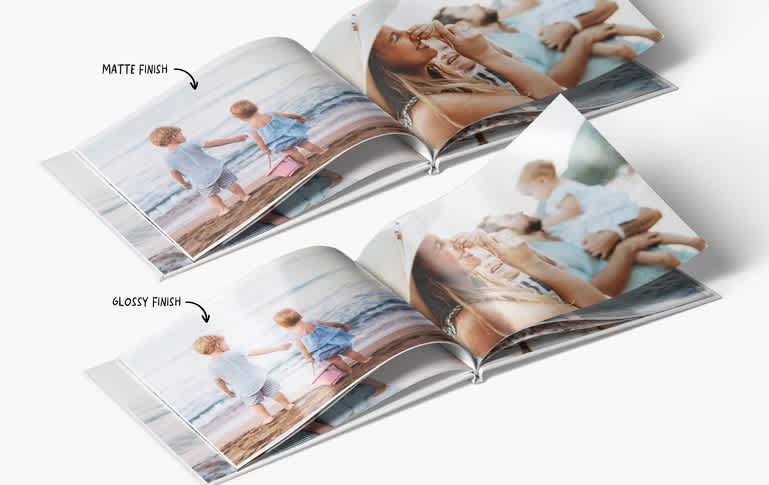
Glossy paper has a shiny, coated surface that makes colors appear richer and more vibrant. This premium finish reflects light, creating that high-contrast, magazine-quality look. If your wedding featured bold florals, dramatic lighting or destination scenery, glossy paper will make them pop. However, glossy paper shows fingerprints easily and can create glare in bright light. Choose glossy when you want maximum color impact, ideal for modern weddings, travel photo books and vibrant color printing.
Binding options for photo books
Standard hardcover uses traditional binding with a visible center seam. This binding option is affordable and works well for most photo books. The hardcover protects your pages and gives the book a polished feel, great for everyday albums and books without many double-page spreads.
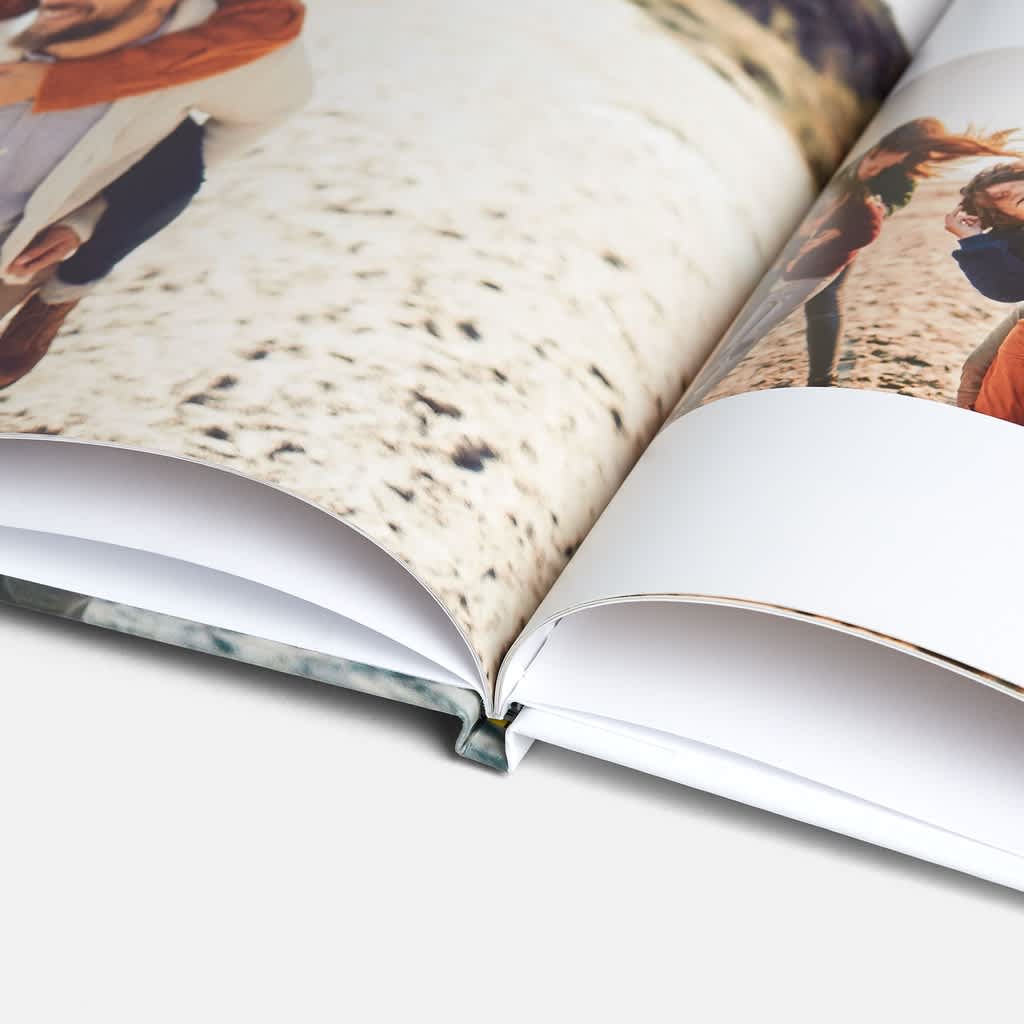
Layflat binding is the premium binding choice for high-quality photo books. Pages lie completely flat when open, perfect for panoramic shots, double-page spreads and large group photos. VistaPrint’s layflat photo books come in large and XL sizes. Layflat binding is especially popular for wedding photo books because the seamless layout showcases wide shots beautifully.
Softcover photo books have a flexible cover that’s lighter and more portable. They’re perfect for smaller photo books, travel journals or gift photo books you want to share with multiple people. Choose softcover books for engagement stories, honeymoon albums or anniversary keepsakes.
Cover styles for photo books
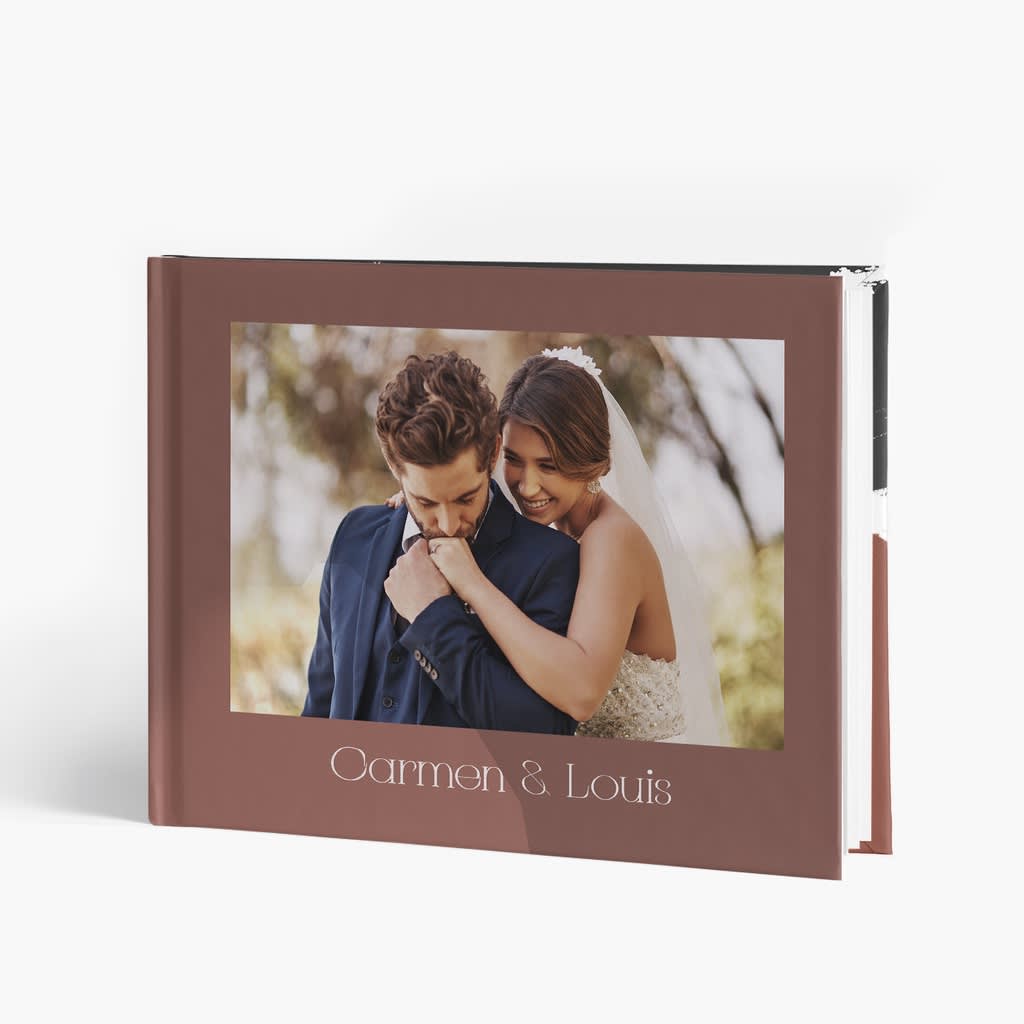
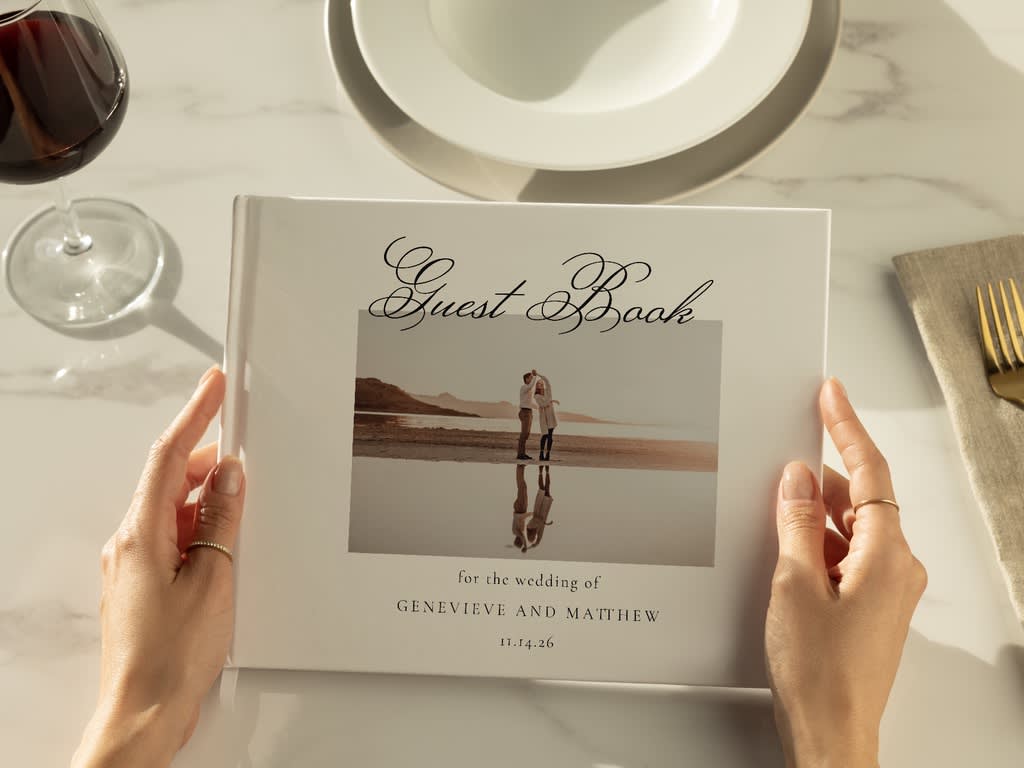
Photo covers featuring an image on the front are the most popular choice because they immediately tell the story. Choose your favorite portrait, candid moment or landscape to print on the cover or incorporate your wedding monogram for extra personalization.
Photo covers are visually striking and perfect for gifts. However, the photo quality needs to be high-resolution to look good at cover size. Choose a photo cover style when you have a stunning hero image and want your book to make an immediate visual impact.
Linen covers have a textured fabric finish that feels elegant and understated. They’re perfect for a classic, timeless look, plus linen is durable, hides fingerprints better than photo covers and has a sophisticated feel. Choose linen for special wedding photo albums or when you want a refined, textured, understated aesthetic.
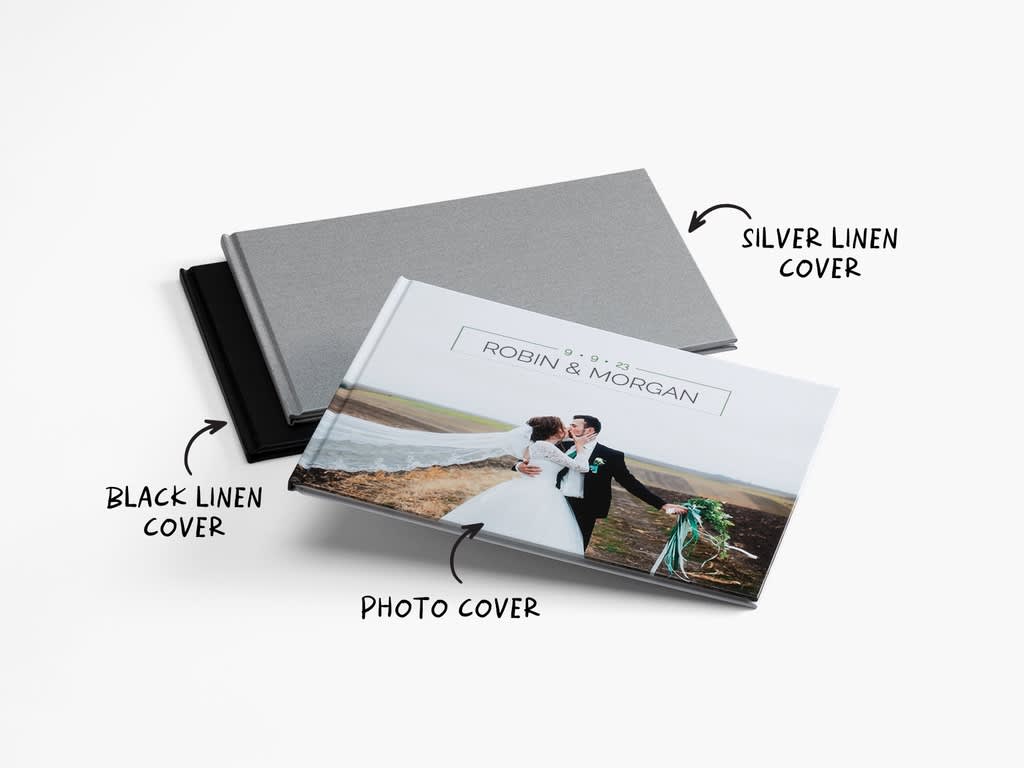
Photo book size considerations
VistaPrint’s high-quality photo books come in eight size options in square, portrait and landscape formats.
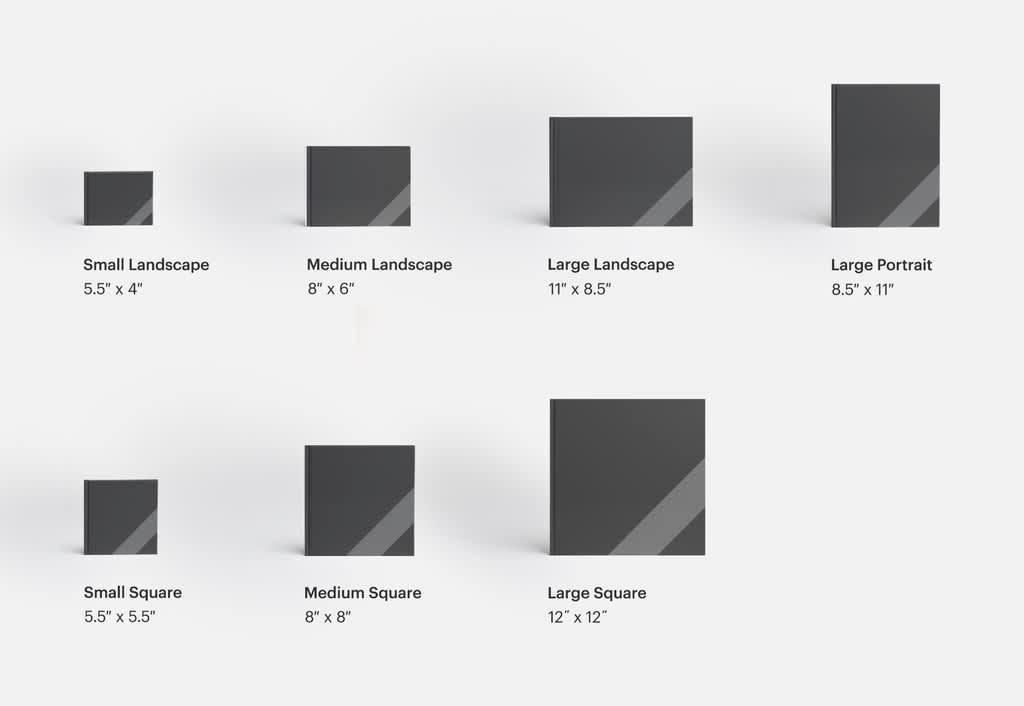
XL to large formats like XL Square (12″ x 12″), Large Landscape (11″ x 8.5″) or Large Portrait (8.5″ x 11″) create statement coffee table books ideal for comprehensive wedding albums and collections. Large photo books showcase detail beautifully and provide room for dramatic full-bleed spreads. Choose large formats for your primary wedding album, anniversary milestone books or any photo book that will be on display.
Large to medium formats like Large Square (8″ x 8″) or Medium Landscape (8″ x 6″) offer versatility – large enough to showcase photos beautifully but portable and easy to store. Medium is the sweet spot for most photo book designs, offering good value and flexibility. They’re easier to hold and flip through than large formats and fit nicely on bookshelves. However, layflat binding isn’t available for medium photo books, so they aren’t the best option if you have lots of group or panoramic shots.
Medium to small formats like Medium Square (5.5″ x 5.5″) and Small Landscape are perfect for gifts and keepsakes. Create small photo books for parents, grandparents and wedding party members. Small formats are affordable, easy to mail and perfect for making multiple copies. However, photos lose detail at smaller sizes and text can be hard to read. Choose budget-friendly small formats for gift versions or themed collections that don’t need high impact.
Photo book designs FAQs
What paper type is best for wedding photo books?
Glossy paper makes colors look vibrant and high-contrast, ideal for modern or destination weddings. Matte paper offers a softer, glare-free finish that suits classic or vintage styles.
How many photos should I include in a photo book?
Aim for one to three photos per page for impact. A 24-page book typically includes 24-72 photos, depending on layout. Fewer strong images tell a clearer, more impactful story than lots of similar shots.
What’s the difference between hardcover and layflat binding?
Standard hardcover books have a visible centre seam and are more budget-friendly. Layflat photo books open completely flat, making them ideal for panoramic images and full-spread wedding photos.
Should I use AI to help design my photo book?
AI tools like VistaPrint’s Smart Assistant are great for organising photos and creating a layout quickly. You’ll still have full control to edit, personalize and shape the final story using its customization options.
What size photo book works best for weddings?
Larger formats like 11″ × 8.5″ Landscape XL or 12″ × 12″ XL Square are ideal for main wedding albums. Medium and small sizes work well for affordable books and gift copies for family or wedding party members.