A product launch packaging strategy is the plan for designing, testing, producing and shipping the packaging for a new physical product. It brings together structural protection, material choices and the unboxing experience so your launch looks great and arrives in one piece.
Early preparation helps you avoid shipping delays, surprise costs and a mountain of boxes that don’t quite fit. A good packaging strategy balances what your product needs, what your customers expect and what your small business can afford.
This guide walks you through market research, materials, budgeting, artwork templates, pilot runs and fulfillment.
- Balance product protection, brand storytelling and a memorable unboxing experience.
- Start planning 10–12 weeks before launch, allowing 4–6 weeks for production and delivery after approval.
- Use a 50–100 unit pilot run for testing, photography and PR kits before scaling up.
- Check physical samples for product fit, print quality and transit performance.
- Load accurate packaging weights and outer dimensions into shipping software before taking orders.
Why product launch packaging matters for brand success
Product launch packaging protects your product and gives customers their first hands-on experience of your brand.
- Build confidence: A secure, neatly presented product helps customers feel good about their purchase.
- Support recognition: Consistent colors, logos and messaging connect the delivery to your online store.
- Encourage sharing: An enjoyable reveal gives customers and creators something worth photographing.
For an online business, the box arriving on someone’s doorstep is often your first physical hello. Thoughtful packaging can support repeat purchases and word-of-mouth recommendations, although the product and service still need to deliver.
Start with customer and competitor research
Before choosing a box, review three to five competing products and their customer reviews. Look for complaints about damage, excessive packaging or awkward opening. Notice what customers praise, too.
Turn those observations into a short brief:
- Product needs: Weight, fragility, dimensions and anything that could leak or scratch.
- Customer expectations: Everyday convenience, gift-ready presentation or a premium reveal.
- Launch constraints: Sales channels, launch quantity, budget and delivery deadline.
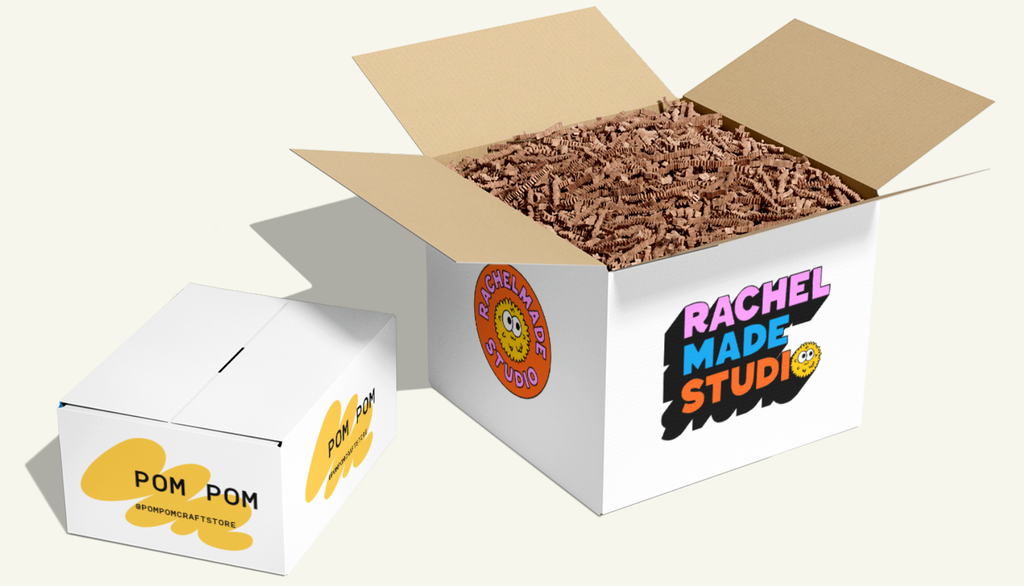
A stock box with a thoughtful label can work beautifully. Custom mailer boxes offer more room for your story when the budget supports it. Spend on details that improve the experience, rather than adding layers just because you can.
Key product launch packaging design considerations and material selection
Product launch packaging design considerations are the practical choices that determine how your packaging protects, presents and delivers your product.
| Packaging format | Best fit | What to check |
|---|---|---|
| Corrugated mailer box | Small to medium e-commerce orders and PR kits | Product weight, closure strength and cushioning |
| Folding carton | Retail shelves and lightweight product presentation | Whether it needs a separate protective shipping box |
| Rigid box | Premium gifts and presentation | Added cost, weight and protection for shipping |
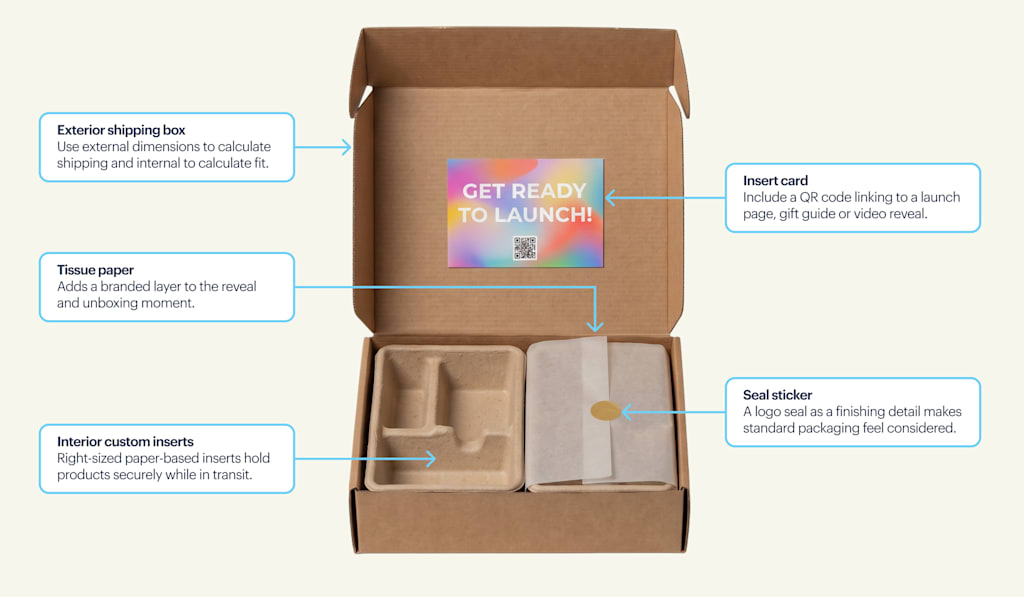
Measure the product and its protective materials before selecting a size. Use internal dimensions for fit and external dimensions for shipping calculations. A rigid presentation box isn’t automatically a shipping box, and tissue paper isn’t a substitute for cushioning fragile items.
Choose finishes that suit the launch
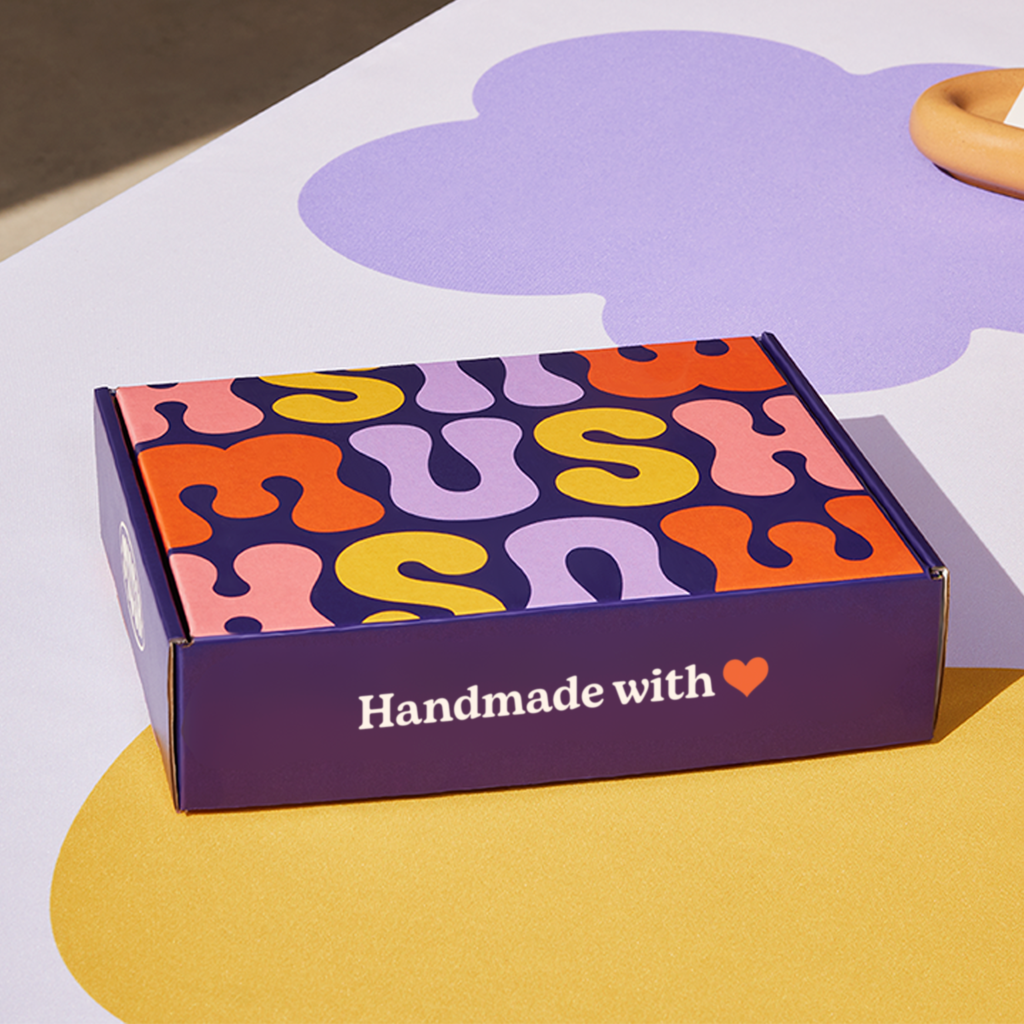
Matte finishes give designs a muted look and can reduce glare in photos. Gloss helps colors and photography pop, but reflections can obscure text. Spot UV and foil add contrast when your supplier offers them. Test specialty finishes under the lighting you’ll use for launch content before paying for a whole batch.
Reduce waste without sacrificing protection
Right-size your box and consider paper-based inserts that hold the product securely. Ask suppliers about recycled content and check how coatings, adhesives and mixed materials affect local recycling options.
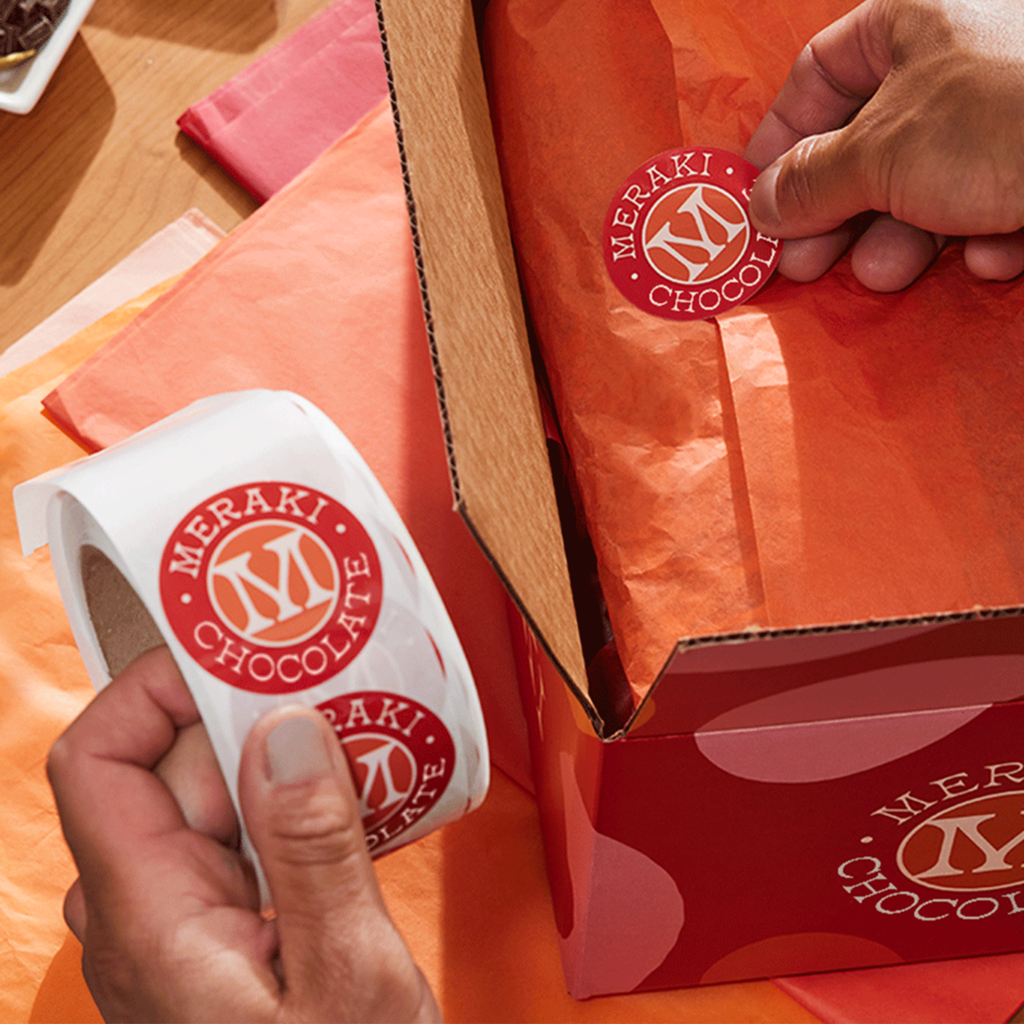
For flexible branding, combine standard boxes with VistaPrint’s custom labels or roll stickers. A logo seal on tissue paper can make an affordable package feel considered. Add custom tissue paper or a product box when it earns its place in the reveal.
Build a budget around the complete package
Custom launch packaging costs depend on size, material, print coverage, finishes and order quantity. Build your estimate from these components:
- One-time costs: Design, samples, proofs and any setup charges.
- Per-package costs: Box, insert, cushioning, tissue, labels and cards.
- Operational costs: Assembly labor, supplier delivery, storage and customer postage.
Budget formula: One-time costs + (quantity × packaging and assembly cost per unit) + delivery, storage and contingency.
For illustration, $250 in design and proofing plus 100 kits at $3 each totals $550 before labor, delivery, storage and taxes. Adding a suggested 10% contingency to that subtotal brings it to $605.
Check out VistaPrint’s budget-friendly packaging costs guide to compare spending options before ordering.
The 5-stage product launch packaging timeline and prototyping guide
This multi-pronged timeline is a schedule that moves your packaging from research and prototypes to approved production and fulfillment.
Start 10–12 weeks before launch as a planning baseline. Allow longer for unusual structures, imported components or several rounds of revisions. Aim to approve artwork and place your production order 4–6 weeks before launch, adjusting this window to your supplier’s confirmed schedule.
| Stage | Time before launch | Main tasks | Ready to move on when… |
|---|---|---|---|
| 1. Structure and dimensions | 12–10 weeks | Research competitors, measure the product and shortlist formats | Size and protection requirements are clear |
| 2. Artwork and layout | 9–8 weeks | Prepare artwork using the printer’s dieline template | Copy, placement and print specifications are checked |
| 3. Sample proofing | 7–6 weeks | Review physical samples and test shipping performance | Print quality and protection meet your brief |
| 4. Pre-production approval | 5–4 weeks | Confirm fit, inserts, costs and production details | The complete package is approved and ordered |
| 5. Production and fulfillment | 3–0 weeks | Receive stock, inspect deliveries and rehearse packing | Packaging and shipping settings are ready |
Use the right sample at each stage
A material sample helps you compare boards and finishes. A blank prototype checks fit. A custom-printed sample checks your actual artwork. They answer different questions, so a generic sample alone can’t approve your final design.
The dieline is the template showing cuts and folds. Follow the printer’s requirements for bleed, safe areas and file preparation. Keep important copy away from folds and closures. 99designs by Vista can connect you with a packaging designer for artwork and layout support.
Compare kraft and white board in person before settling on your colors. The surface can change how the design looks.
Test the complete package before approval
Pack the actual product with every planned insert and accessory. Check for movement, rubbing and difficulty closing the lid. Rehearse assembly and time it, then send test shipments through the delivery service you intend to use.
Ask recipients to photograph the unopened box and contents. Resolve problems before approval, then confirm production, delivery and inspection dates in writing. Schedule pilot testing before your bulk-order deadline. If the pilot supplies your first customer orders, schedule the larger run after that initial launch. Check arrival estimates for cards and stickers, too.
Influencer seed kits and the pilot run vs. full-scale strategy
A pilot run is a small packaging order used to test your launch, while a full-scale run supplies the larger rollout after approval.
| Run type | Suggested use | Main trade-off |
|---|---|---|
| 50–100 unit pilot | Tests, photography, PR kits and initial orders | Higher unit cost, less cash committed |
| Full-scale run | Forecast customer demand after testing | Potential volume savings, more inventory at risk |
For a manageable starting point, consider 100 units. In an illustrative candle launch, you might reserve 20 for creator kits, 10 for testing and photography and 70 for first customer orders. Actual quantities should follow your outreach list and sales forecast.
VistaPrint’s custom mailer boxes have options available in quantities as low as one, making small pilots possible. Compare the price at your preferred quantity before deciding how much to order.
Design for the camera and the person opening it
- Use the interior lid: Put a short welcome message where it faces the camera when opened.
- Keep the reveal clear: Arrange products so their names and purposes are obvious.
- Check contrast: Film a sample on a phone under daylight and indoor lighting. Watch for glare and text disappearing into the background.
- Make details easy to find: Include a PR card with your brand handle, launch date and a QR code linking to press assets or product information.
- Capture useful photos: Shoot the closed box, open kit and product close-ups against an uncluttered background.
For fresh campaign packaging ideas, try personalized creator notes, numbered reveal cards or removable launch sleeves. These touches can update a standard package without redesigning every component.
Set clear criteria for scaling
Before the larger run, review transit damage, packing time, creator feedback and actual shipping costs. Fix problems and approve the revised package before ordering version two. A beautiful PR kit is useful, but your everyday customer package also needs to be affordable and quick to assemble.
Operational setup, shipping software integration and avoiding launch errors
Operational setup makes your approved packaging work consistently with your packing process and shipping rates.
Complete these checks several weeks before launch:
- Measure assembled outer dimensions: Include any bulging after packing.
- Record packaging tare weight: Weigh the box, inserts, wrap and cards without the product.
- Verify total shipment weight: Weigh the finished parcel to confirm that product and packaging weights add up.
- Test order combinations: Check single-item and multi-item orders rather than assuming one box fits everything.
In Shopify, save package dimensions and packaging weight under Shipping and delivery, then check which package your checkout uses. In ShipStation, configure dimensions and packaging-weight adjustments through appropriate rules or presets. Confirm that packaging weight is counted once.
Some services charge using dimensional weight, calculated as length × width × height ÷ the applicable carrier divisor. Follow your carrier’s rounding rules and compare the billable weight with the actual weight. Oversized packaging can increase postage even when the product is light.
Run a final pre-shipment checklist
- Padding: The product stays secure when the parcel is gently moved.
- Barcodes: Carrier labels scan and sit on a clear, flat surface.
- QR codes: Printed codes work on several phones and lead to the correct live page.
- Seals: Tape and closures hold through test shipments.
- Packing workflow: Another team member can follow your instructions and reproduce the approved kit.
VistaPrint branded packaging tape and labels can add a polished finish. Keep carrier labels clearly visible and give the packing team a photo of the finished parcel to follow.
Bring your product launch packaging strategy to life
A launch-ready packaging strategy combines tested materials, a realistic budget and a packing process your business can repeat.
Start with three actions:
- Write your packaging brief and confirm the launch date.
- Order samples, test the complete package and calculate its full cost.
- Run a small pilot, resolve problems and approve the larger order.
Your packaging doesn’t need endless layers or a huge budget to make an impression. A secure product, an easy opening and a thoughtful detail can do plenty of heavy lifting. Give yourself time to test, then let your product have its moment.
Product launch packaging FAQs
Can I use the same packaging for different product variants?
Yes, if each variant fits securely. Use interchangeable inserts or variant-specific labels to distinguish products. Avoid choosing an oversized box simply to accommodate every version, since extra space can mean more cushioning and higher shipping costs.
Should launch packaging support customer returns?
Where practical, choose a box customers can reopen and reseal. Include simple repacking instructions so protective inserts go back in correctly. A return-friendly design can save customers from finding a replacement box.
How should I store unused packaging?
Keep boxes and printed materials in a clean, dry space away from direct sunlight and moisture. Store flat-packed boxes off the floor and follow supplier stacking guidance. Keep labels in their original protective packaging until needed.
How can I make packaging easier to open?
Use obvious opening points, easy-grip tabs and readable instructions. Avoid unnecessary layers or tiny pull tabs that require precise finger movements. Ask people with different dexterity needs to try opening a prototype and describe what feels difficult.
What should I save for future packaging reorders?
Keep the approved artwork, template version, material and finish specifications, supplier details and a finished sample. Record your quantities and any changes. Having one clear reference helps prevent accidental substitutions or old artwork slipping into the next order.