Want customers to remember your brand, share their purchases and come back for more?
A memorable unboxing experience can help, and it doesn’t take expensive custom packaging to pull off. In fact, some of the best unboxing experience ideas can make a $2 shipping box feel like a $20 one, even with high minimum order quantities and tight profit margins to work around.
From affordable e-commerce packaging ideas and custom packaging inserts to little surprises worth sharing, we’ll cover what to spend on, where to save and how to put everything together without making packing orders more expensive or time-consuming than they need to be.
- A thoughtful unboxing experience boosts perceived value, brand recognition, customer loyalty and word of mouth.
- Branded packaging extras can start at $0.70 per order for a thank-you postcard, rising to $1.82 for a postcard, sticker and custom tissue, excluding shipping materials and labor.
- Budget-friendly unboxing ideas include plain boxes with logo stickers, tissue wrapping, personalized inserts and seasonal touches.
- To drive repeat purchases and social shares, use unique discount codes, trackable QR links and invitations to tag your brand.
- To scale affordably, standardize packaging, prep supplies in batches and track costs, damage rates and customer engagement.
What is an unboxing experience, and why does it matter?
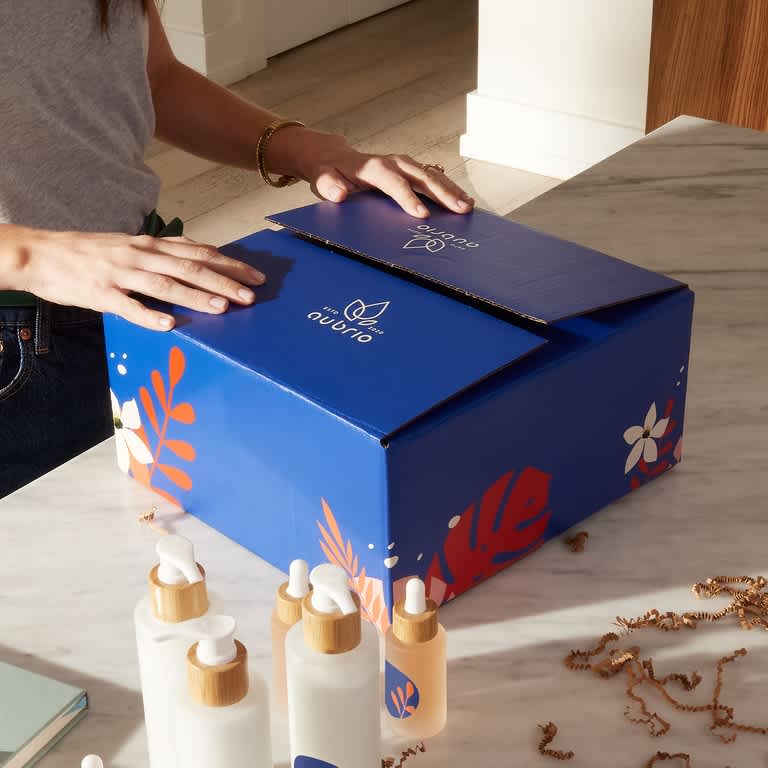
An unboxing experience covers everything that happens when a customer opens their order, from the first look at the packaging to unwrapping the product and discovering any little extras inside. And how you present it all can shape what customers think of your products and your brand.
For small businesses, getting the packaging right comes with a few perks:
- Higher perceived value: Neat presentation, quality materials and thoughtful details can make a product feel more premium. According to a VistaPrint survey, 89% of consumers who notice packaging say its quality influences how they perceive the product inside.
- Stronger brand recognition and loyalty: Consistent colors, recognizable branding and personal touches help customers remember you. And with 46% saying packaging quality influences whether they’ll buy from a brand again, those details are worth considering.
- Organic word of mouth: An attractive package gives customers something worth snapping a photo of, filming an unboxing video about or showing to friends.
Of course, packaging still needs to protect the product and be easy to open. Nobody appreciates a beautiful box containing a broken candle.
How much should a small business spend on unboxing packaging?
There’s no magic number for packaging costs. A $15 handmade soap and a $200 jewelry piece have different margins and customer expectations. Your budget should reflect your product’s value, order volume and profit margins.
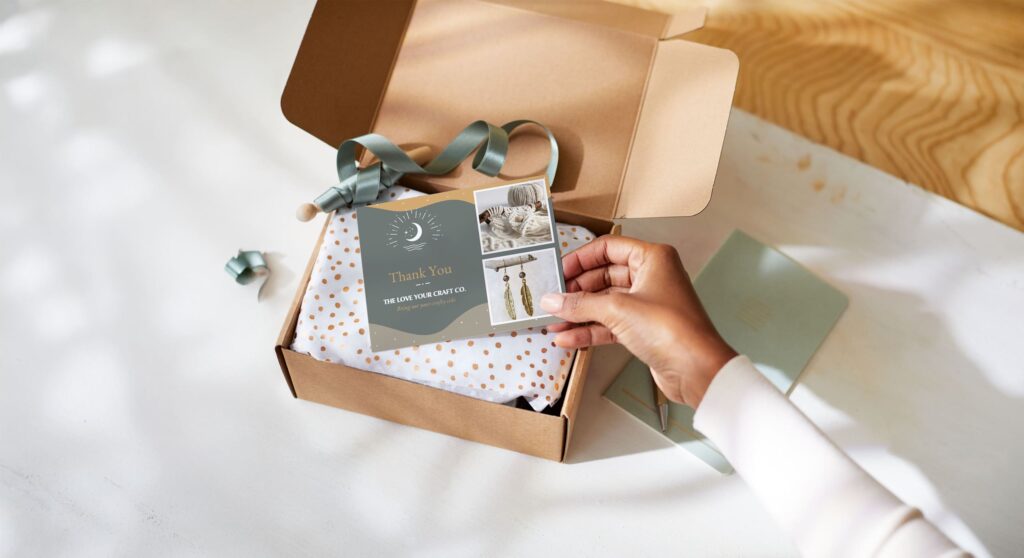
First, separate essential packaging (boxes, cushioning and sealing materials) from branded extras (stickers, tissue paper and printed inserts).
Total packaging cost per order = shipping container + protective materials + branded extras + assembly labor
Keep minimum order quantities (MOQs) in mind. Bulk orders can lower unit costs but require more upfront spending. Package size and weight can also affect shipping rates.
Three unboxing packaging budget tiers for small businesses
These tiers show what you can spend on branded extras per order, on top of the cost of your shipping box or mailer, protective materials, sealing supplies and packing labor.
| Budget tier | Branded extras included | Cost per order |
|---|---|---|
| Starter | One standard postcard as a thank-you insert | From $0.7 |
| Growth | One thank-you postcard + one custom single sticker to brand the package | From $0.95 |
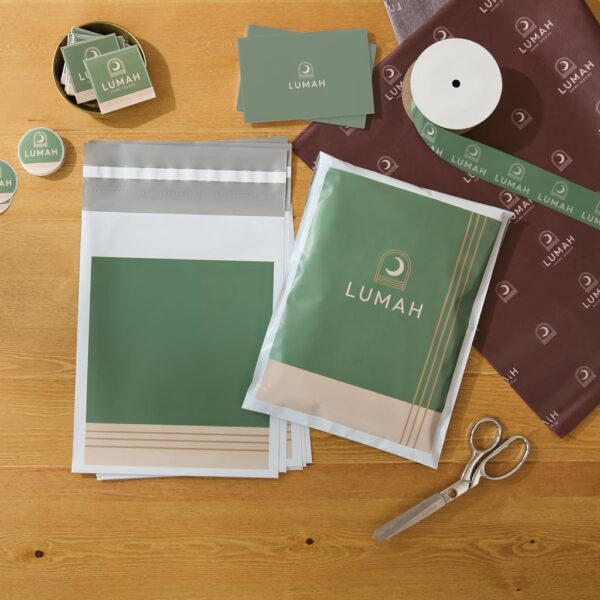
| Elevated | One postcard + one sticker + one sheet of custom tissue paper for the product reveal | From $1.82 |
Start with what your margins allow, test a small batch and add more elements as your business grows.
Budget-friendly unboxing experience ideas: From outer box to final reveal
A budget-friendly unboxing experience starts with a standard shipping container, adds recognizable branding, presents the product neatly and finishes with a personal touch. A few well-chosen materials can make even the simplest packaging feel special.
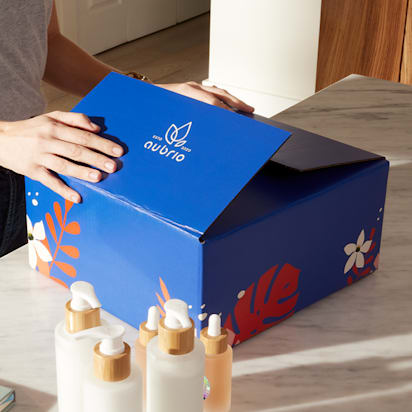
Brand plain boxes and mailers with affordable packaging materials
Plain kraft boxes, mailer boxes and shipping mailers are practical starting points, especially for businesses shipping smaller quantities. They’re easy to source and customize without committing to a large order of fully printed packaging.
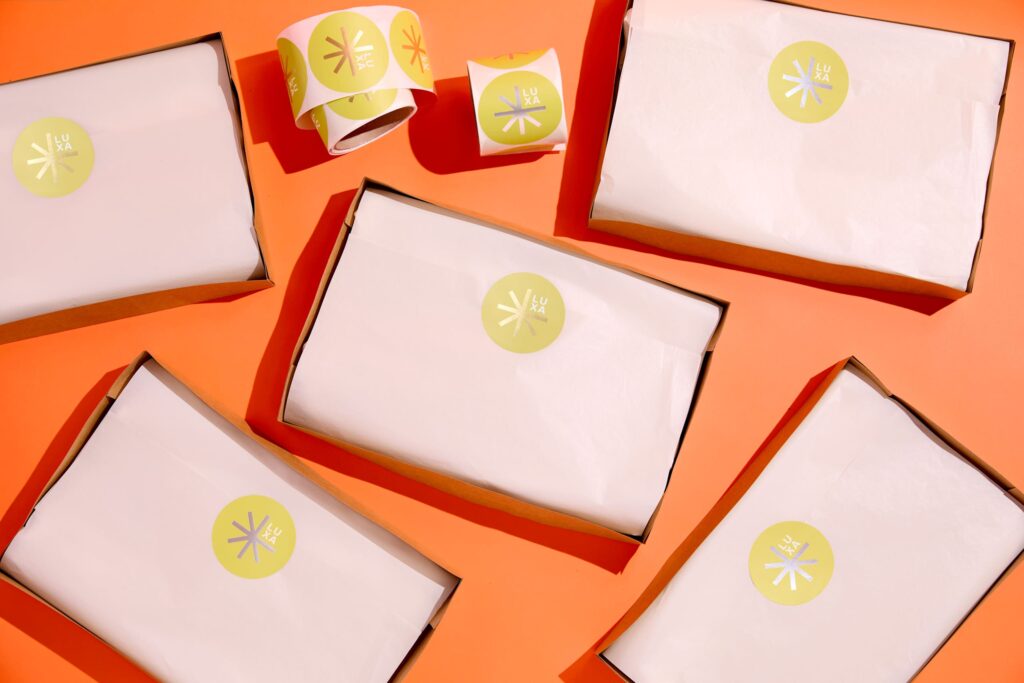
Here are four affordable ways to make them your own:
- Custom stickers and roll labels: Add your logo to the lid, corner or sealing point. Roll labels are especially handy when packing orders in batches.
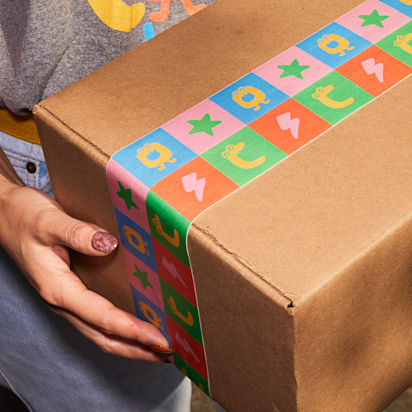
- Branded packaging tape: Seal shipping boxes and display your branding at the same time. Particularly useful for larger parcels that need plenty of tape.
- Rubber stamps: Add a one-color logo or illustration to kraft packaging for a handmade feel. Ideal for small batches, although stamping every box takes time.
- Printed belly bands: Wrap a branded paper strip around an inner box or product bundle for a polished finish without printing the entire surface.
For occasional orders, individual stickers or a stamp may be enough. At higher volumes, roll labels and branded tape can speed things up.
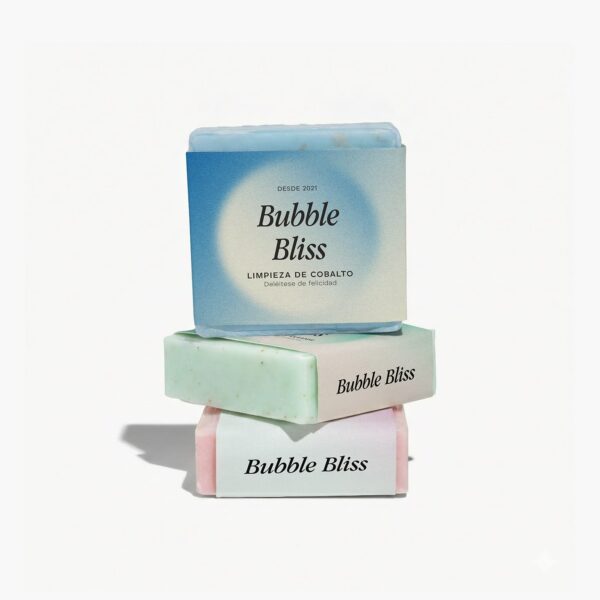
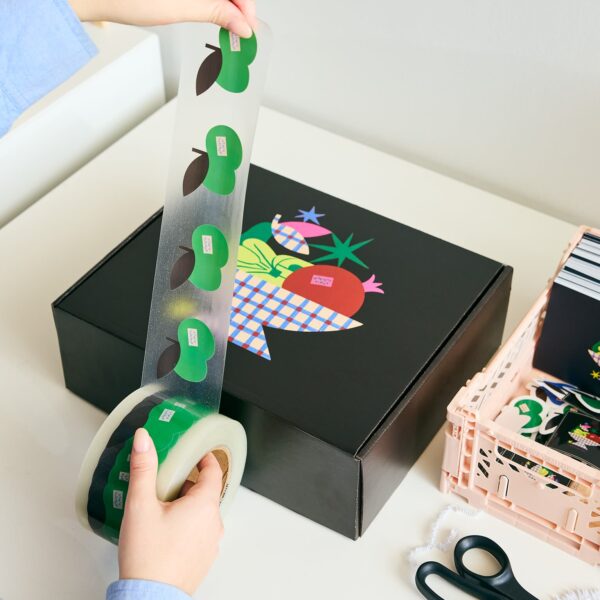
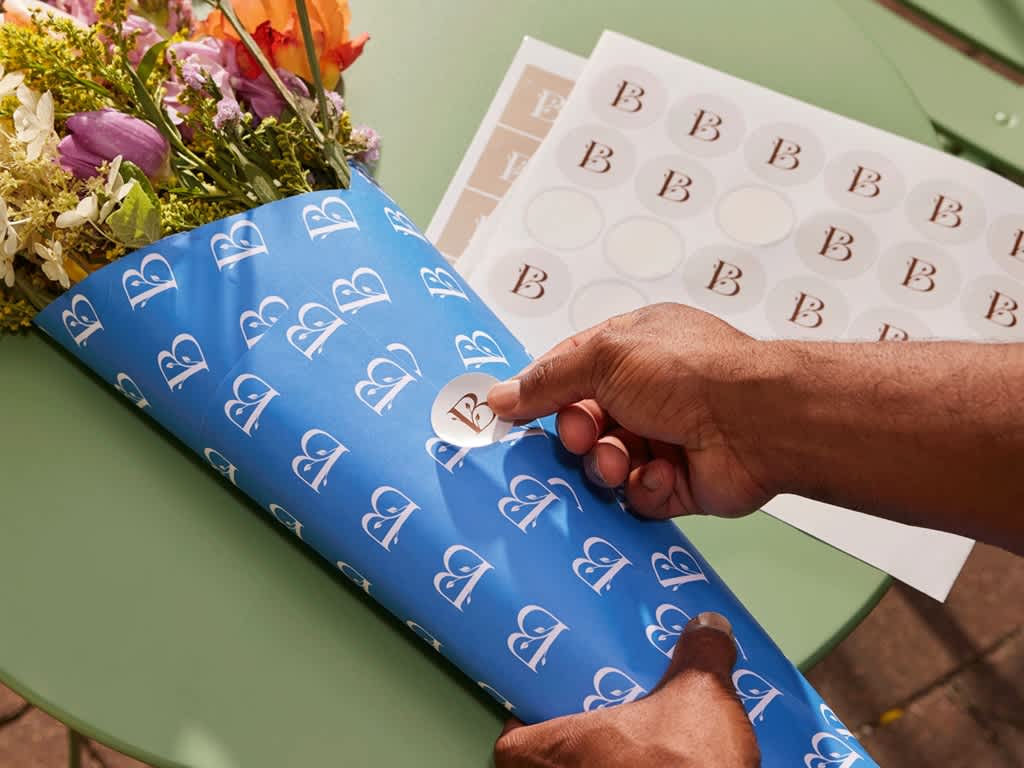
Compare the material cost and application time before choosing.
Keep the design simple, too. A recognizable color palette, readable logo and consistent placement will look more polished than a box crowded with graphics. These typography packaging design tips can help you get the details right.
Create a premium product reveal with inexpensive packaging layers
Inside the box, presentation makes all the difference. A neatly arranged product feels more considered than one buried beneath loose packing materials.
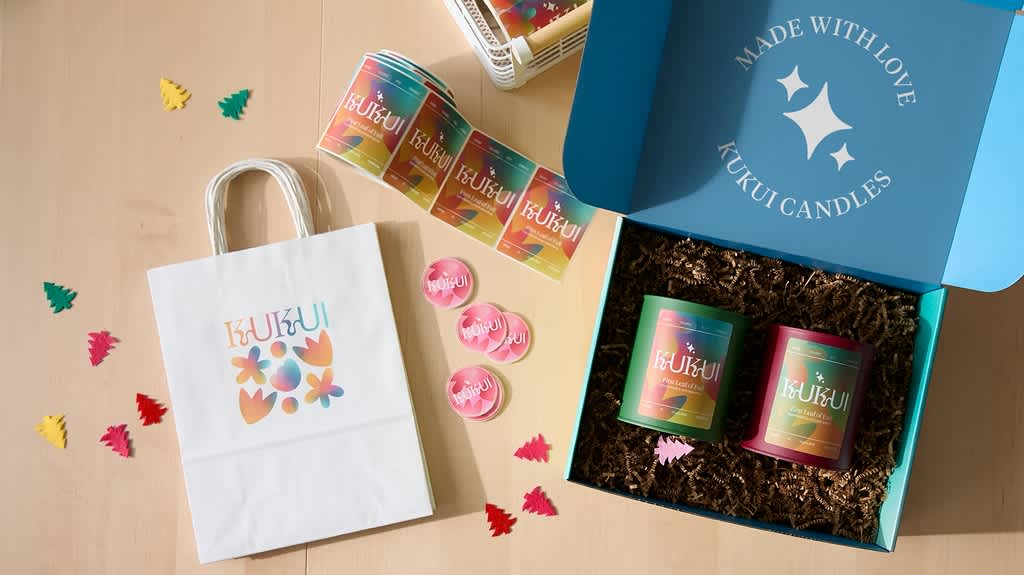
A few inexpensive materials can make the product reveal feel more polished:
- Plain tissue paper: Wrap products in one or two sheets that match your brand colors, then finish with a logo sticker.
- Paper dividers or inserts: Separate items in gift sets and keep smaller products neatly arranged without wrapping each one.
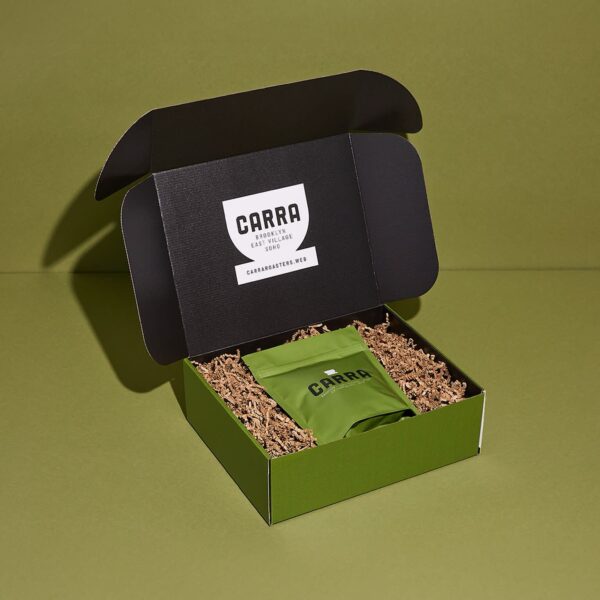
- Crinkle paper or cushioning: Fill empty spaces and keep products secure in transit. Fragile items may need extra protection.
- Thoughtful product placement: Put the main product front and center, with accessories and paperwork tucked neatly alongside or underneath.
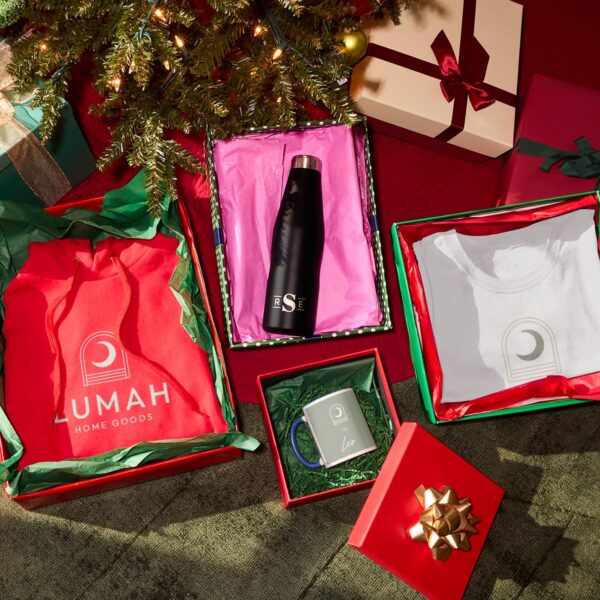
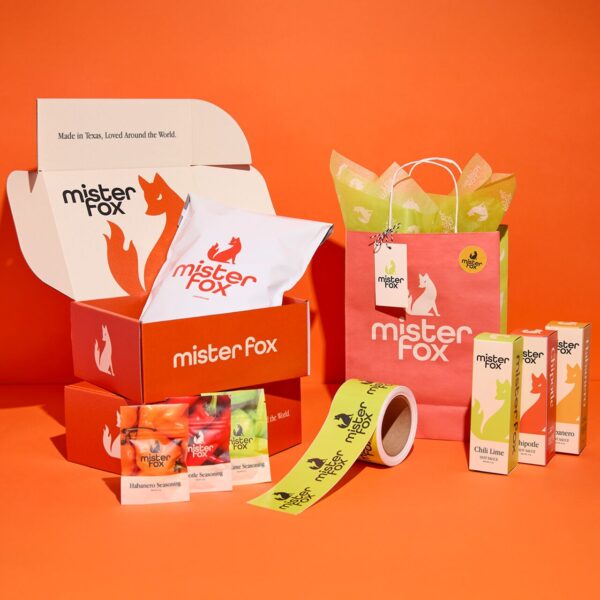
Keep the wrapping easy to remove. Customers should be able to enjoy opening their purchase without spending five minutes peeling off tape.
Personalize your unboxing experience with custom packaging inserts
With the product neatly presented, a printed packaging insert gives you room to add a personal message or information customers will find useful.
Different formats work for different purposes:
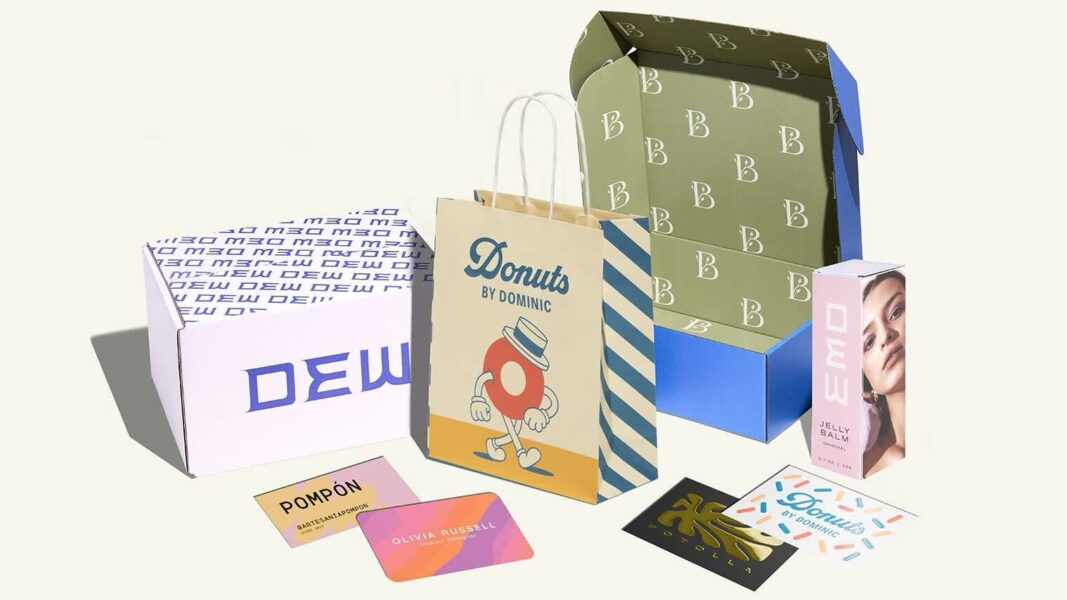
- Thank-you postcards: Include a short message from your business, perhaps with a handwritten signature or the customer’s name.
- Care and instruction cards: Share washing instructions, storage advice or product-specific tips customers may want to keep.
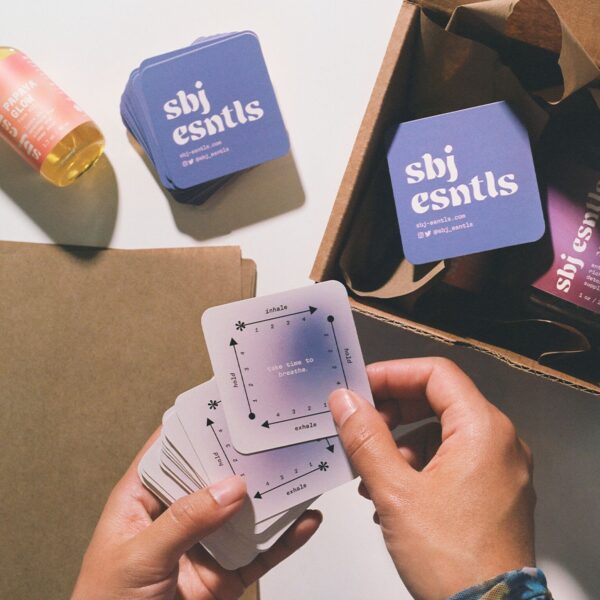
- Business-card-sized inserts: Add a quick brand story, complementary product suggestion or personal note without taking up much space.
- Branded stickers: Include an illustrated sticker customers might enjoy using on their laptop, notebook or water bottle.
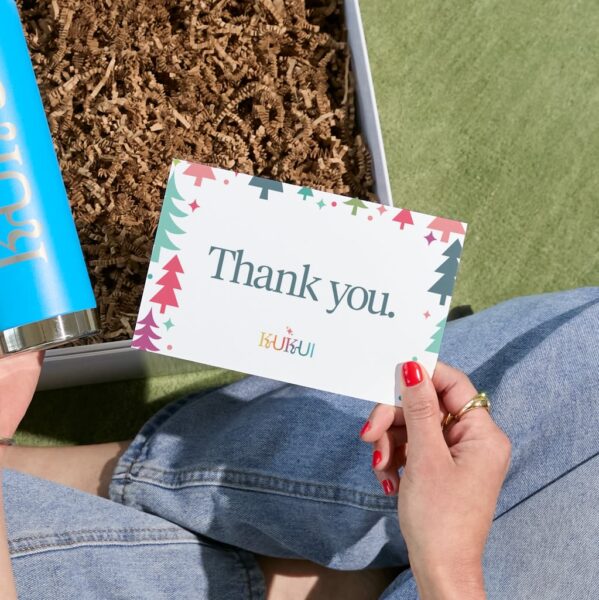
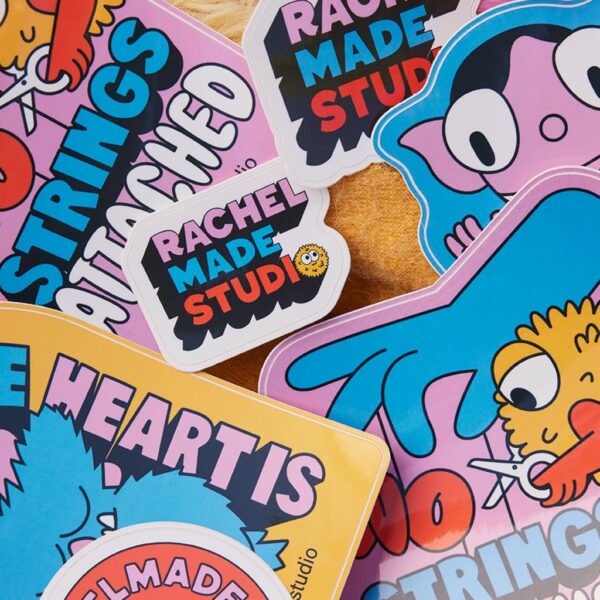
Double-sided printing helps keep costs and clutter down. For example, a postcard can carry a thank-you message on the front and care instructions on the back.
Prioritize information that’s relevant to the purchase. Someone buying handmade jewelry will likely appreciate proper care instructions more than an unrelated promotional freebie.
Add memorable surprises without increasing packaging costs significantly
A little surprise can make an order feel more personal, and it doesn’t have to cost much. Here are a few easy ideas to try:
- Hide a message: Print a playful note on the inside of the box or tuck a small card beneath the tissue for customers to discover.
- Include a collectible sticker: Create a few illustrated designs and rotate them between orders. Customers might even start looking forward to the next one.
- Add a handwritten recommendation: Suggest a complementary product, share your favorite way to use their purchase or include a quick tip specific to their order.
- Switch things up seasonally: Introduce holiday-themed stickers, limited-edition inserts or festive messages without replacing your usual packaging. Find more inspiration in our guide to limited-edition packaging.
- Offer a relevant sample: For skincare or beauty orders, include a small sample of a complementary product, provided the cost fits your margins.
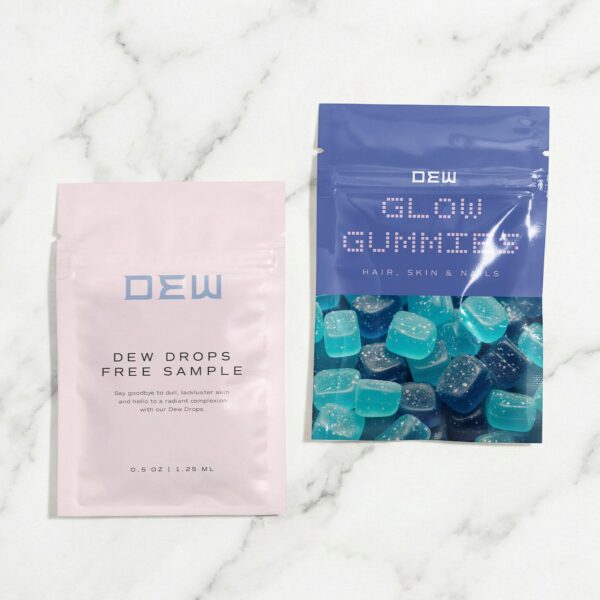
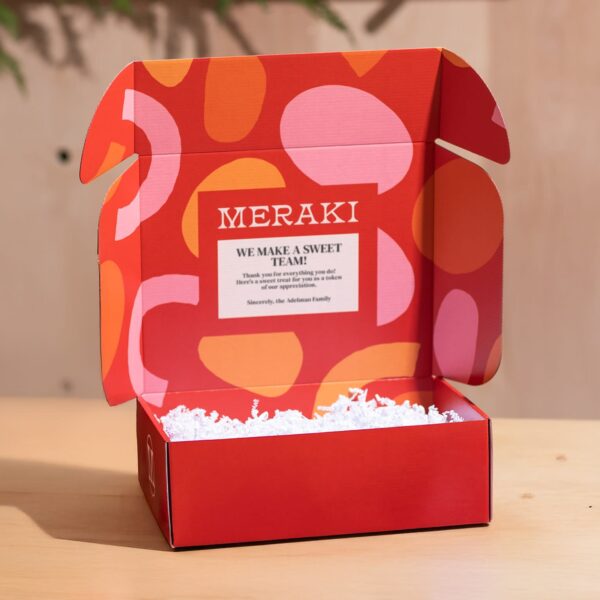
Start with one surprise that suits your brand and is easy to include in every order. A useful tip or well-designed sticker is far more likely to be appreciated than a handful of random freebies.
Check out our list of the best brand packaging examples to drive inspiration
Affordable e-commerce packaging ideas for different products
Affordable packaging doesn’t have to look the same for every product. A few versatile supplies, like kraft boxes, tissue paper and branded stickers, can be combined in different ways to suit everything from handmade jewelry to skincare. The key is choosing materials you can reuse across different orders while giving each product a presentation that feels right.
Four budget-friendly unboxing packaging combinations to try
Here are four easy-to-recreate setups that keep materials and costs manageable:
| Business or product | Base packaging | Affordable branded elements | Finishing touch |
|---|---|---|---|
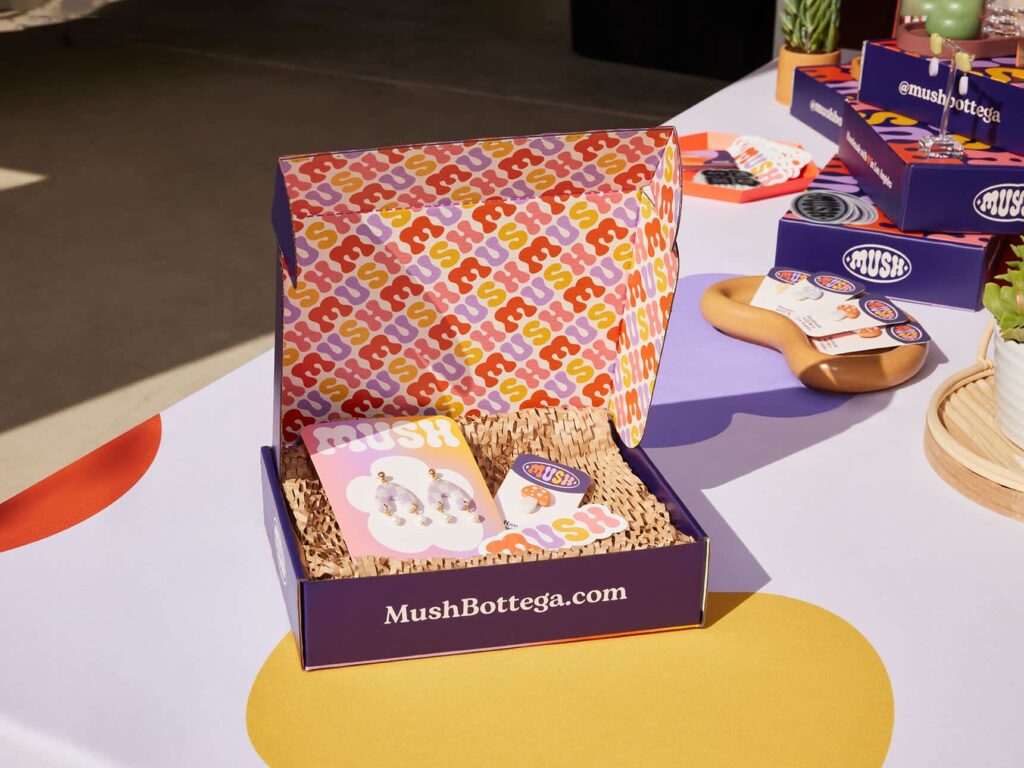
| Handmade jewelry | Small kraft box with protective wrap | Logo sticker and tissue paper | Handwritten thank-you note |
| Clothing and accessories | Plain shipping mailer | Tissue wrap and branded sticker seal | QR code linking to styling ideas |
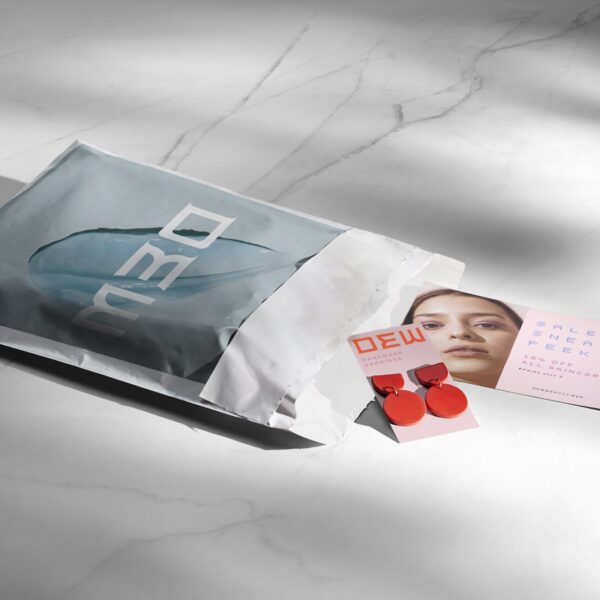
| Skincare and beauty | Right-sized box with suitable cushioning | Tissue paper and printed insert | Product-use tips or care instructions |
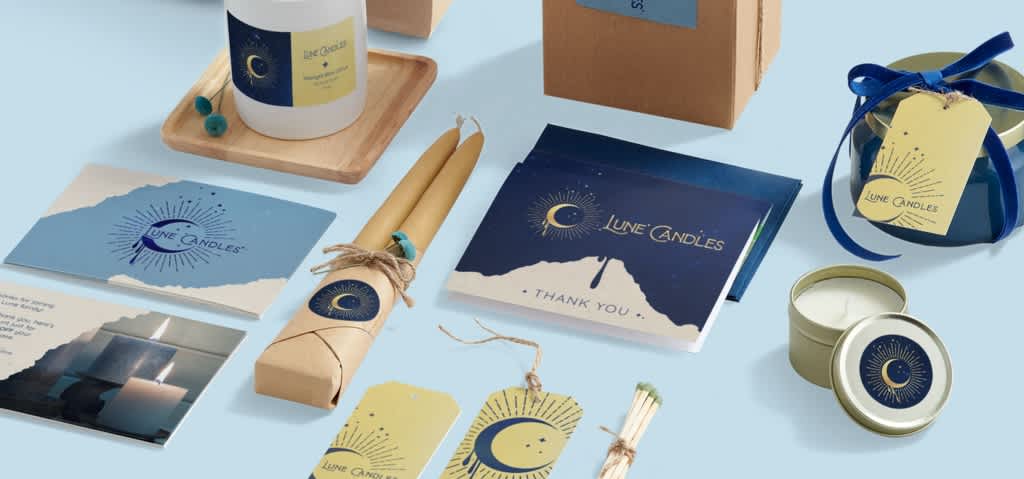
| Candles and home goods | Sturdy kraft box with protective fill | Branded label and thank-you postcard | Short story about the product or maker |
Use these combinations as a starting point, swapping materials and details based on what you already have in stock. Reusing the same stickers, inserts or tissue paper across several product lines can help keep costs down.
Before committing to a setup, pack a test order and check:
- Protection: Does everything stay secure during shipping?
- Presentation: Does the package look neat and consistent with your branding?
- Ease of opening: Can customers unpack it without damaging the product?
Once you’ve found what works, stick to a standard setup for each product category. You’ll simplify inventory, reduce waste and spend less time packing every order.
Unboxing marketing ideas to encourage repeat purchases and social shares
Your packaging can keep working for your business after the order arrives. A well-placed message can bring customers back to your store or encourage them to share their purchase with others.
Use packaging inserts and QR codes to encourage repeat purchases
Give customers a reason to stay connected with your brand. A small printed insert can:
- Encourage another purchase: Offer a discount with a unique code, such as “A little thank-you from us! Take 10% off your next order with THANKYOU10.”
- Generate referrals: Give customers a code they can share with friends, with an incentive for each successful referral.
- Provide extra value: Add a QR code linking to product tutorials, care tips, styling inspiration or complementary products. For example: “Scan for three ways to make the most of your new purchase.”
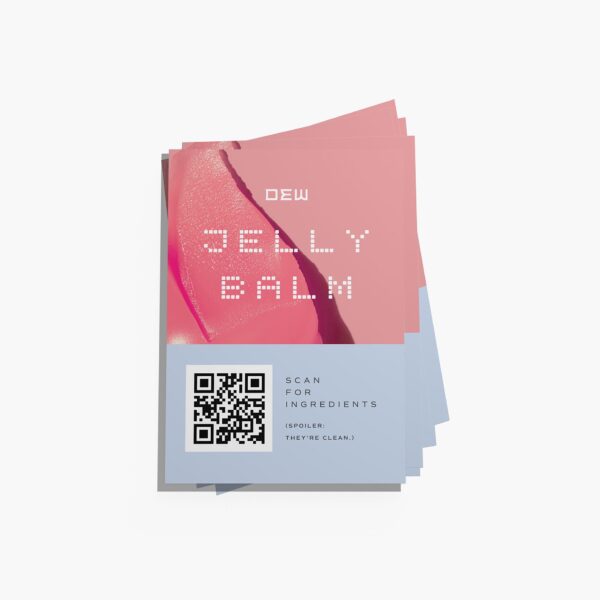
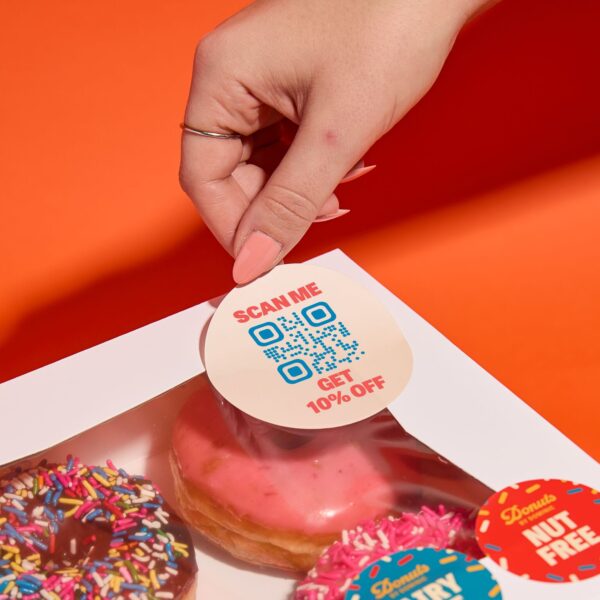
Stick to one clear call to action per insert. Unique discount codes and trackable QR links can help you see which offers drive visits and purchases.
Encourage customers to share unboxing videos on social media
An attractive product reveal, thoughtful extras and a personal message give customers something worth sharing. Make it easy by including your social handle and a friendly invitation on the insert:
“Love your new find? Show us your unboxing and tag @YourBrand for a chance to be featured!”
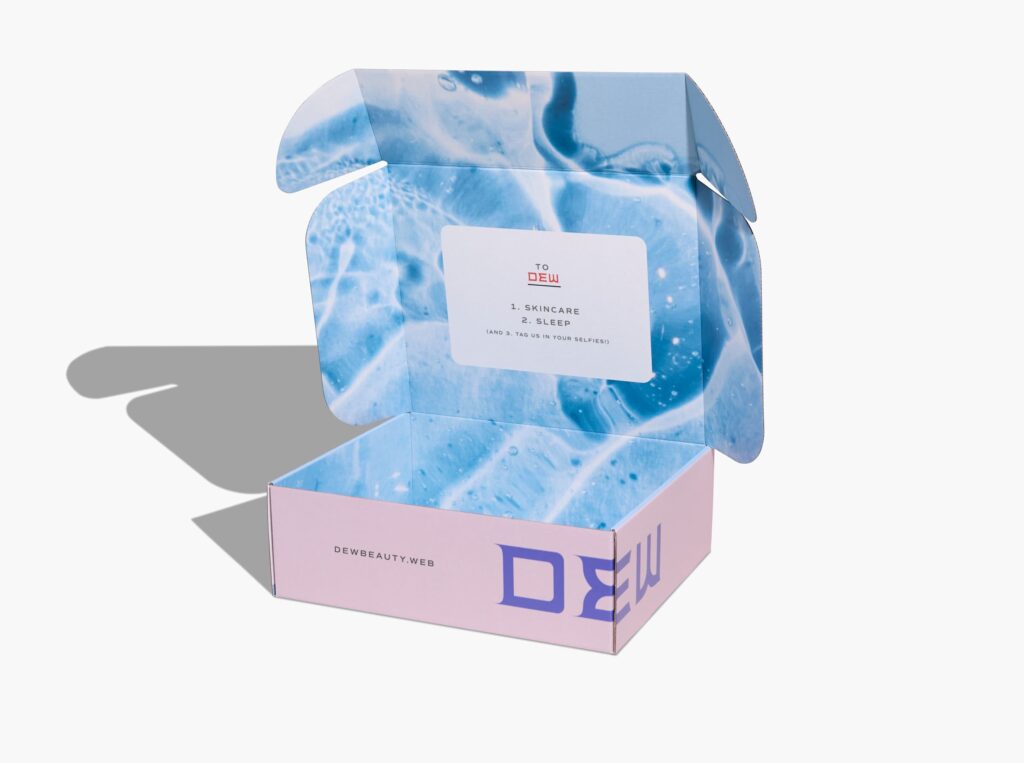
Always ask permission before reposting customer photos or videos.
Giveaways and rewards can encourage more submissions, but factor in the costs and applicable promotion rules before launching one.
How to organize your packaging station for faster unboxing assembly
Even inexpensive packaging gets costly when every order takes ages to assemble. If you’re packing orders yourself, a repeatable routine can save time while keeping the presentation consistent.
A four-step unboxing packaging workflow to target 45 seconds per order
For straightforward orders, try this packing sequence:
| Step | Target time | What to do |
|---|---|---|
| Prepare the container | 10 seconds | Open a preselected box or mailer |
| Wrap and position | 15 seconds | Add tissue and position the product securely |
| Add branded details | 10 seconds | Apply a sticker and tuck in an insert |
| Seal the package | 10 seconds | Close and secure the container |
Fragile or complex products will naturally take longer, so factor that in.
Simple packaging station organization tips to save time
A few small changes can make packing multiple orders much easier:
- Arrange supplies in packing order: Keep boxes, tissue, stickers, inserts and tape within arm’s reach.
- Prepare materials in batches: Pre-fold tissue, stamp boxes or apply stickers before orders pile up.
- Use the right tools: A roll-label dispenser can speed up repetitive labeling.
- Standardize your setups: Assign a packaging combination to each product size to avoid making the same decisions repeatedly.
- Time a test batch: Pack 10 orders and identify where you’re losing time.
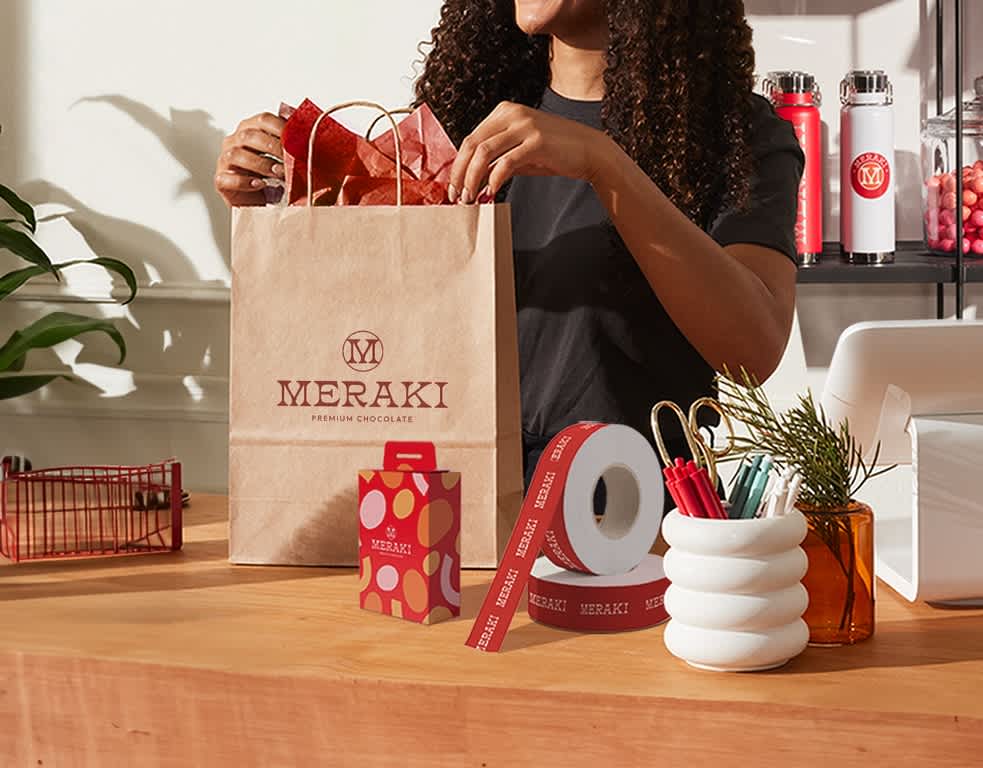
Focus on cutting unnecessary movements and fiddly steps. Protective packaging should never be a shortcut.
How to test and improve your budget-friendly brand unboxing strategy
Before committing to a new packaging setup, pack a sample order, give it a shake and open it as a customer would. You’ll quickly spot what works and what needs tweaking.
A few common mistakes to watch for:
- Too much decoration: Excess tissue and filler add cost, weight and waste.
- Complicated wrapping: Too many layers and seals slow packing and make unboxing a chore.
- Promotional overload: Multiple inserts and competing offers leave customers unsure what to do next.
- Poor protection: Attractive packaging won’t make up for damaged products.
- Oversized boxes: Unnecessary space can increase shipping costs.
Track your packaging cost per order, assembly time, shipping damage and customer feedback. Repeat purchases, QR scans and discount-code redemptions can offer additional clues about customer engagement.
As order volumes become predictable and margins allow, consider upgrading to custom-printed tissue or fully branded boxes. Change one element at a time so you can judge whether the investment is worthwhile.
Ready to bring your unboxing experience ideas to life without overspending?
You don’t need fancy boxes or a generous packaging budget to make customers smile when their order arrives. A plain mailer, a well-placed logo sticker and a thoughtful note can go a surprisingly long way. Play around with different combinations until you find one that looks great, feels personal and makes financial sense. After all, the best unboxing experience is one customers remember, tell their friends about and look forward to enjoying again.
Unboxing experience ideas FAQs
What can I use instead of custom-printed shipping boxes?
Plain kraft boxes or shipping mailers are affordable alternatives you can brand yourself. Use logo stickers or stamps for small batches, printed belly bands for a more polished presentation or branded packaging tape for larger parcels. Roll labels are handy when you’re packing orders in bulk.
What packaging details do customers notice most?
Focus on neat presentation, secure packaging and recognizable branding. A coordinated color scheme, carefully wrapped product and personal thank-you note can make a stronger impression than expensive packaging filled with unnecessary extras.
How can I make affordable packaging look premium without creating unnecessary waste?
Choose right-sized packaging, limit your design to two or three coordinated colors and use one standout branded detail. Avoid excessive tissue, decorative filler and multiple wrapping layers that add cost without improving protection or presentation.
Should every customer receive the same unboxing experience?
Keep your core packaging consistent to control costs, but tailor small details to the occasion or customer. Add a handwritten message to gift orders, include product-specific care tips or surprise returning customers with an exclusive offer.