In a crowded aisle (or online marketplace), a well-designed label can make the difference between browsing and buying. In this step-by-step guide, you’ll learn how to make labels, from understanding common label types and what information to include to choosing the right size, stock and finish. You’ll also get practical printing tips to avoid common mistakes, whether you’re making labels at home or ordering them online.
- Types of labels include product labels, shipping labels, barcode and security labels, food and beverage labels, environmental labels, hang tags and roll labels.
- To make a label you need to choose the label’s size and shape, design the layout, then export a print-ready CMYK file with bleed.
- DIY printing works for small batches, while professional printing means sharper colors, quality materials and more consistent results.
- Standard adhesive paper stock works for most packaging, but refrigeration or heavy handling needs waterproof or protected paper stocks.
- Run a test print to check alignment, readability and adhesion before you print the full batch of labels.
What do I need to make labels?
The equipment you’ll need to start the label-making process depends on whether you choose to make your labels at home or use design and printing professionals.

Source: Label design by Unigram via 99designs by Vista
If you turn to VistaPrint’s design services, you need a budget, brand and brief to communicate to the designer. But if you want to DIY any part of the label-making process, whether designing or printing, you’ll need the following equipment:
- Design software or free online graphic design tools like VistaCreate.
- On-brand design elements: logos, images, text and color schemes that represent your brand.
- Product information like ingredients, usage instructions, barcode and regulatory information.
- A high-quality printer, ink and toner to produce the physical labels.
- Label paper: Standard adhesive paper, waterproof labels, clear labels or specialty paper stock.
- Test materials, including additional paper stock, for running test prints.
- Scissors or a cutting machine for precise trimming if your labels aren’t pre-cut.
8 types of labels
Depending on the intended goal and purpose of your labels, choose between these different types of labels:
1. Product labels
Product labels act as a communication tool between the product and the consumer. They inform purchasing decisions and ensure product safety and compliance.
2. Shipping labels
Shipping labels identify packages and facilitate their movement through the shipping and delivery process. They typically include sender and recipient addresses, tracking numbers and any special handling instructions.
3. Hang tags
Hang tags are small labels attached to products using strings or hooks that serve as branding and marketing tools. They provide additional information about the product, such as pricing, promotions, product features or care instructions.

4. Roll labels
Roll labels come on a roll and are ideal for high-volume labeling in retail, logistics and manufacturing.
5. Barcode labels
Barcode labels contain machine-readable barcodes that encode information such as product identifiers, inventory codes and pricing details. They’re commonly used in retail and logistics for inventory management, tracking and automated checkout processes.
6. Security labels
Security labels deter tampering, counterfeiting or unauthorized access to products or sensitive information. They may feature tamper-evident seals, holographic elements or unique identification codes for security and authenticity verification.
7. Food packaging labels
Food packaging labels specifically cater to food and beverage business labeling needs. They provide essential information such as nutrition, ingredients, allergen warnings and expiration dates to comply with food safety regulations and inform consumers about the product’s contents.
8. Eco-friendly labels
Environmental labels, such as eco-friendly or recyclable labels, indicate sustainable brand values and let the customer know that a product meets certain environmental standards or certifications.
Common business label needs
Choose between the different label types based on what your labels need to handle in day-to-day use.
If your label will be handled a lot
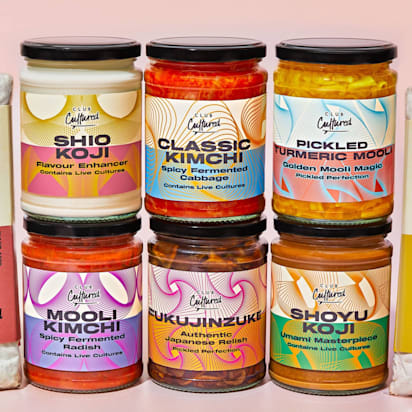
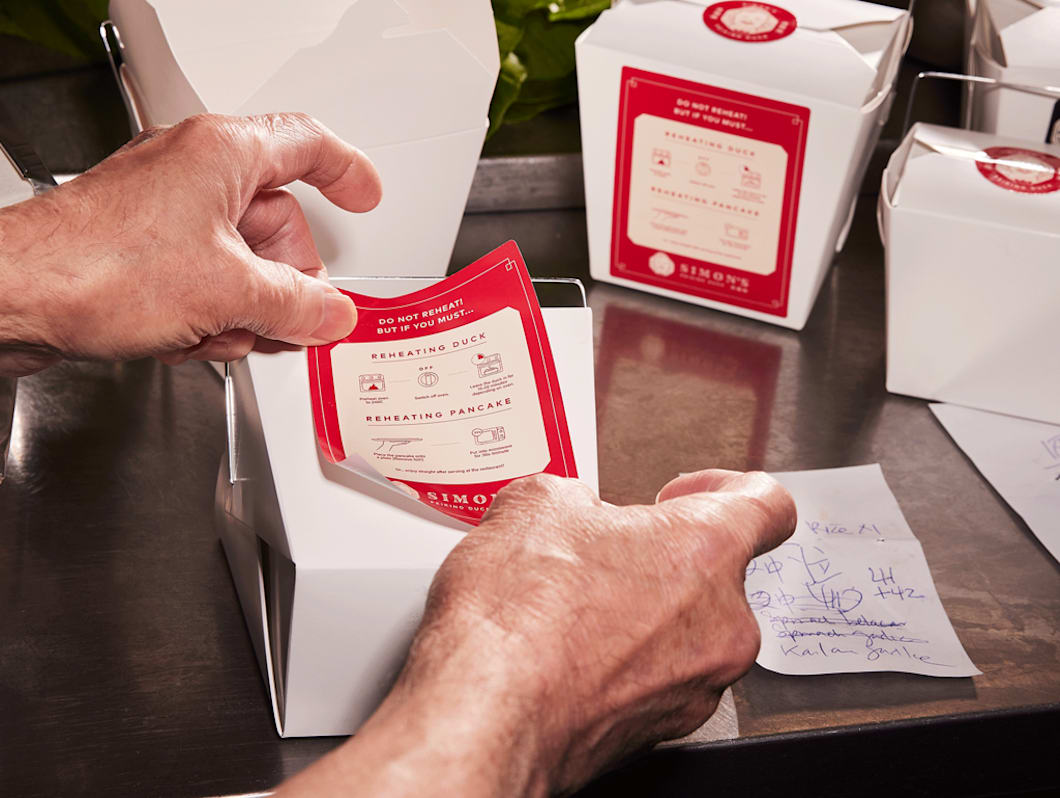
For products that will be handled a lot, such as candles, cosmetics and pantry goods, choose a finish that won’t show fingerprints and scuffs. Matte paper hides wear better, while gloss finishes marks more easily. Before you print a full run, rub a test packaging label with a dry hand and a slightly damp cloth. If the ink lifts, use a different paper stock or a protective coating.

If your label has to survive shipping
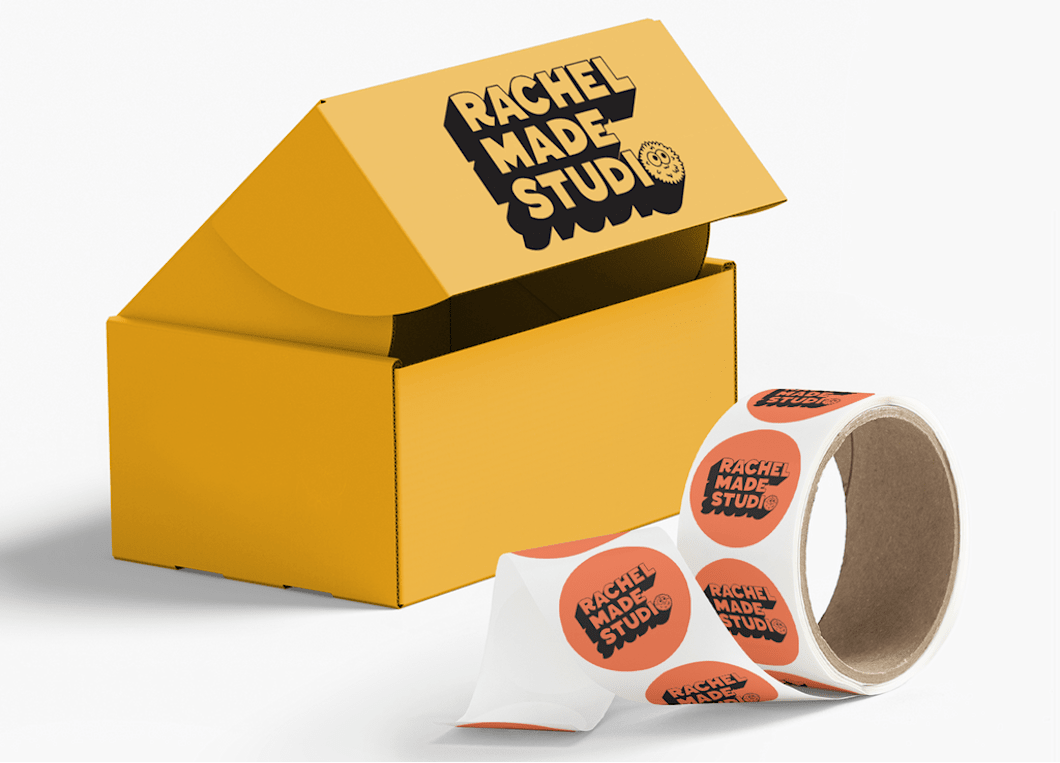
For mailer and shipping boxes and poly mailers, use high-contrast text and keep the layout simple. Print one test label, apply it, then crumple and smooth the surface underneath. If corners lift, switch adhesives or move the label away from seams and edges.
If moisture or temperature changes are involved
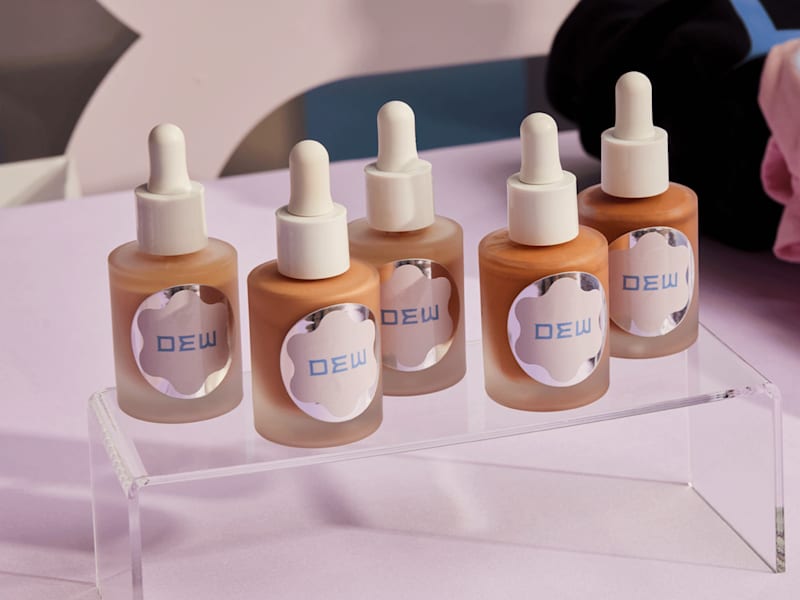
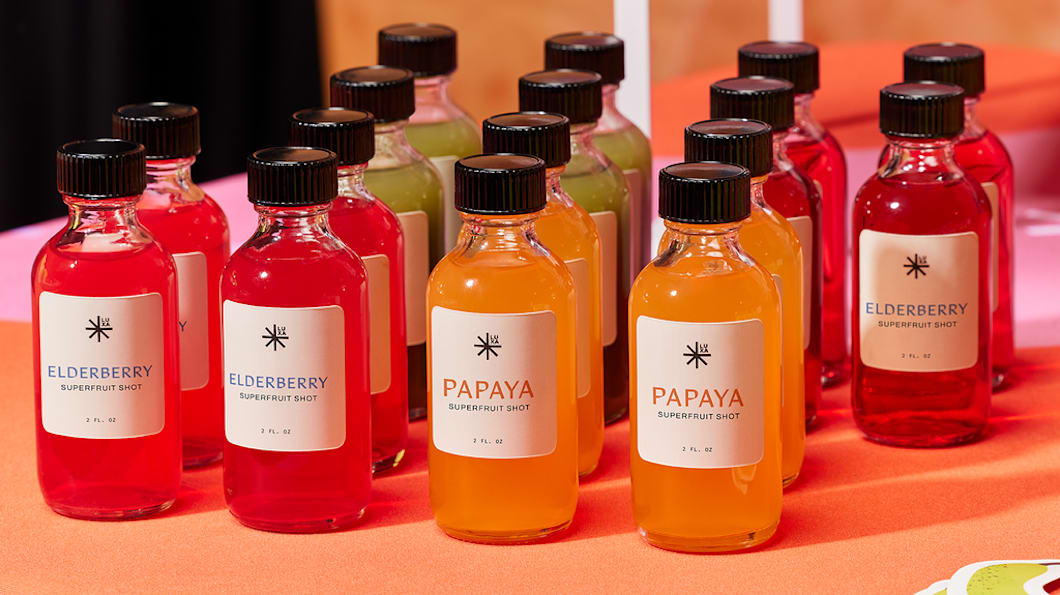
For refrigerated drinks, bath products and outdoor items, protect your paper labels with waterproof paper stocks and laminated finishes. Chill the product overnight, let it sweat on the counter, then check for bubbling, peeling, wrinkling or blurred print.

If you’re labeling for tracking or storage
For inventory, back-of-house and retail storage labels, keep text large, leave space around barcodes and avoid glossy finishes that glare under bright lights.
For limited runs or seasonal packaging
Labels are a quick way to refresh a product without needing a branding redesign. For promotional or seasonal packaging, use a simple “limited edition” label, short message sticker or seasonal color scheme for your labels.
If the label doubles as a seal
Plan label placement before you finalize the design. Measure where the label needs to bridge two surfaces, then choose a material that will either tear on opening or hold firmly depending on your packaging needs. Apply a test label and open the package like a customer would. Weak adhesive will show up immediately.
How to make product labels: A step-by-step guide to label design
If you’re ready to start creating labels, the process is straightforward, whether printing at home or working with a professional service. Choosing the right type of label for your business will impact the label design process, from what information to put on your label to preparing the final design for print.
Step 1: What should you put on your label?
The information you need to include on your label will vary depending on the type of label you want. For reference, let’s break down the contents of a product label, which tend to contain the most information.

Elements of label. Source: Label design by BrSav via 99designs by Vista
Information to include on a product label:
- Product name: Clearly print the product and brand name.
- Brand logo: Include the logo for brand recognition.
- Ingredients or materials: Especially relevant for food, cosmetics and textile products.
- Usage instructions: Provide clear instructions on how to use the product safely and effectively.
- Safety warnings: Include any necessary warnings or precautions for safe usage, such as allergen warnings or age restrictions.
- Expiration date: Indicate the best before date, particularly for perishable or consumable products.
- Quantity or weight: Specify the product’s quantity or weight on the packaging label.
- Manufacturing information: Include the manufacturing date, batch number or country of origin.
- Barcode: Use unique barcodes for inventory tracking, retail sales or product identification purposes.
- Contact information: Provide contact details for the manufacturer, distributor or customer services.
- Legal disclaimers: Include any necessary legal disclaimers or disclosures required by law or regulations, such as liability limitations or warranty information.
- Graphic symbols: Use universally recognized symbols or icons to convey information quickly and efficiently, such as “fragile” symbols for delicate items or “recycle” symbols for eco-friendly products.

Source: Bottle product label design by ludibes via 99designs by Vista
Optional product label elements:
- Product description: Provide a brief description of the product, including its features or benefits.
- Promotional messages: Special offers can encourage repeat purchases or brand engagement.
- Certification symbols: Display any certifications, quality marks or regulatory compliance symbols relevant to the product, such as organic, kosher or safety certifications.
- Environmental information: Indicate sustainable practices or eco-friendly disposal instructions.
- QR codes or URLs: Direct consumers to additional information or resources related to the product through QR codes or website URLs.
Step 2: Choose your label design tools
When designing labels, the right design tools help achieve professional and eye-catching results. Whether you choose DIY label design or professional design services depends on budget, time constraints and design expertise. DIY tools are convenient and cost-effective, while designers bring their expertise and technical know-how.
What is the best software to design labels?
VistaCreate is a user-friendly online platform with customizable label templates and design tools for label creation. With a vast library of graphics and fonts, VistaCreate simplifies the design process for beginners.

Label creation process. Source: via VistaCreate
For those seeking more advanced design capabilities, Adobe Illustrator and Photoshop have powerful tools that help create custom labels with precision and creativity. These industry-standard design programs offer extensive design functionalities, allowing complete control over every aspect of label design.
If you don’t know where to start with DIY label design, use VistaPrint’s design services.
Step 3: Choose the label’s size and shape
Determine the size and orientation of your label based on your product packaging. Consider the size and shape of the product, the amount of information that needs to be displayed and the desired visual impact. Measure your packaging before you choose the size and shape of your label. A label that’s too large will wrinkle or overwhelm the product, while one that’s too small doesn’t offer enough space for information.
When choosing the shape and size of your label, refer to these common label dimensions and orientations used across various industries:
Rectangular labels
Standard dimensions: 2″ x 3″, 3″ x 5″ and 4″ x 6″
Orientation: Landscape or portrait
Circle labels
Standard diameters: 1.5″, 2″ and 3″

Square labels
Standard dimensions: 2″ x 2″, 3″ x 3″ and 4″ x 4″

Oval labels
Standard dimensions: 2″ x 1″, 3″ x 2″ and 4″ x 2″
Orientation: Landscape or portrait

If the standard label shapes don’t work for your product packaging, choose custom dimensions tailored to fit your product and specific design requirements.
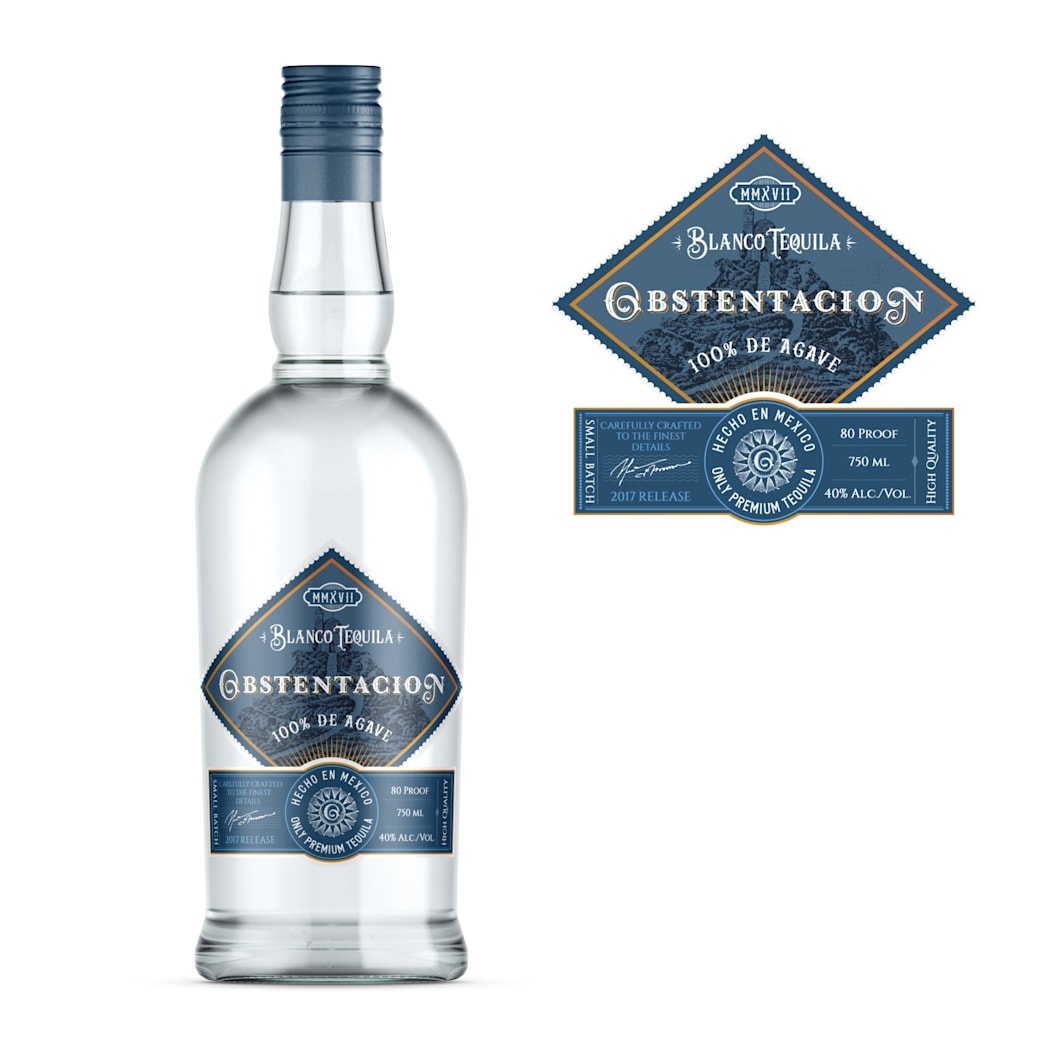
Source: Unusual Tequila label shape by Wooden Horse via 99designs by Vista
When setting up your design canvas, aim for a resolution of at least 300 DPI for crisp and clear printing quality and use CMYK color mode.
Layout and grids
Layout grids or guides are essential for a balanced and professional label design. Grids make it easy to organize elements such as text and images, ensuring consistency, alignment and readability. Using grids helps to establish a visual hierarchy, streamline the design process and create a visually appealing label design.
Step 4: Design your label
Keep the design clean and make sure the most important information stands out first.
Choose colors and fonts
The color scheme and fonts you choose for your label needs to appeal to your target audience and reflect your brand identity. Use any existing brand colors for cohesive branding, consider color psychology and use colors that complement each other using the color wheel.
Consistent use of brand colors enhances brand recognition and reinforces your brand identity in the minds of customers.
Stick to a maximum of two or three fonts to maintain readability and visual consistency. Ideally, your labels will use existing brand fonts to reinforce brand recognition.
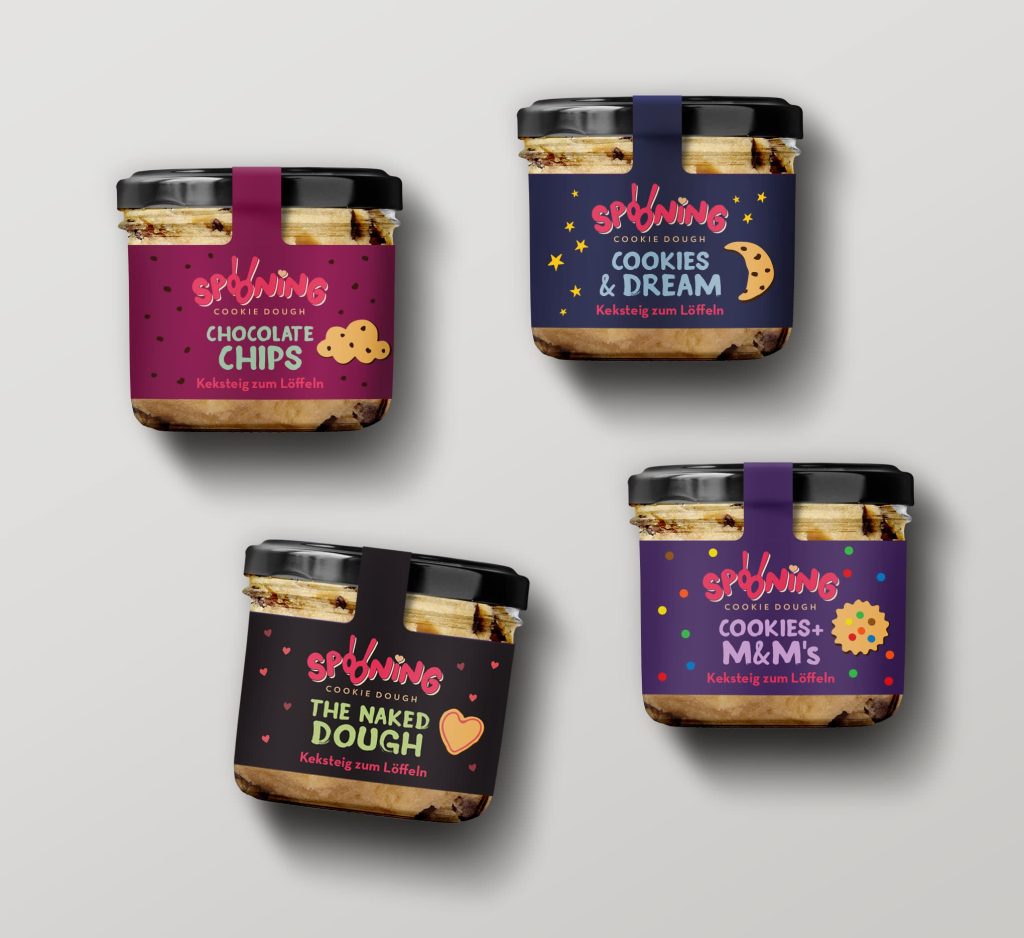
Source: Label design by katerina k. via 99designs by Vista
Incorporate visual elements
Imagery and graphics transform a label into a sales tool. Incorporate these visual elements into your label design to attract customers and boost sales:
- Brand logo: Make sure it’s clear, recognizable and aligned with your brand’s aesthetic.
- Product imagery: Illustrations or photographs help consumers visualize the product.
- Backgrounds and patterns: Background graphics add depth and visual interest to your label design.
- Graphics, symbols and icons: Highlight product benefits, usage and features or communicate important information.
Step 5: Place text and ensure legibility
Text conveys important information and encourages customers to engage with your product. Include the product name, logo and any essential details, such as ingredients and instructions, on the label. Be concise, use short sentences and organize text with clear headlines, subheadings and body text. Use font size, weight and color to guide readers to the most important information first.

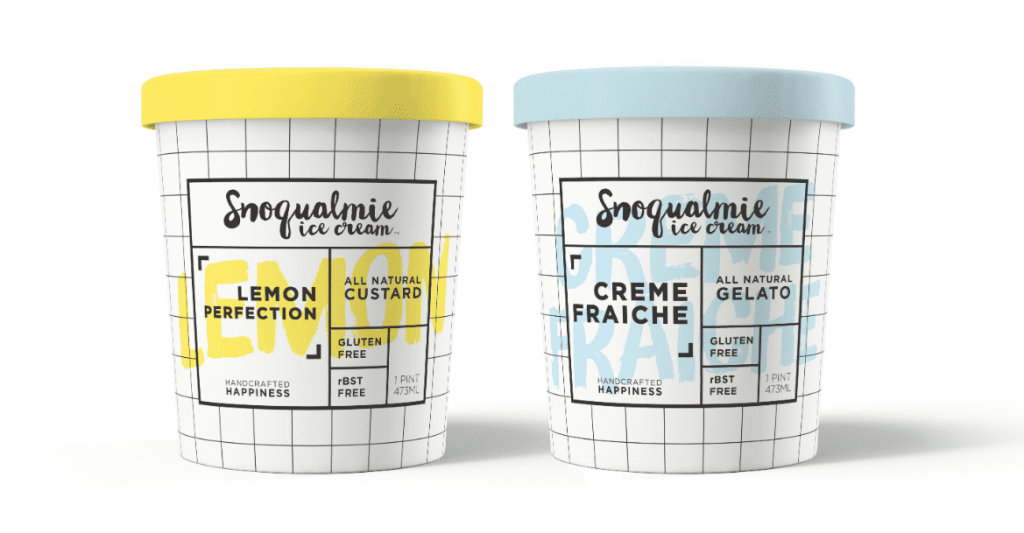
Source: Background visual on a label design by Khramova via 99designs by Vista

Source: Label design by maxgraphic via 99designs by Vista
Choose easy-to-read fonts, especially at smaller sizes. Stick to sans-serif fonts for clarity, and use brand fonts where possible. Ensure text stands out against the background with contrasting colors or background shapes.
Avoid busy backgrounds that can interfere with legibility and keep text aligned and evenly spaced to maintain readability.
Step 6: Choose the right paper stock for your labels
What materials do you need to make labels?
Paper works well for standard packaging, but moisture, handling or refrigeration often requires waterproof or coated materials. You’ll need to choose the appropriate paper stock for your labels and select the right finish and coating to bring your label design to life.

Source: Paper label design by green in blue via 99designs by Vista

Source: Wine label design by green in blue via 99designs by Vista
Selecting the paper stock for your labels is crucial to achieving the desired look, feel and functionality. The two most common label material types are:
- Paper labels: Ideal for standard applications like product packaging, mailing and address labels.
- Plastic labels: For durable, waterproof or outdoor applications where moisture or weather is a factor.
For unique label designs with extra visual appeal, use alternative label paper stock or specialty materials like textured paper or metallic foil finishes.
Step 7: Choose a label finish and coating
The finish and coating you choose significantly impact aesthetics and durability. The two most common are:
- Gloss finishes: a shiny, vibrant look that enhances colors and visuals.
- Matte finishes: a softer, understated look with reduced glare and fingerprints.
Whether to coat your labels or not is up to you. Laminates offer protective benefits, increasing durability and resistance to moisture, abrasion and fading, ideal for labels exposed to harsh conditions or handling, ensuring longevity and maintaining visual appeal.
Step 8: Prepare your labels for print
Before printing your labels, review the label design and make any final adjustments. Ensure all design elements are correctly positioned and legible.

Source: Bleed, trim, and safe line on a product label design by sarapaheylo via 99designs by Vista
Tips for exporting label design files:
- Export the design in PDF or TIFF format for printing, ensuring design integrity.
- Include bleed (typically 0.125 inches) and a safe area to prevent unwanted white borders and design elements from being cut off.
- Convert colors to CMYK mode for printing. Check color accuracy by reviewing color proofs.
Step 9: Choose the right printer
Now you’ve designed your label and prepared the file for printing, it’s time to print your labels. Before printing in bulk, always run a test first. Check alignment, color and adhesion, then adjust if necessary. Test a printed label by rubbing it with a dry finger and a damp cloth to see if the ink lifts. To ensure your labels match your vision, use a printer capable of producing them accurately, and consider resolution and color accuracy.
Source: Product packaging design by katerina k. via 99designs by Vista
Inkjet printers offer vibrant colors and are suitable for glossy finishes, while laser printers provide crisp text and are better for matte finishes. Consider your label needs when choosing between inkjet and laser printers.
Design and print your labels today
From deciding what to feature on your labels to selecting design tools, preparing and printing, each step in the label design process is as important as the last. Creating DIY labels is possible for small-scale printing, but professional printing services like VistaPrint are useful when it comes to large-scale label production. With high-quality guaranteed, you can focus on growing your business while VistaPrint takes care of the rest.
How to make labels FAQs
What paper stock do you need to make labels?
If your labels will be handled often, choose a durable material with a matte finish that resists scuffs. If your labels will be exposed to moisture or refrigeration, use waterproof or plastic paper stock, otherwise standard matte or glossy paper stock works well for most other applications.
How do you print labels correctly without misalignment?
Start with the template for your label sheet, set scaling to 100% (no “fit to page”) and select the right media type in printer settings. Print a test, check alignment, then feed label sheets one at a time through the correct tray. Misalignment often comes from the wrong feed path or printers pulling the sheet slightly off-center.
What size label should I use for my product?
First, measure the packaging area where the label will sit and avoid placing edges over curves, seams or textured surfaces. Choose a label size that leaves a small margin from the edge of the packaging and keeps key text readable at arm’s length, while providing adequate room for product information.
How to make labels at home?
To make labels at home, match your design template to your paper and do a quick test before printing. First, choose your label sheets and design using the template for that sheet layout. Design and print at actual size. Print a test label sheet and apply it to your product. Check whether it sticks, is aligned and readable, and doesn’t smudge when you rub it lightly. Then print the rest of your labels once the test passes all checks.