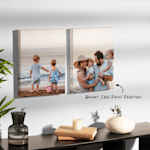
Creating a gallery wall with your canvas prints doesn’t have to be intimidating. To help, we’ve broken the process down into a few key steps:
1. Gather your art
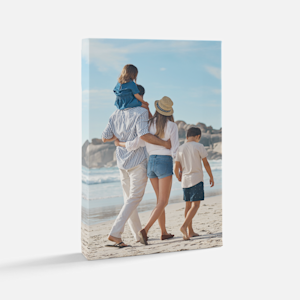
Collect all the canvas prints you’d like to hang. Whether you’re displaying only canvas photo prints or mixing them with other kinds of art, it helps to have a motif that ties everything together. Consider aiming for a specific color palette or photo style. You can also compile all your vacation pics, make a collage of wedding snapshots or create a whole display devoted to your pet: whatever tells a story you love.
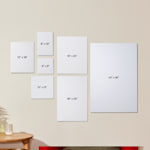
2. Try different layouts
You have your art, now time to experiment! Lay all your canvas prints out on the floor and arrange them however you like. Unsure where to start? Try using a large piece as a center point and then position smaller custom canvases around it. As you arrange and rearrange, you may need to try a couple of different layouts before finding the right one. Feel free to snap pictures as you go so you can compare layouts.
3. Prep and mark the wall
Once you’ve nailed down the layout, clean the wall and do any sanding necessary to create a smooth blank slate. Then, using newspaper or kraft paper, cut and trace paper sheets that match the different sizes of your custom canvases. Use painter’s tape to hang the sheets on the wall in your chosen layout and then step back to see how it all looks. You might need to adjust and rehang some of the sheets, or you may discover that you want to go with another layout altogether (and that’s okay!).
4. Hang
With your “faux” gallery all set and hung, use a pencil to mark where you’ll need to hammer and then remove the paper sheets. Now it’s time to hang for real! Our custom canvas prints come with built-in hangers, so all you need to do is hammer or screw in your hardware and plop the canvases in place. When you’re finished, go ahead and take a step back to admire your hard work. (While you’re at it, take a pic, post it to your socials and be sure to tag @VistaPrint!)


 Verified Buyer