You can add your own images, logos and graphics to your projects within the design studio.
To upload images, follow the steps below depending on your device.
How to upload from a computer
Follow these steps if you are using a desktop or laptop web browser to design your project.
Open your design
Open the product you want to edit in the design studio.
Select the uploads tab
Select the Uploads tab (represented by the image icon) on the left-hand toolbar.
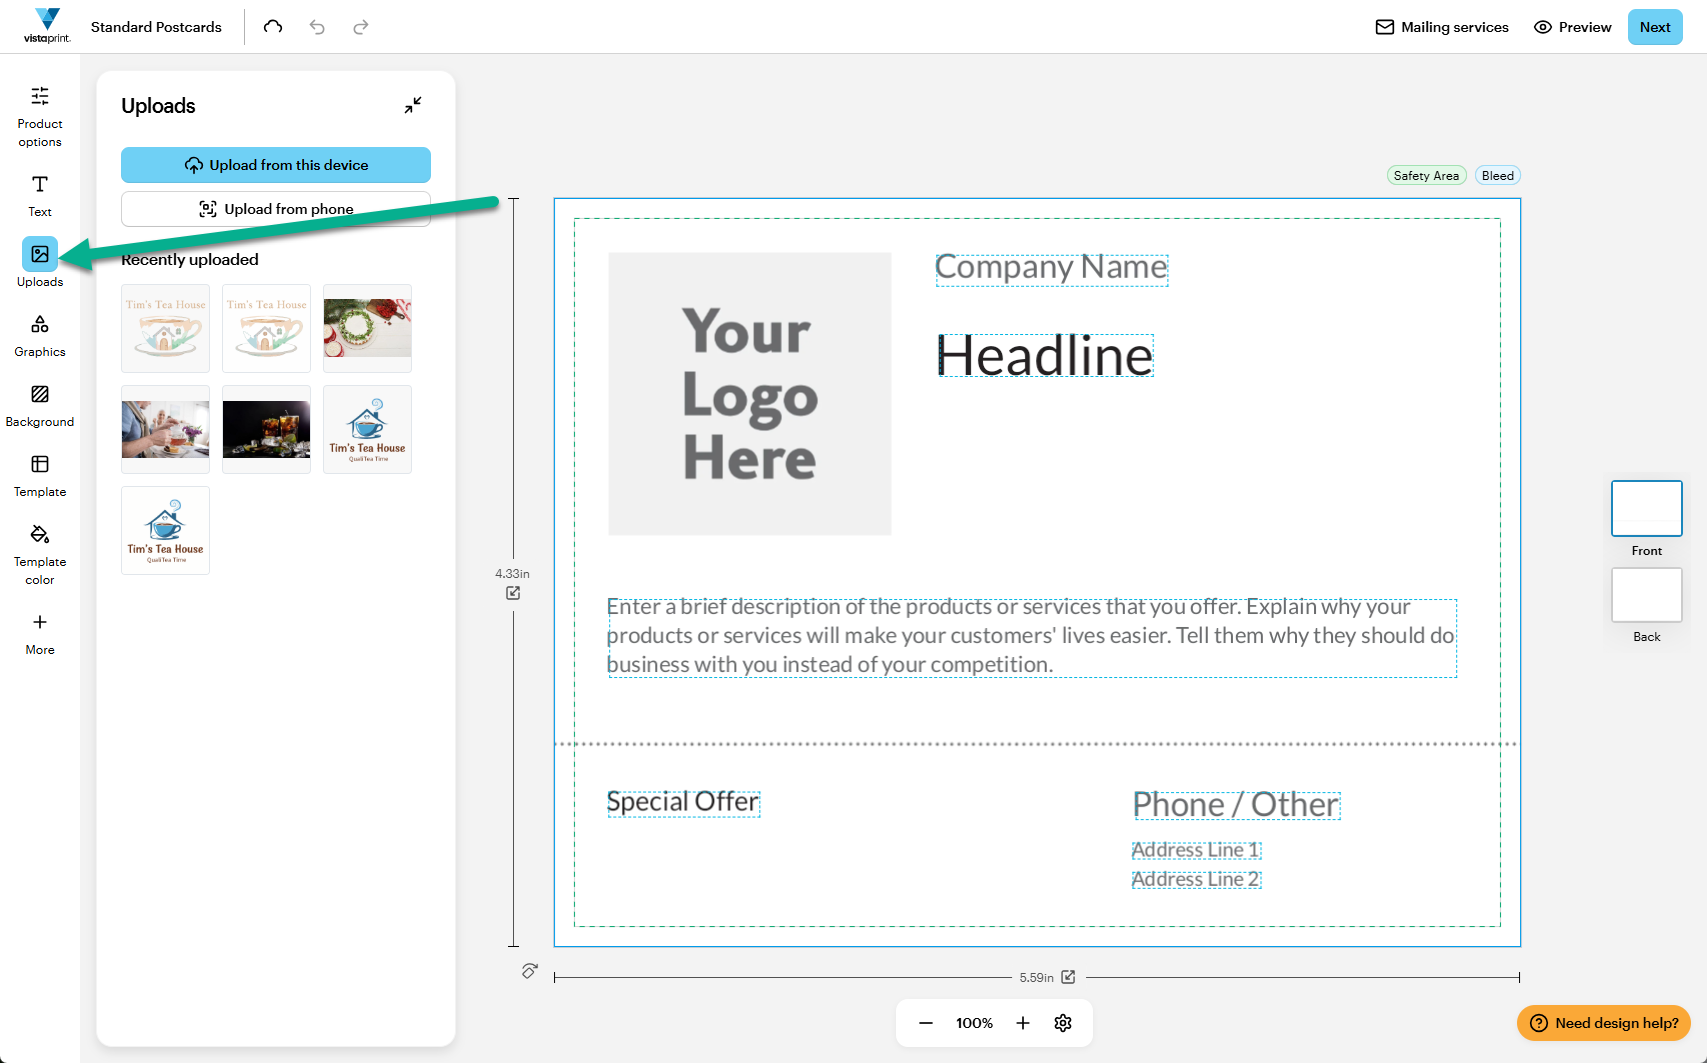
If your template already contains an image placeholder (displayed as a gray box or a stock image), you can also select that placeholder and select Replace to add your image.
Select your upload source
Select Upload from this device to choose images saved on your current device. Alternatively, select Upload from phone to add images from a mobile device.
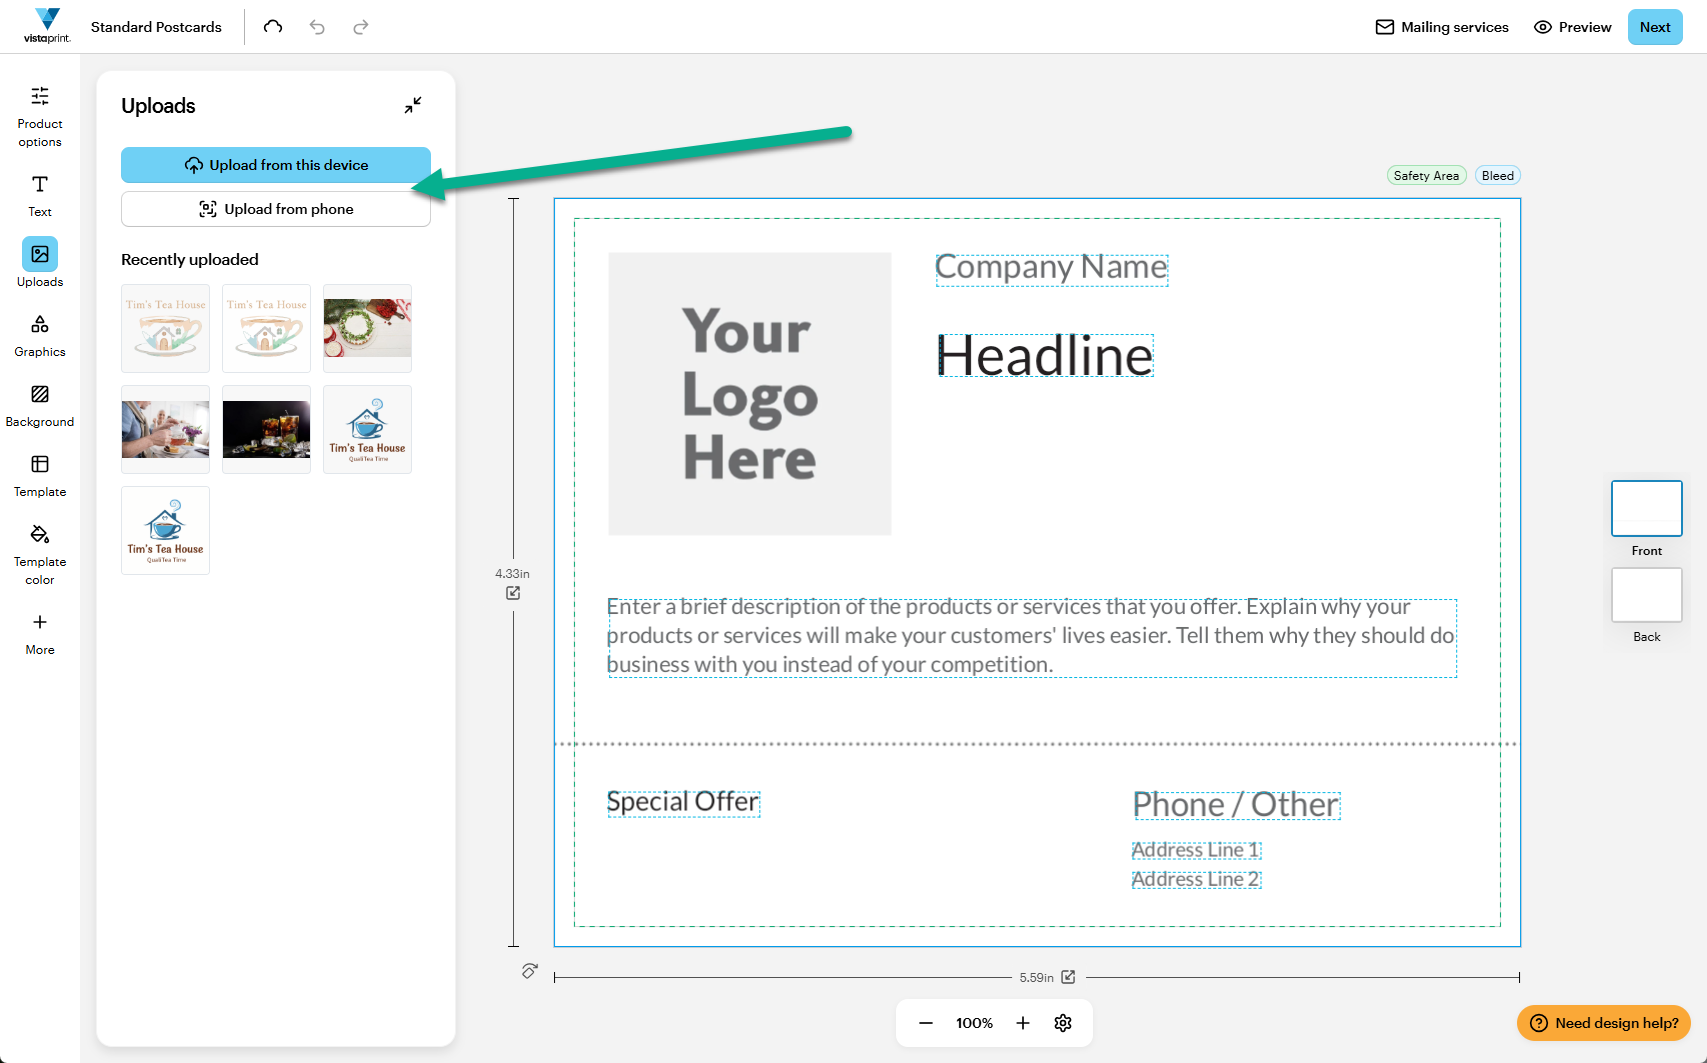
To upload from your computer:
Select Upload from this device to open your computer file finder.
Navigate to the folder where your image is saved.
Select the file and then select Open to upload it to the studio.
To upload from your phone using the QR code:
Select Upload from phone to display a temporary QR code on your desktop screen.
Open the camera app or QR reader on your mobile phone and scan the code.
Tap the link that appears on your phone screen to open the secure upload window.
Select Upload Photos
Browse your phone to find the images you want. On most mobile phones, you can select several images. Then press Select to confirm your selection.
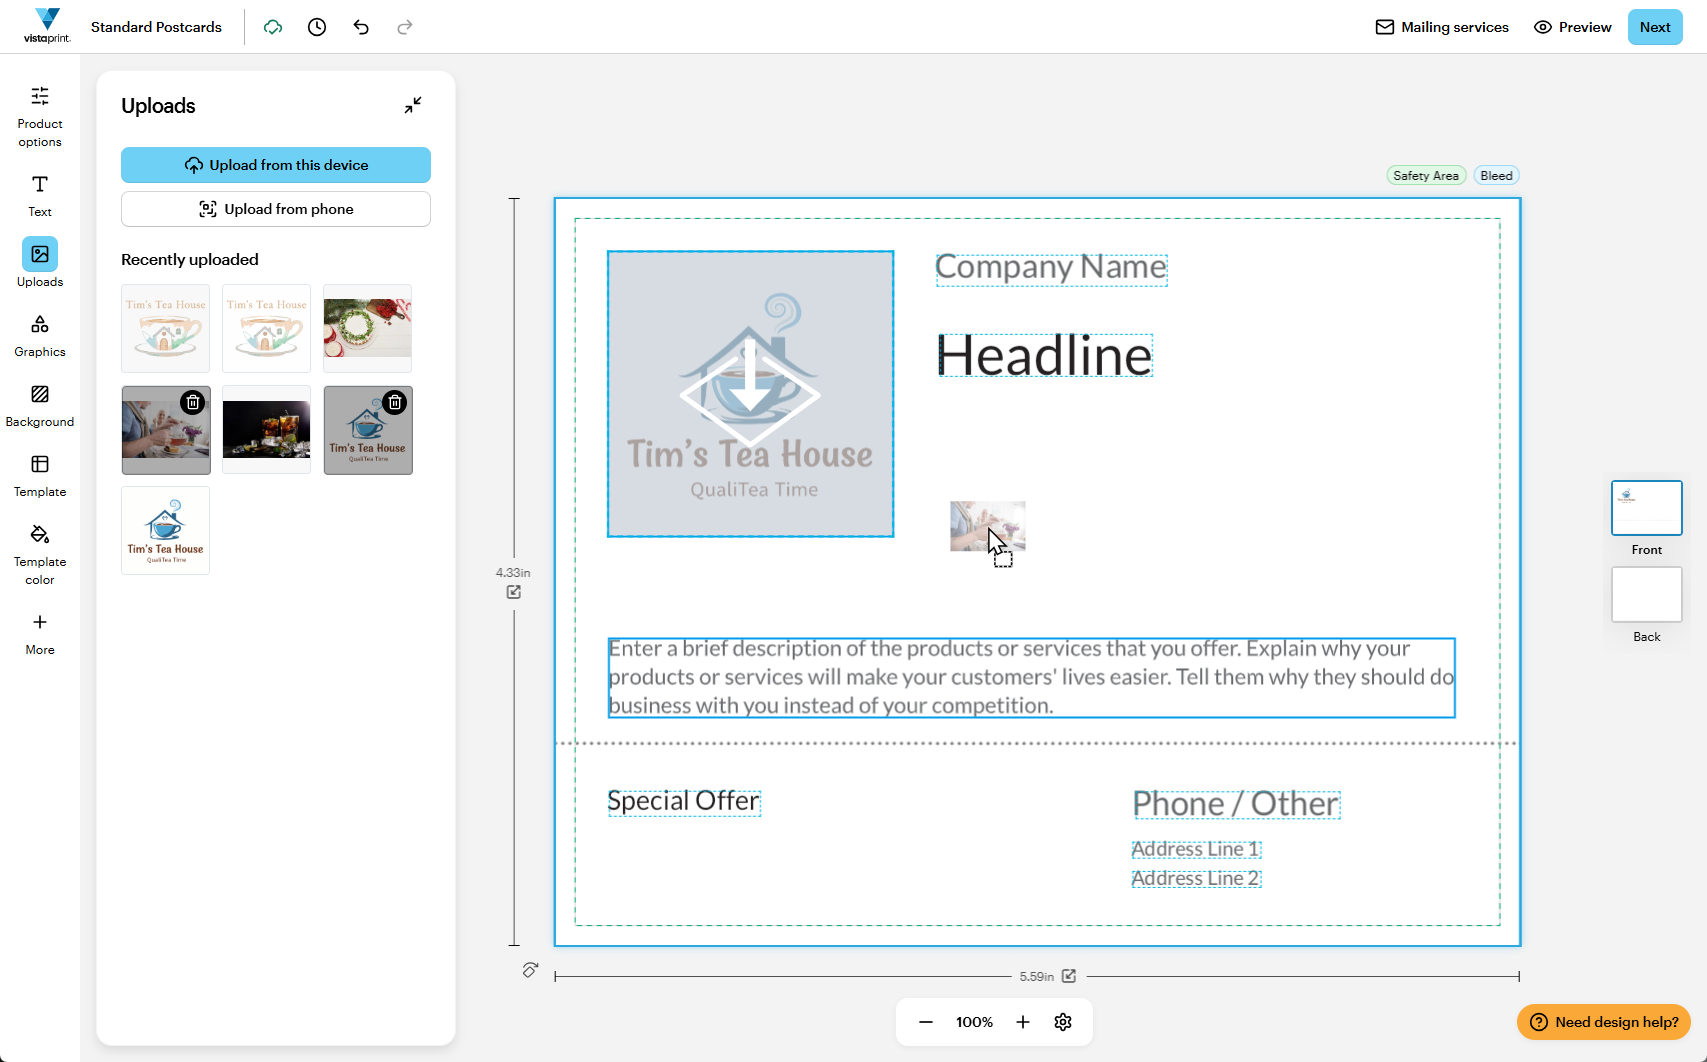
The images will be uploaded to the design studio and appear under "Recently uploaded" where you can select them to use on your design.
Drag and drop the image onto your design
Once your image finishes uploading, select it to add it to your design canvas. You can also drag and drop the image from the Uploads panel directly onto the specific spot where you want it to appear.
How to upload from a mobile device
Follow these steps if you are designing your product using your mobile phone or tablet web browser.
Open your design
Open the product you want to edit in the mobile design studio.
Select the images tab
Tap the Images tab (represented by the image icon) in the studio menu screen.
Select upload files
Tap Upload files to access the media stored directly on your mobile device.
Browse your device and select your files
Browse your phone library or photo roll to find the graphics you want to use. On most phones, tapping a single image will instantly upload it and add it directly to your canvas. If you want to add multiple files at once, press and hold down on an image to activate multi-select, choose all the files you want, and tap Select or Add to upload them together.
If you experience any issues during the upload process, check the troubleshooting options below to find a solution.
Troubleshooting upload errors
File format errors
Make sure your file is saved in a supported format like JPEG, PNG, or PDF. Check our full list of supported file types here.
Mobile upload failures
If the temporary QR code fails to scan or upload your photos, check that your mobile web browser has permission to access your camera and photo library.
Browser performance issues
If the upload screen freezes or fails to respond, clear your browser cookies and cache, or try completing your design in a different web browser.