Capturing the perfect family photo for your annual greeting cards is a joyful moment, but coordinating the shoot can also bring a bit of chaos. If you’re searching for fresh Christmas card photo ideas, you already know that the hardest part isn’t just taking the pictures – it’s figuring out how to combine your favorite moments into one beautiful, printed design.
Whether you are leaning toward matching pajamas or elegant outdoor portraits, combining creative photoshoot concepts with clear collage strategies can make designing printed cards much easier. This guide will walk you through planning your shoot, selecting your themes and laying out multiple pictures flawlessly so you can bring your ideas to life and create a keepsake your friends and family will love.
Shoot early: Take your photos by late October or early November to give yourself plenty of time for editing, printing and mailing.
Choose a clear theme: Whether you opt for a cozy at-home shoot, an outdoor winter setting or pet-inclusive photos, stick to a consistent color palette to help the images work together.
Follow the Rule of Three: When creating a photo collage, combine one wide scene-setting shot, one candid close-up and one traditional portrait to avoid visual overload.
Maintain color continuity: Apply consistent lighting and presets across all your selected photos so your physical printed card looks intentional and works well.
Prioritize print resolution: Use high-resolution original files and check that each image will reproduce at around 300 pixels per inch at its intended print size.

A quick checklist for perfect Christmas card photos
By setting a simple plan, you can avoid a last-minute rush while helping your final product look professional.
Planning timeline and photoshoot timing
When should you take Christmas card photos? Aim to take your photos by late October or early November. Planning ahead gives you a comfortable buffer to review the images, decide on your favorites and account for the time spent refining the design. It also leaves time to print the cards and have your envelopes stamped and mailed by early December.
Essential pre-shoot preparation list
Before anyone steps in front of the lens, run through this quick checklist to help make sure your photos are print-ready:
- Verify your lighting: Check the natural light at your location. If you are shooting indoors, position your family facing the largest window.
- Coordinate your outfits: Lay everyone’s clothing out to check for clashing patterns or competing logos. Choose two or three complementary colors rather than dressing everyone identically.
- Plan your photo orientation: Shoot a mix of landscape photos and portrait photos to fit different template grids.
- Check camera settings: Ensure your camera or smartphone is set to capture images at the highest available resolution. Use the original files when designing your card rather than screenshots or copies downloaded from social media, which may be compressed.

Creative Christmas card photo ideas and styling themes
The best family Christmas photo ideas feel natural to the people in the picture. Start with one of these simple themes.
Classic family poses and cozy at-home setups
How do you pose for a family Christmas card? Embrace natural, unforced poses rather than rigid, stiff lineups. You might try baking holiday cookies or sitting on the couch with cozy blankets. These intimate holiday picture themes tell a story about your family’s life, drawing the viewer in much more effectively than a standard studio backdrop. Give everyone a small action – pouring cocoa or hanging a decoration – to help them relax. Take a posed portrait too, then keep shooting as people talk and laugh.
Outdoor winter themes and natural light setups
Stepping outside offers beautiful natural backdrops. Consider a local pine tree farm, a snowy park walk or a neighborhood stroll during golden hour when the light is soft, warm and flattering. Outdoor Christmas photoshoot ideas work particularly well because the setting provides seasonal color and room for wide group shots.
Avoid harsh midday sun, which can create squinting and strong shadows. On an overcast day, keep faces turned toward the brightest part of the sky.

Outfit color palettes and visual styling tips
What is the best color to wear for Christmas card photos? There is no single best choice, but rich jewel tones like emerald green, deep navy and burgundy or neutral earth tones photograph well in many seasonal settings. These palettes complement most holiday card templates without clashing or appearing overly busy.
Avoid outfitting everyone in matching, identical sweaters unless it is a specific, humorous theme; instead, aim for complementary shades that add texture. Tiny checks and large logos can be distracting, so keep most outfits simple and introduce patterns sparingly.
For more visual inspiration, browse this custom holiday card inspiration guide to see how different colors translate into print.
Pet-inclusive posing ideas
If your household includes pets, they can be included in the annual greeting. To incorporate dogs or cats safely and effectively, use a favorite treat or toy near the camera to grab their attention. Use burst mode on a smartphone or a fast shutter speed on a camera to capture quick movements. Focus on candid interactions, like the kids tossing a toy or parents scratching the dog’s ears, rather than forcing the animal to sit perfectly still. Choose a familiar, secure setting and keep the session short.
Strategic collage design: Mastering the rule of three
When families have too many great photos to choose from, they often crowd them all onto a single card, which can look visually overwhelming or messy. For more cohesive collage Christmas card ideas, plan three types of images before the shoot and give each one a clear role.
What is the rule of three for photo collages?
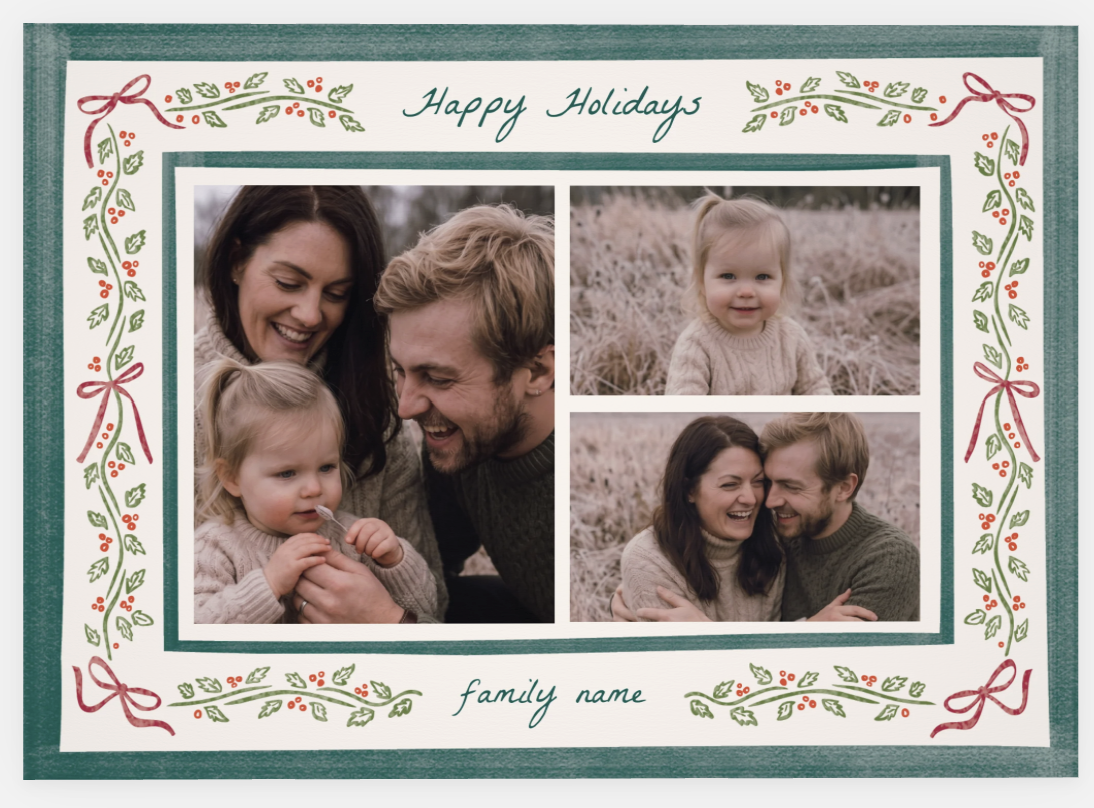
How do you lay out multiple photos on a holiday card collage? Try the rule of three: combine one scene-setting shot, one candid detail shot and one classic portrait. This balances wide open space with intimate details and clear faces. Use the strongest image as the large “anchor,” with two smaller supporting photos.
The anchor: Wide, scenic shot
Your first photo choice should be a wide shot that sets the scene. Think of a landscape image of the whole family walking in an open park or standing in front of a tree farm. This establishing shot creates breathing room thanks to the background space, preventing the card design from feeling cramped. Open background space can also accommodate a short, legible greeting.
The highlight: Candid close-up shot
Your second photo should add personal warmth through a tight detail shot. This could be the kids laughing, hands tightly wrapped around a mug of hot cocoa or a carefully wrapped gift. This highlight breaks up the standard portraits and adds personality to your layout.
The classic: Traditional portrait shot
Your final photo grounds the collage. This is a clear, waist-up portrait where everyone is visible and facing the camera. Choose sharp focus and natural expressions so faces remain recognizable in a smaller photo window.
Visual balance and color tone continuity
A collage only works if the distinct photos look like they belong in the same collection. Maintain consistent lighting, color filters or presets across all three images so the printed card looks unified rather than pieced together. If one photo is warm and golden while another is cool and blue, the resulting layout may look disjointed.
Template matching: Pairing photo orientation with card formats
Once your photos are edited, choose a design template that accommodates them. Mapping your photo orientations directly to card formats removes friction during the final design process.
Landscape family shots for horizontal card templates
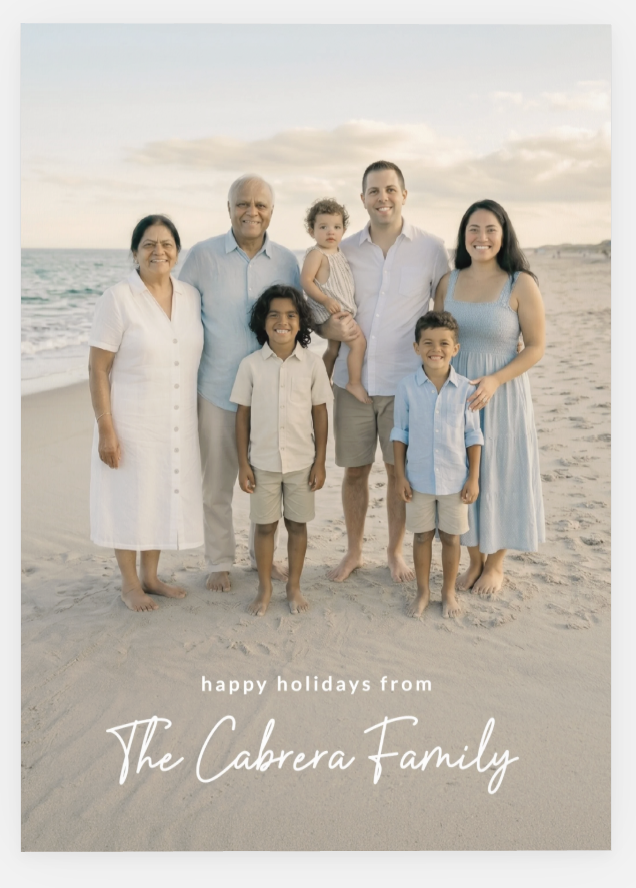
Wide group shots usually work best with horizontal templates. Attempting to squeeze a family of five into a tall, vertical photo slot can result in awkward side-cropping, cutting out the people on the edges or forcing the subjects to look tiny. Choose a classic landscape card to give wide scene-setting photos the space they deserve. Leave extra room on both sides for cropping.
Multi-photo vertical grids for individual portraits
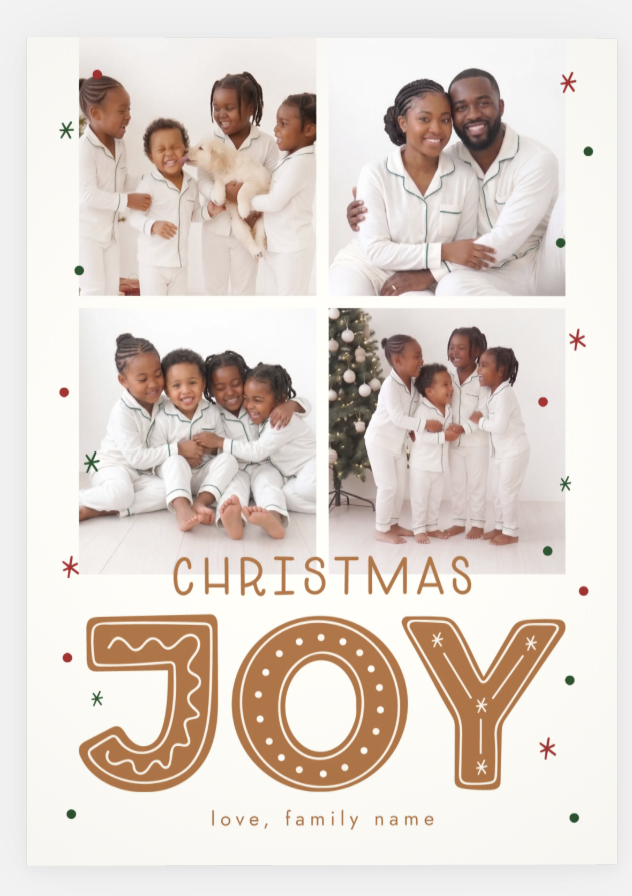
If your goal is to highlight individual portraits of your children or pets, vertical two-photo or three-photo grid cards are ideal. These templates give each vertical image its own defined space. Since vertical shots naturally frame a single person from the torso up, a multi-photo grid allows each family member their own dedicated focal point. Keep the framing and headroom similar across the portraits to make the grid feel balanced.
Square collage formats for balanced storytelling
Square multi-photo cards offer plenty of flexibility, mixing landscape wide shots with portrait close-ups. If you successfully shot the Rule of Three, a square template may feature one dominant block for the landscape scene-setting shot, anchored by two smaller square frames underneath for the candid and traditional portraits. Preview each crop carefully, as rectangular images may lose detail when fitted into square windows.
Don’t fight the layout. If your favorite images are all vertical, filter your search for templates with vertical image slots. Save yourself the headache and let the design work for you. Explore VistaPrint holiday card templates to find a match for your camera roll.
Technical print prep: ensuring clear printed photos
Digital screens are forgiving, but physical paper reveals technical flaws. So it’s advisable to run a quick technical check before ordering.
Resolution, lighting and color preset guidelines
How do you make sure photos look high-quality when printed on Christmas cards? Aim for around 300 pixels per inch at the intended print size, often described as 300 DPI. For example, a 4-by-6-inch photo should ideally measure about 1,200 by 1,800 pixels. Use the original image and avoid enlarging a small file.
When it comes to color, a printed photo can look slightly darker on paper than on a smartphone screen. Avoid using overly dark filters and keep faces well exposed so your family’s features remain clear. Check the preview and address any low-resolution warnings in the design tool.
Avoiding common collage layout mistakes
When adding photos to the design builder, pay close attention to the text and the edges. Avoid placing your typography directly over busy image areas as it can make your family name difficult to read. If text sits over a photo, choose a simple area and use strong contrast.
Additionally, keep important details, like the top of a head or a pet’s ear, well away from the trim line. Extend backgrounds to the bleed if required, but keep faces, text and other important elements within the template’s safe area so small variations in trimming don’t cut them off.
Bring your Christmas card photos to life
Creating the perfect annual greeting doesn’t have to be a source of holiday stress. When your photography concepts align with smart layout planning, the design process becomes far more straightforward. By shooting early, mastering the rule of three and selecting the right template for your image orientations, you can transform a folder of digital files into a beautiful, tangible keepsake. Give the finished preview one final check for image quality, cropping and text placement, then it is ready to share.
Frequently asked questions
How do you pose for a family Christmas card?
Use relaxed poses and simple activities, such as baking cookies or decorating the tree. Take one formal portrait, then keep shooting for natural smiles.
What is the best color to wear for Christmas card photos?
Choose two or three coordinating colors rather than exact matches. Soft neutrals, deep greens and warm reds photograph well, but avoid busy patterns.
When should you take Christmas card photos?
Aim for early fall so you have time to select photos, design the card and allow for printing and delivery.
How do you lay out multiple photos on a holiday card collage?
Use one main image with two supporting photos. Keep spacing consistent and choose a template that fits each photo’s orientation.
How do you make sure photos look high-quality when printed on Christmas cards?
Use original files at about 300 pixels per inch, keep faces well lit and check the preview for low-resolution warnings.