Product packaging design is the process of creating a product’s physical packaging, materials and graphics. The importance of product packaging design is to protect the product, communicate a brand identity and improve the customer experience. This guide covers the steps of product packaging design, from research to printing, exploring eco-friendly materials, luxury finishes and “phygital” touches to help small businesses create packaging with confidence.
- Balance product safety, clear information and branding for a strong first impression.
- Use your printer’s dieline and specifications to avoid sizing, folding and trimming issues.
- Compare recycled stocks, box types and disposal options alongside costs and minimum order quantities.
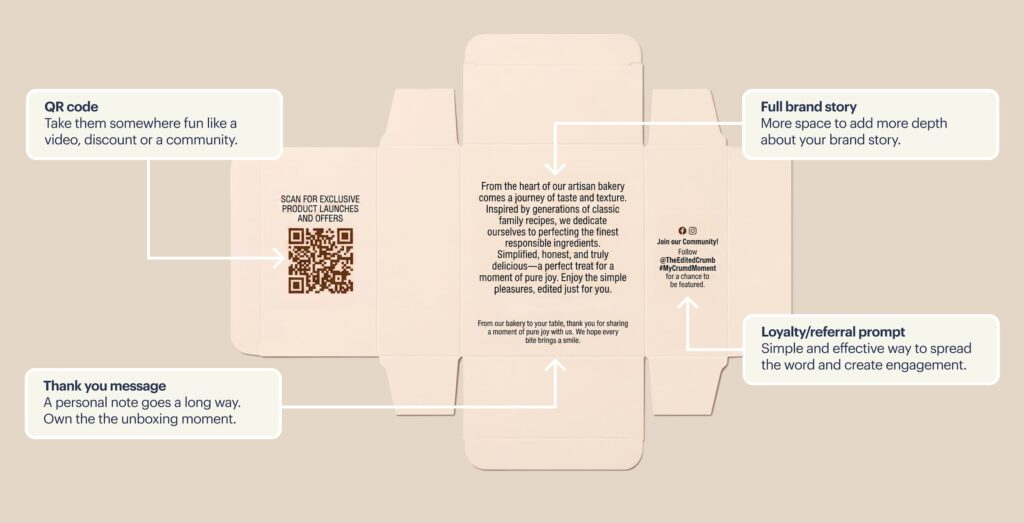
- Use QR codes to connect customers with tutorials, reorder pages and reasons to return.
- A well-placed label or thoughtful insert can give standard packaging a premium feel.
What is product packaging design?
What is product packaging design in everyday terms? It’s the choices that turn a container into something useful, recognizable and fun to open. The importance of product packaging design becomes clear when you follow a product’s journey. A jar needs protection in transit, a label needs to explain what’s inside and the unboxing experience needs to feel worth the purchase.
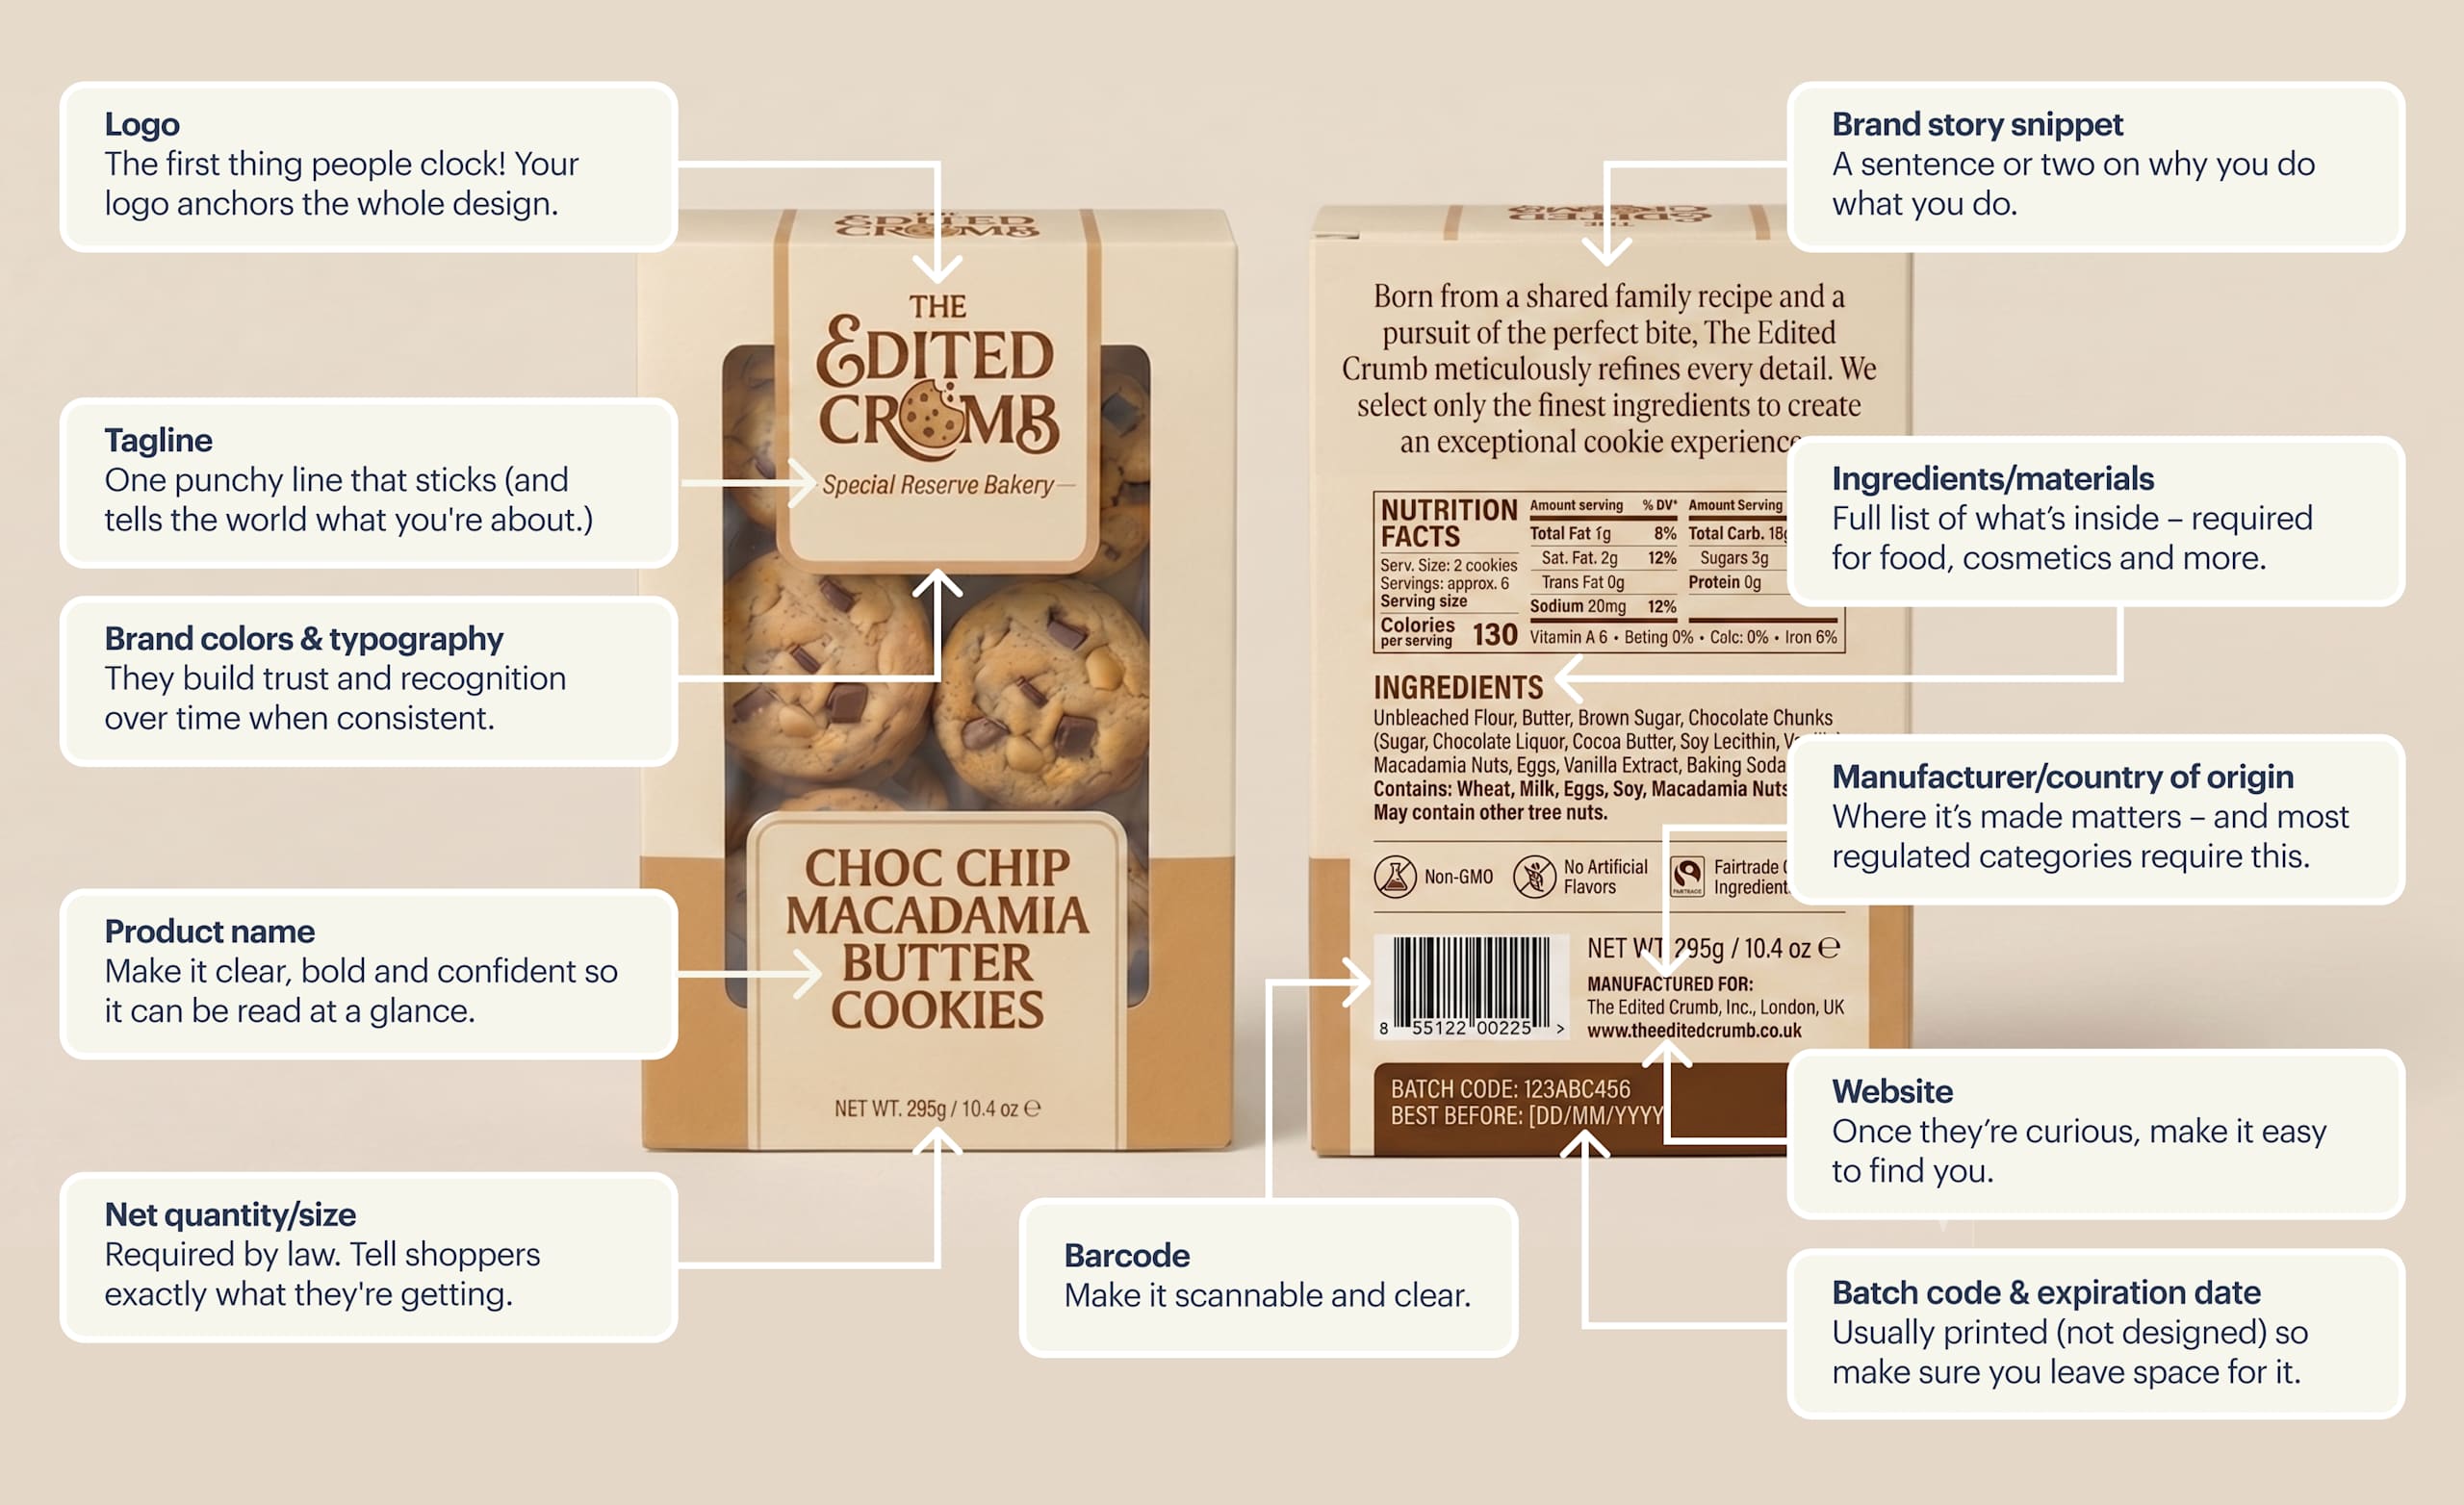
Packaging brings together how a package looks, feels, opens and works, from the shipping box to the product label on the product inside. To design product packaging, start with research into your product and audience, then choose materials, build the visual concept around your brand and design the layout for essential information. Finally, test a prototype before printing.
For small businesses, packaging is often a customer’s first physical encounter with the brand. Thoughtful packaging design can make a product feel higher quality, while helping consumers understand its value. No matter your budget, start with durable packaging with clear branding.
How to pick the right packaging for your business
First, work out what your packaging needs to achieve based on your product, audience and sales channels.
Key elements of product packaging design
The key elements of product packaging design include structure, materials, graphics and information. These work across packaging layers, although your product may not need all three.
| Packaging layer | Primary function | Small business examples |
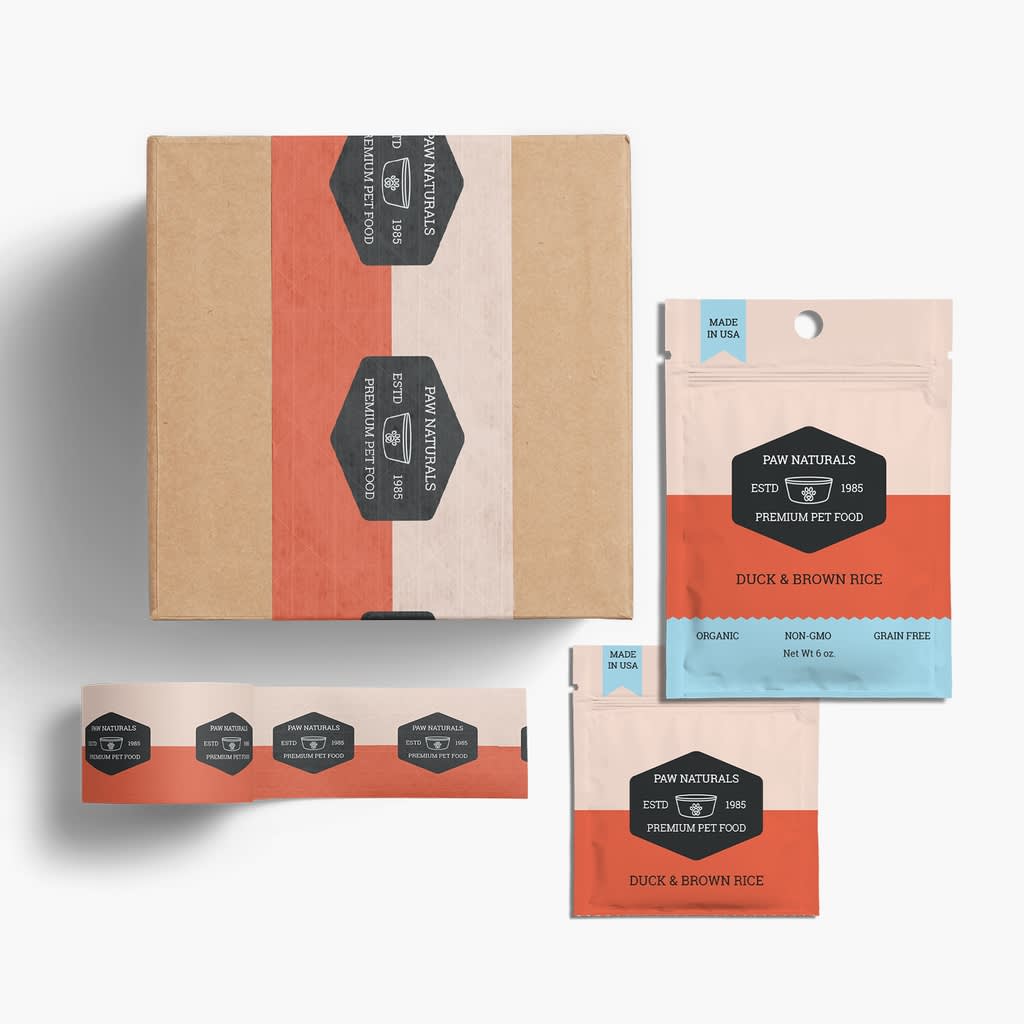
| Primary packaging | Contains the product directly | A jar, pouch or soap wrapper |
| Secondary packaging | Surrounds primary packaging for protection or presentation | A skincare bottle carton or a gift box holding several products |
| Tertiary packaging | Bulk handling, storage and shipping | A corrugated shipping box containing individual wrapped items |
Explore the different types of packaging and types of labels in our guides
What is the product?
Measure the product and account for inserts and cushioning. Glass needs protection during transit, while lightweight items and apparel may suit a mailer. For food or cosmetics, confirm that materials are suitable and check storage conditions.
Who is buying the product?
Think about who will receive and handle the package. Gift shoppers may appreciate a polished presentation, while everyday essentials benefit from easy opening and clear instructions. Ensure high contrast, clear branding and easy-to-find information.
How are people buying the product?
While e-commerce packaging needs to withstand shipping, retail packaging needs to communicate quickly on a shelf, with the product name and main benefit visible. Selling through both channels may call for a retail package inside a protective shipping container.
Product packaging design considerations
Before designing product packaging, decide on your budget and gather your brand assets and product copy.
Branding
When designing product packaging, consider and gather:
- Colors: You’ll need the codes of your brand colors. Convert to CMYK for print.
- Fonts: Use brand fonts or an easy-to-read typeface for clear readable information.
- Logos: Use SVG, EPS or PDF vector files, so artwork stays sharp when resized.
Budget
One-time costs include design work, software, setup and prototypes. Per-item packaging costs include boxes, labels, inserts, protective materials, labor and supplier delivery costs.
For example, $150 in setup fees spread across 300 packaging units adds $0.50 each. If materials cost $1.25 per package, you’re at $1.75 before labor and delivery. Compare quotes using the same specifications and quantities.
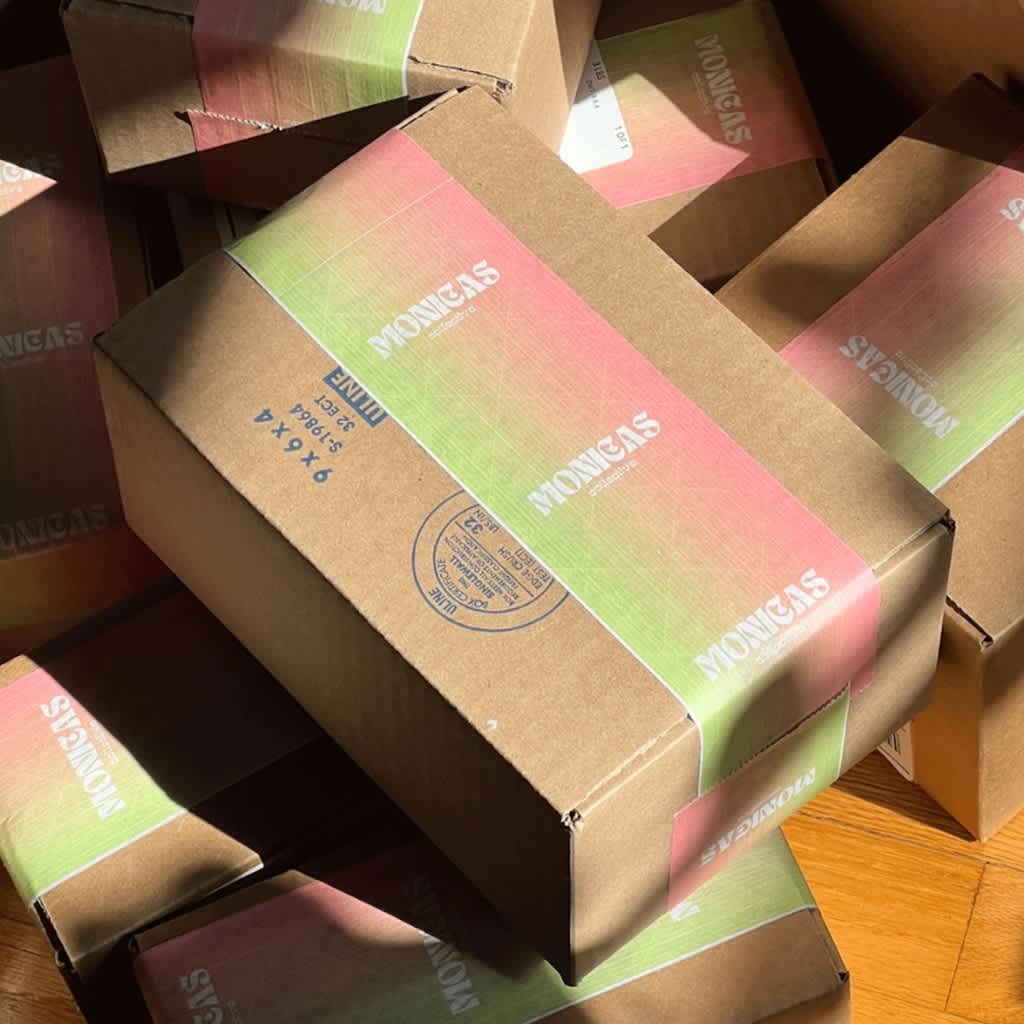
Budget-friendly sustainable materials: Use recycled paper, cardboard and compostable mailers with water-based inks. Standard box sizes with separately printed labels can reduce initial costs. Compare minimum order quantities, or MOQs, for each packaging component.
Style
Gather style references aligned with your brand identity, such as organic shapes or simple line drawings. Notice how paper stock, glossy finishes and matte textures change the look.
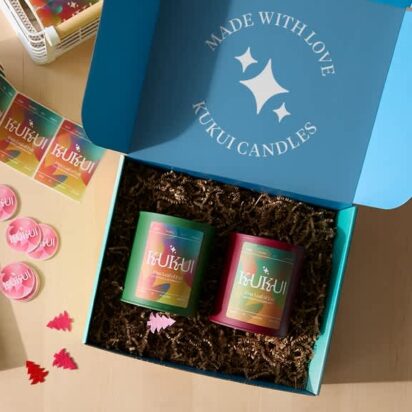
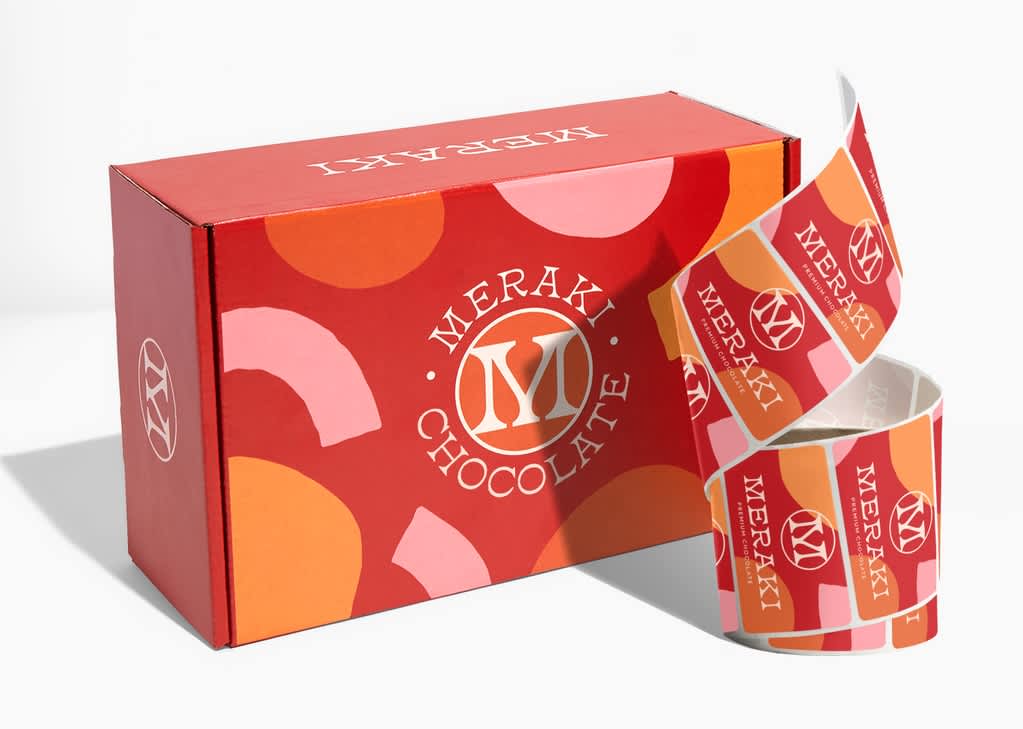
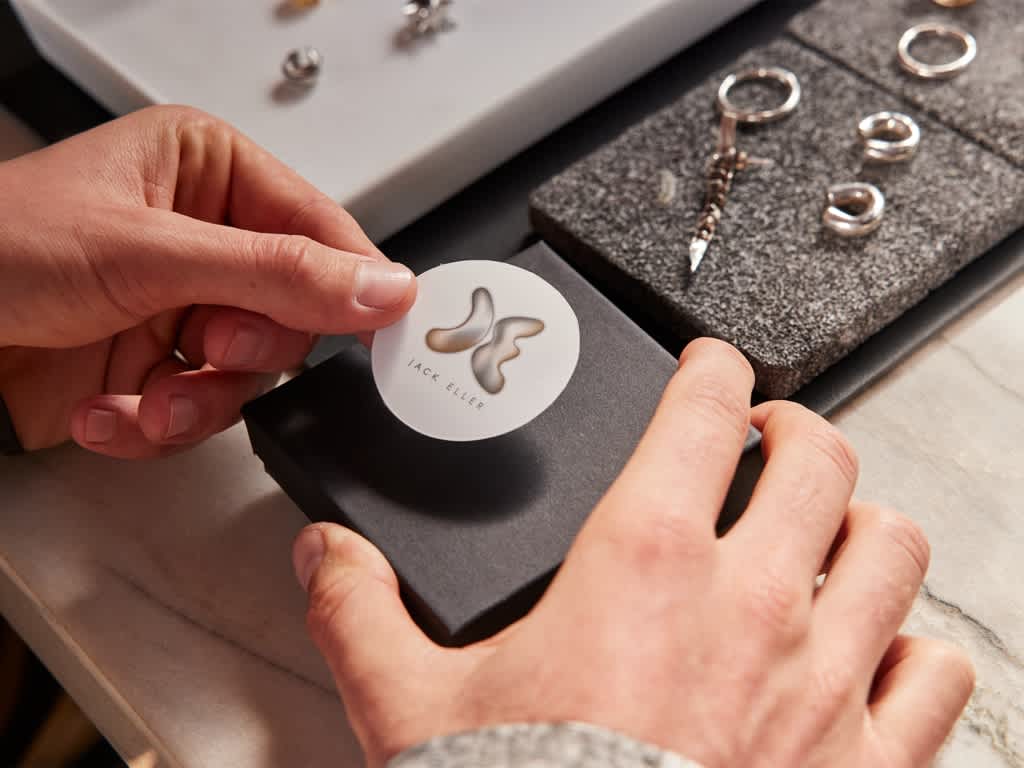
For luxury packaging design on a budget, start with a standard box and add one standout detail. Use custom packaging labels, branded tape or a metallic sticker to create a premium finish without the high costs. Pair with tissue and a thank-you card insert.
Content
Collect your product name, description, instructions and imagery. Identify any ingredients, warnings and weight declarations before designing the layout. Leave room for batch, barcodes or expiration details if relevant.
How to design product packaging
You can design product packaging without hiring a designer and using templates instead.
Step 1: Research product packaging
Look at similar products and note familiar shapes, packaging elements and mistakes. Turn that research into a brief covering your product dimensions, audience, sales channel, quantities, budget and deadlines. Add one design goal, such as making a handmade candle feel gift-ready.
Step 2: Dieline setup
A dieline is a template showing where packaging will be cut, folded and assembled. Request the approved version for your exact size, style and material before placing artwork. If the supplier offers a template generator, enter the dimensions in the specified order and confirm whether they’re internal or external measurements. Download at its original scale – stretching an existing template can distort folds, tabs and material thickness.
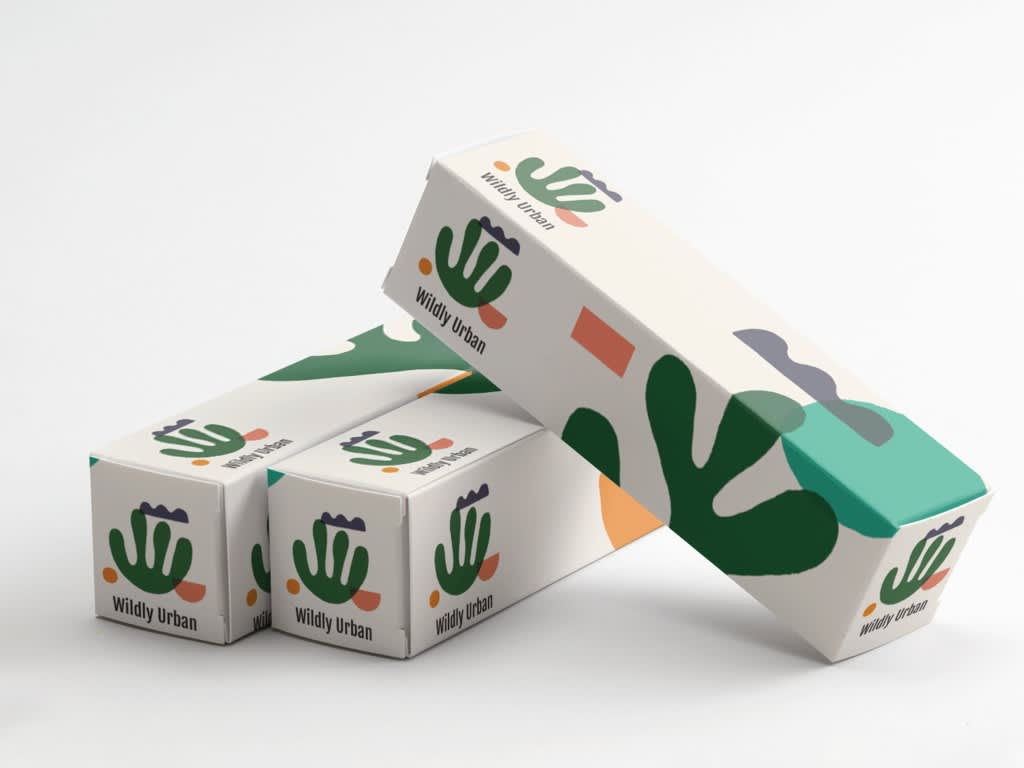
or custom packaging shapes, ask for help from the supplier. Give them your measurements and a product sample so they can create the dieline. You can still design the graphics yourself.
Step 3: Choose materials
Paperboard suits many lightweight retail cartons, while corrugated board provides cushioning and durability for shipping. Pouches need appropriate seals, and ask suppliers about moisture protection where relevant.
Request packaging samples before committing. Check how labels stick and how surfaces feel. Confirm the stock before finalizing colors because the surface will affect how they look.
Step 4: Build the visual concept
Start with two or three ideas using your logo, brand colors and one clear message. Use an online editor for supported formats or software that preserves vector artwork and layers for more detailed layouts.
Step 5: Design layout
Display brand and product information on the packaging, putting key selling points on the front and supporting copy on other panels. Required information may have specific placement rules, so establish those before adding decorative elements.
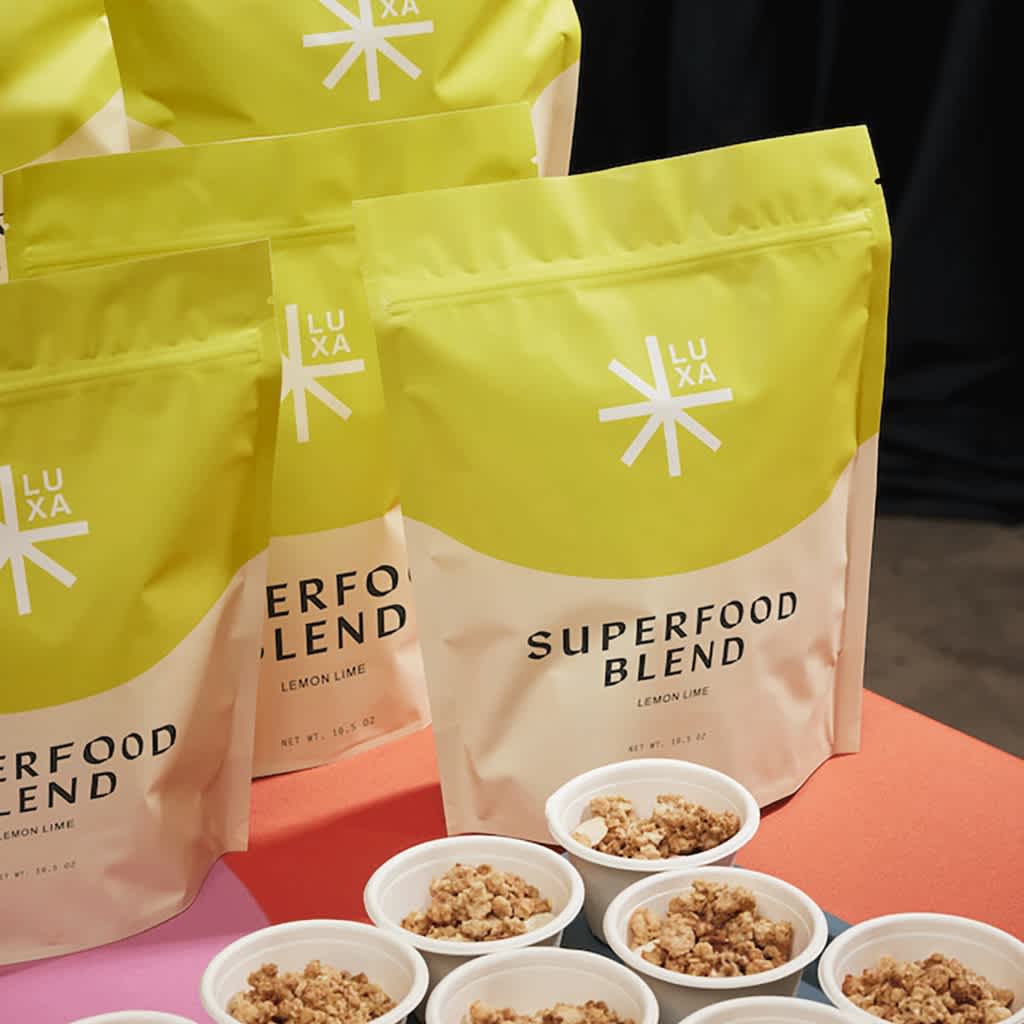
Create an obvious reading order: brand, product name, then tagline. View the design at actual size to check whether those essentials still stand out. Keep important details away from seams, flaps and areas covered by labels or tape. Check the orientation of each panel: text that looks upside down on a flat template may be correct once folded.
Step 6: Test a packaging prototype
Print a paper mockup at 100% scale, cut it out and fold it to check panel alignment, fit and reading order. Ask someone unfamiliar with the product to explain how they’d read and open the package. Then test a packaging prototype with the actual product inside. Check closure, cushioning, assembly time and delivery performance (a paper mockup can’t establish shipping strength). Scan QR codes and retail barcodes using their intended scanning system.
Step 7: Prepare for print
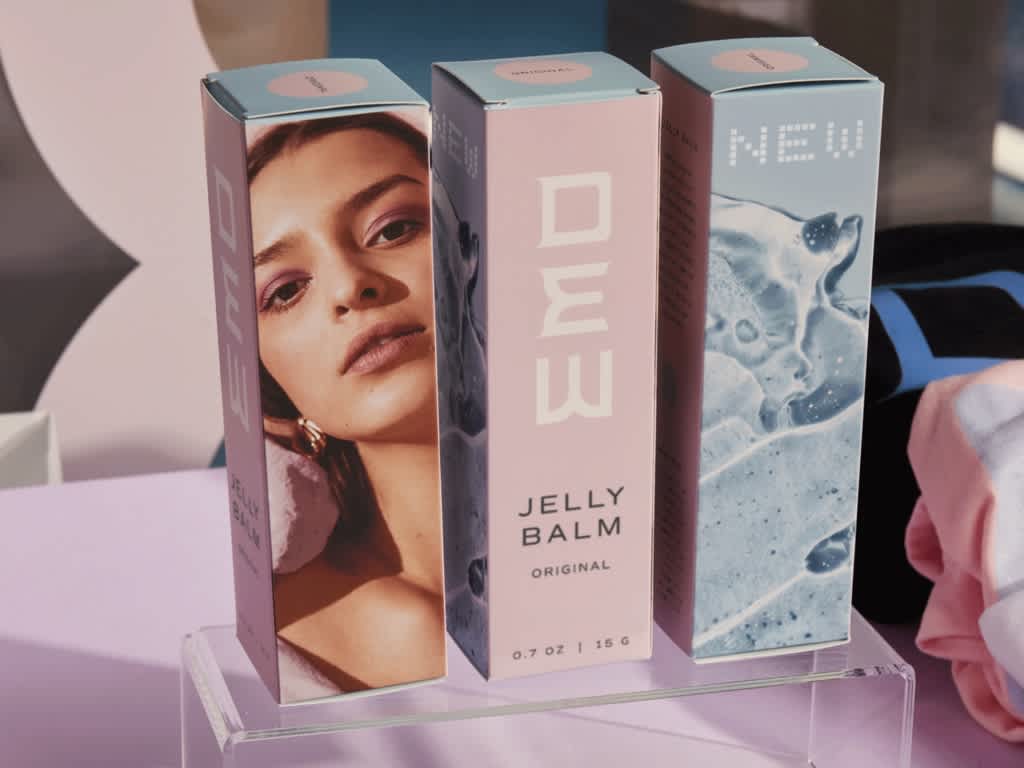
Prepress means getting your files ready for print. Start with your printer’s specifications – bleed, color settings and export requirements:
- Set bleed and safe areas. Bleed extends backgrounds beyond the cut edge so small cutting shifts don’t leave unwanted white slivers. 3 mm is standard, but corrugated packaging may need more. Follow the template’s guidance, extend backgrounds to the bleed line and keep text and logos inside the indicated safe area.
- Manage CMYK vs. RGB color shifts. Digital files use RGB, while print uses CMYK. Colors can look duller in print than on screen, so always preview the design and order samples.
- Manage the dieline layer. Keep cut and fold lines on a separate, locked layer and place artwork on another. Preserve the supplier’s named spot colors and overprint settings, which outline how those paths should be treated. Ask whether the final PDF should include technical paths or artwork only. Don’t flatten them into the visible design or assume that marking a layer “non-printing” meets the supplier’s requirements.
- Prepare artwork and fonts. Keep logos and line illustrations as vector files. For photographs, aim for 300 pixels per inch at their final printed size (increasing a blurry image’s resolution setting won’t resolve the issue).
Embed linked images and fonts or convert them to outlines. Save an editable master before outlining text, then export the specified print PDF preset. Include crop marks only if requested and review the exported file before approving the proof.
Product packaging design tips for small businesses
Keep packaging simple and clear
Give each panel one main job. A clear product name and useful benefit will do the most work using minimal space. Always leave breathing room around essential information.
Align packaging with brand personality
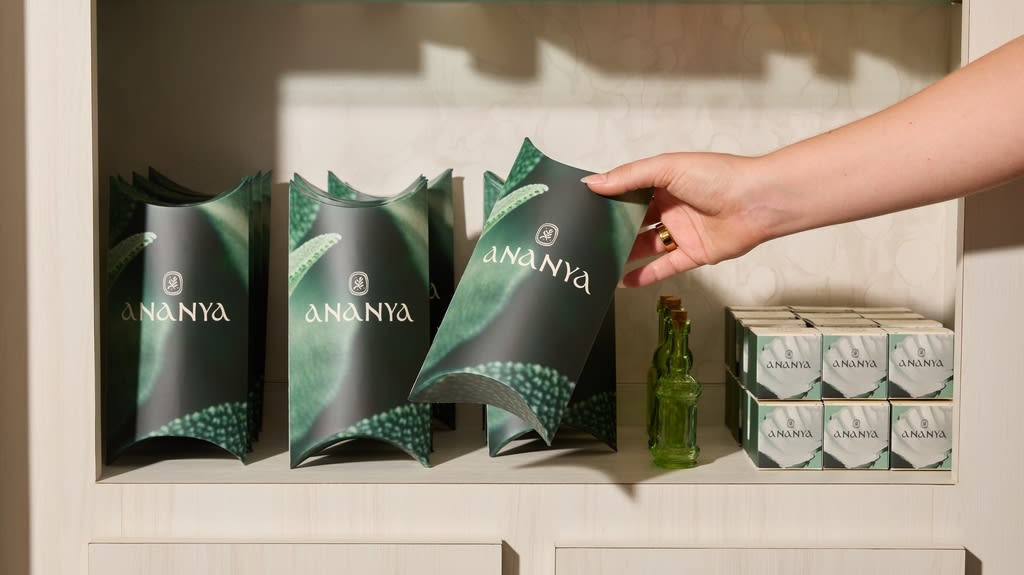
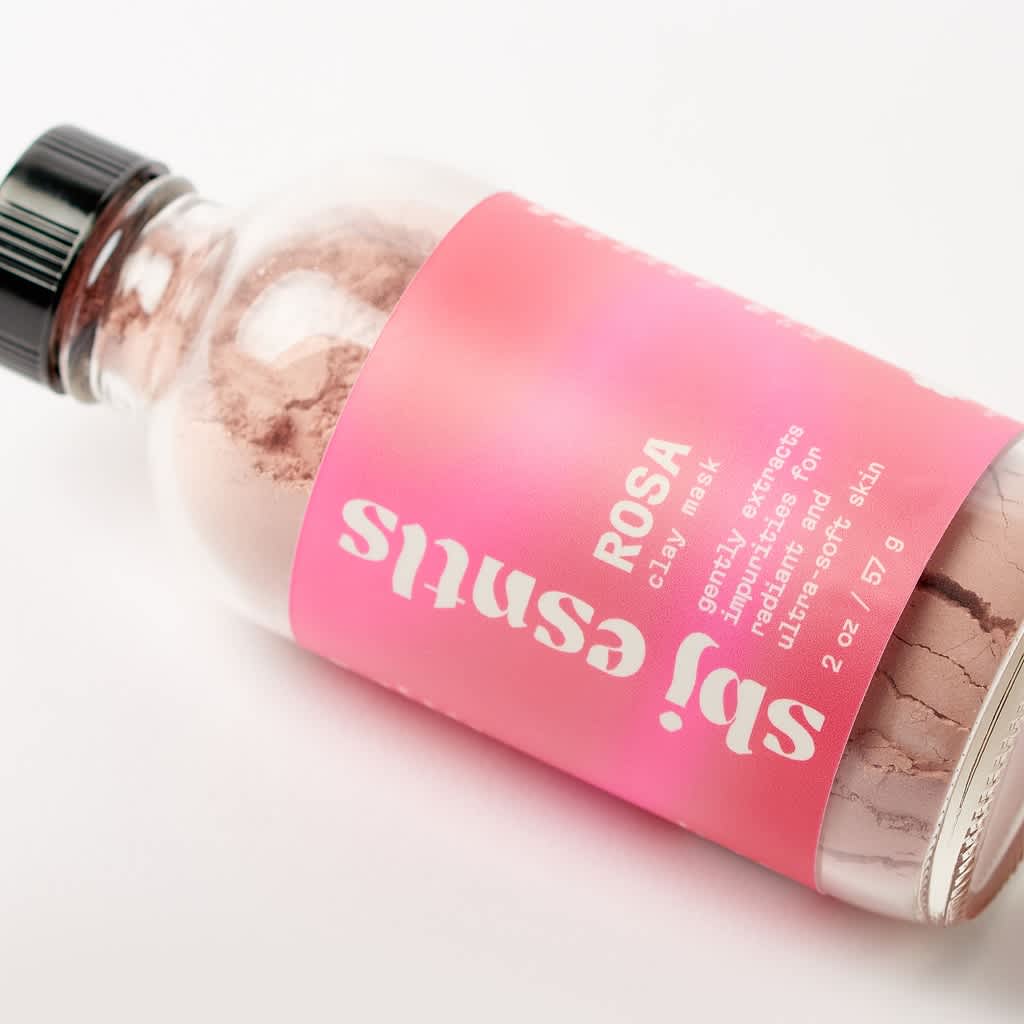
Align your words, colors and design elements with your branding. Playful brands might use a cheerful message inside the lid, while a minimalist skincare brand might favor restrained lettering and an uncluttered label.
Consider sustainability and materials
Remove unnecessary packaging layers while keeping the product protected. Give disposal instructions for individual components, and support environmental claims. Made with 80% recycled paper, when verified, is more useful than a vague eco-friendly promise.
Integrate “phygital” packaging elements
“Phygital” packaging connects physical packaging with a digital experience, supporting customer retention and encouraging repeat orders.
When using QR codes, choose one clear destination: a video assembly guide, product page, reorder offer or social media review page. Place a QR code on a flat outer panel, inside the lid or on an insert, away from folds and reflective finishes. Use strong contrast and leave space around it. Add a prompt such as “Scan for a tutorial” and a short web address as a backup.
A dynamic QR code means you can change the destination without reprinting packaging.
NFC chips offer a tap-to-open alternative. Decide the destination, attach it to the box or packaging insert and mark the tap location. Always test on the packaging before ordering.
Think about the unboxing experience
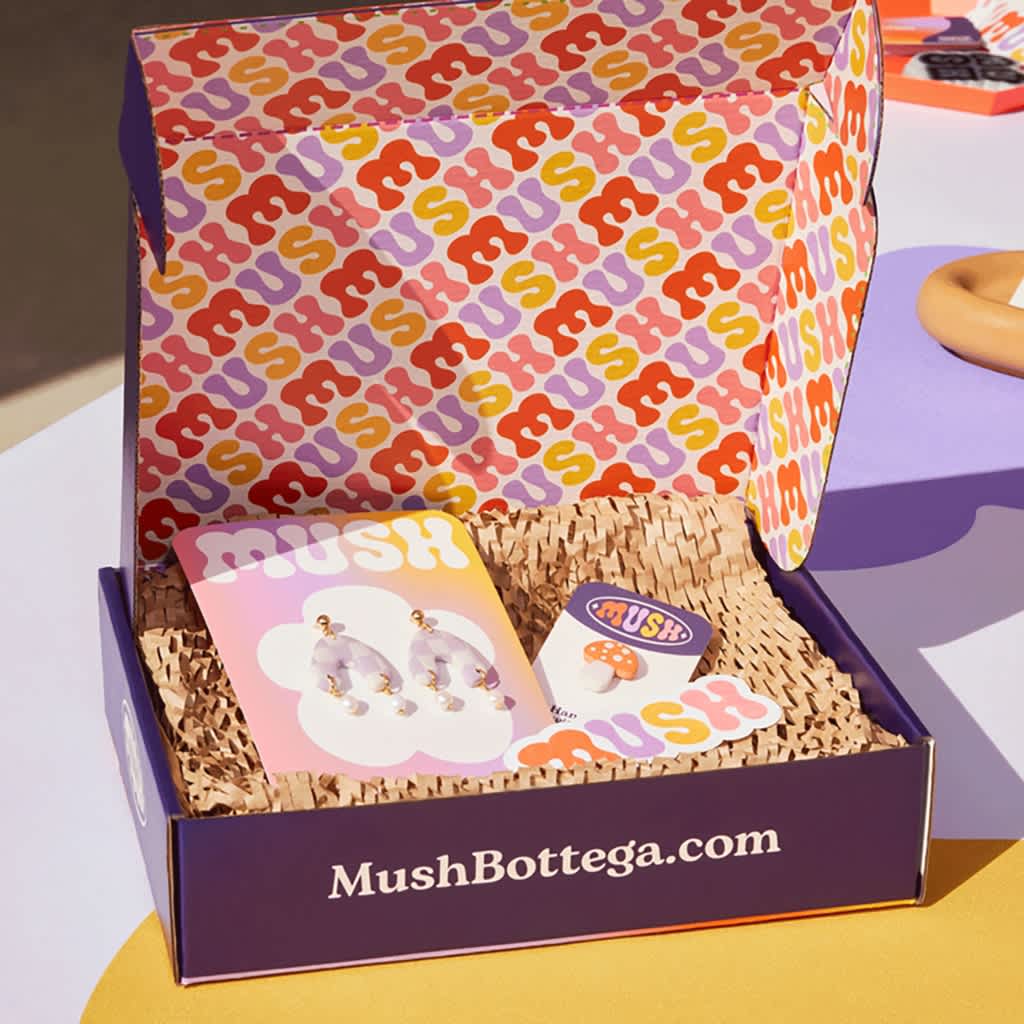
Arrange the box’s contents so the product is easy and fun to reveal. Use branded tissue paper and personalized notes for a thoughtful presentation and unboxing experience that will make customers feel special without much added cost.
Packaging design ideas and trends
Use packaging design trends as inspiration while keeping your brand easily recognizable.
Seasonal and holiday packaging
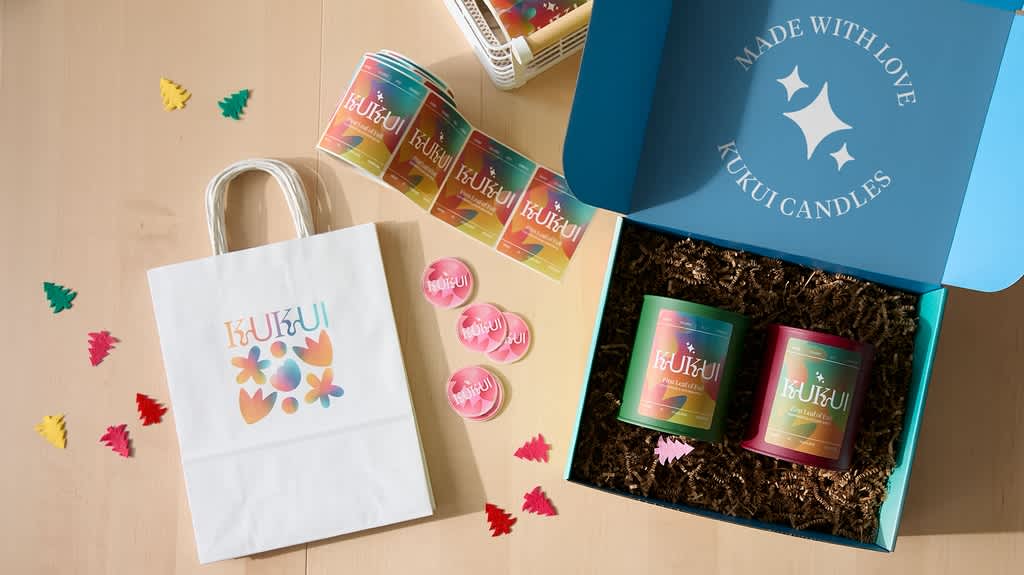
Refresh a sleeve, sticker or tape for holiday or seasonal packaging while keeping the box packaging design the same. A short run lets you try something festive for the holiday season.
Minimalist bold packaging designs
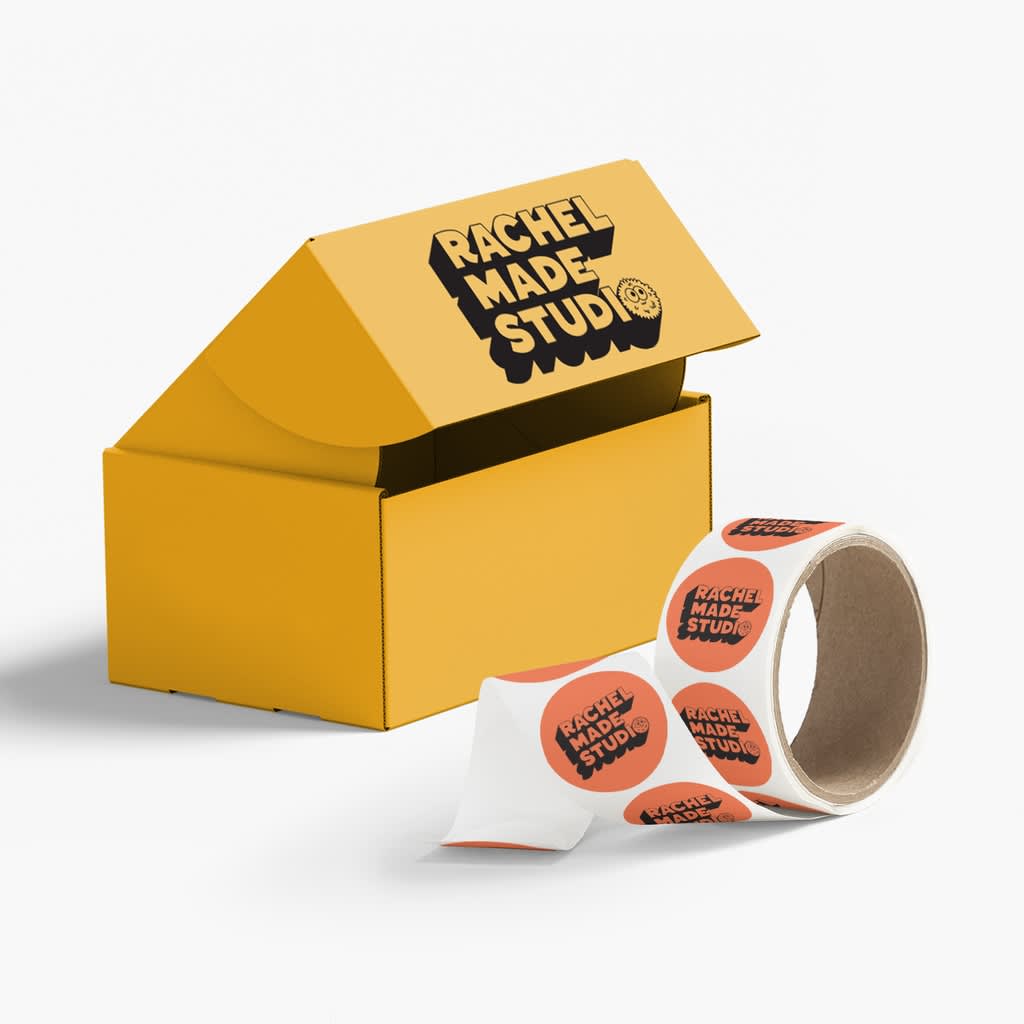
Pair generous empty space with a large brand or product name and one or two colors. A bold yellow mailer box with a brand logo can feel more confident than added artwork or information.
Hand-drawn illustrations and custom patterns
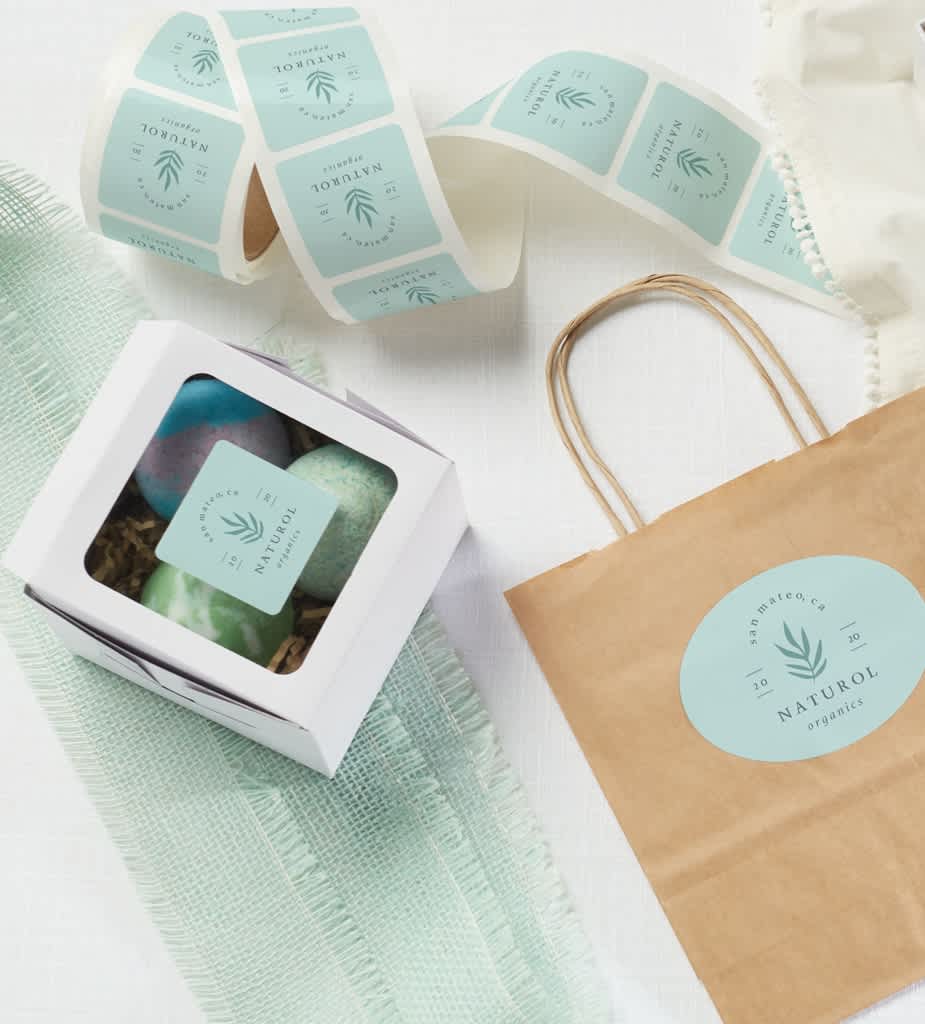
Line drawings and simple illustrations give product packaging an elegant, personal feel. Try a botanical illustration for a soap label or an ingredient on food packaging, leaving enough space for product information.
Personalized packaging touches
Add a name to a gift tag or a handwritten note to an order for a personalized touch that makes customers feel valued. Allocate extra time for packing personalized orders.
Give your product packaging a strong finish
Great product packaging design starts with protection and information. Build from there with consistent branding, a realistic budget and testing before committing to a full print run.
Keep improving product packaging after launch with phygital touches, such as a tutorial or reorder link, giving customers a reason to stay connected and encouraging repeat business.
Product packaging design FAQs
What are font legibility requirements for packaging?
Font size requirements depend on the product, sales channels and information provided. Check the applicable labeling rules, including any minimum letter heights, then print and test packaging at actual-size to see if the text is easy to read.
Do I need a retail barcode on my packaging?
That depends on your sales channels, retailers and marketplaces, which may require a recognized product identifier and a compatible barcode. Confirm their requirements before printing, because a marketing QR code isn’t the same as a retail checkout barcode.
How can I distinguish flavors or product variations?
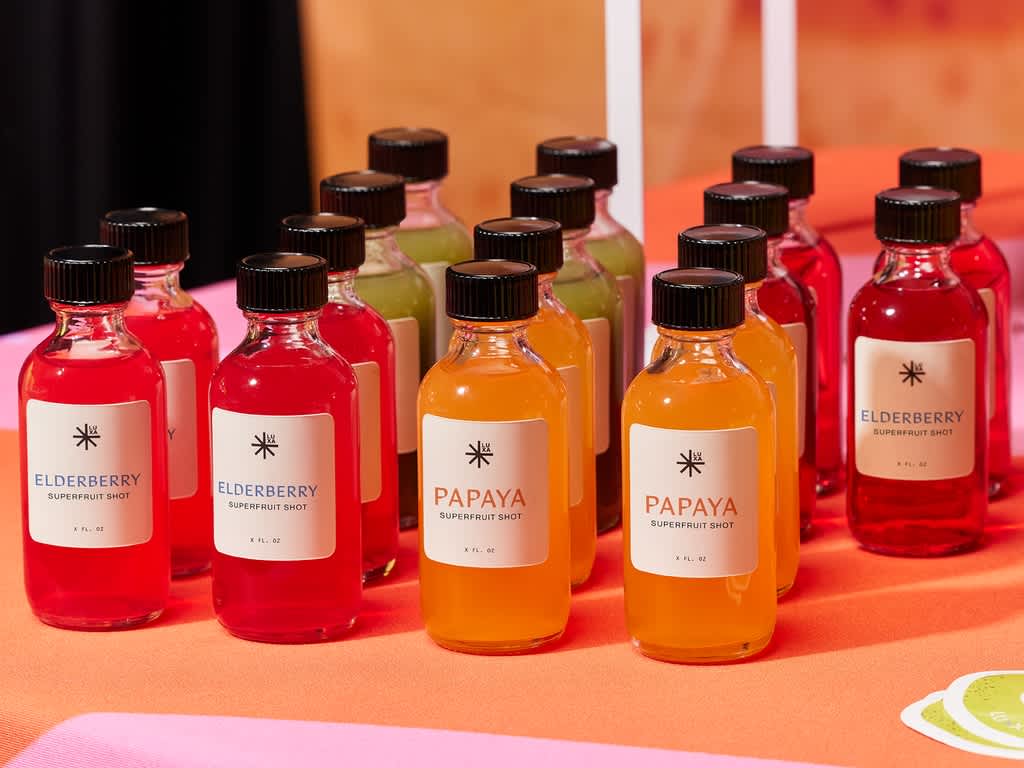
Keep the branding and layout consistent, then change the product name, accent color or illustration. Don’t rely on color alone – name variations printed on the packaging help your team pack the right item and customers choose correctly.
Can I use stock illustrations on my packaging?
Check that the asset’s license permits commercial packaging use and covers your intended print quantity. Editorial-only images aren’t suitable for this purpose, and stock assets may have separate restrictions on use in logos; save the license details with your artwork.
How should I store unused packaging?
Keep empty cartons flat where appropriate, clean and protected from moisture, direct sunlight and crushing. Follow the supplier’s storage guidance, including recommendations for labels and adhesives, and use older stock first to reduce avoidable waste.